Nature Photography: The Language of Light, Composition, and Timing
May 14, 2024

Join us on a journey through the art of nature photography, where we delve into the essentials of capturing the essence of the natural world. We're here to guide you through creating memorable images
Nature photography is a way to capture the beauty and diversity of the world around us. In this article, we will discuss how light, composition, and timing are essential elements for creating impactful and memorable images in natural environments.
Part 1: Harnessing Natural Light
Light is the fundamental element that brings nature photography to life. Its quality and direction affect the appearance of an image, creating unique atmospheres and highlighting surprising details.
Light shapes the scene; the harsh midday light can create strong shadows, while the soft light at dawn or dusk provides warm tones and more favorable illumination. Below is more on this.

Types of Light in Nature
The different types of light found in natural environments range from direct sunlight to light filtered through the leaves in a forest. Each type of light presents unique challenges and opportunities, and learning to adapt to these conditions is key to capturing impactful images.
- Direct Sunlight: The intense, direct sunlight that creates defined shadows and highlights details.
- Dawn/Dusk Light: The warm, soft golden light that bathes the landscape during the early and late hours of the day.
- Cloudy or Diffuse Light: The soft, even light on cloudy days, which minimizes shadows and enhances colors.
- Backlight: The light that comes directly from behind the subject, creating silhouettes and highlighting outlines.
- Reflected Light: The light that bounces off surfaces like water, snow, or mountains, adding brightness and glow to the scene.
Pro Tips for Leveraging Natural Light
Effectively harnessing natural light is crucial in photography. Here are some practical tips to maximize the visual impact of your images through proper use of light:
1. Observe the Light Direction
Before shooting, notice the direction of the light in relation to your subject. Side light can highlight textures, while front or backlight can affect the overall atmosphere of the image. Learning to identify the direction of the light will help you position your camera more effectively.

2. Take Advantage of Golden Hours
The golden hours at sunrise and sunset provide warm, soft light that adds a magical tone to your photographs. Try to plan your photography sessions during these times to capture nature in its best light.
3. Use Shadows Creatively
Shadows can be as important as light in an image. Experiment with shadows to add depth and drama to your photographs. Light filtered through leaves or branches can create fascinating patterns on the subject and background.
4. Adjust Exposure Based on Light
Learn to adjust the exposure according to the light intensity. In bright light situations, you might need to reduce exposure to prevent overexposure, while in low light conditions, you might need to increase it to capture details in darker areas.
5. Experiment with Backlight
Don’t be afraid to experiment with the backlight. Capturing the silhouette of a subject against bright light can create striking and artistic images. Ensure you adjust the exposure to highlight contours and maintain details in darker areas.
6. Mind the White Balance
Adjust the white balance according to the light quality. In warm light situations, like during the golden hour, you might want to preserve the warm tones. Experiment with different settings to find the right balance and maintain the desired atmosphere.
Advanced yet easy-to-use photo editor
Get Luminar Neo Now7. Utilize Reflections Creatively
Reflections, especially on surfaces like water, can add a unique touch to your images. Experiment with angles and compositions to creatively incorporate reflections and highlight the natural beauty of light in the scene.
Using Filters
We've got a handle on natural light, so let's shift focus to filters. If you're unfamiliar, filters are attachments for your camera lens that modify the light reaching the sensor. They can enhance the quality of light and provide greater control over exposure. Up next, we'll delve into the different types of filters used in photography.
Neutral Density (ND) Filters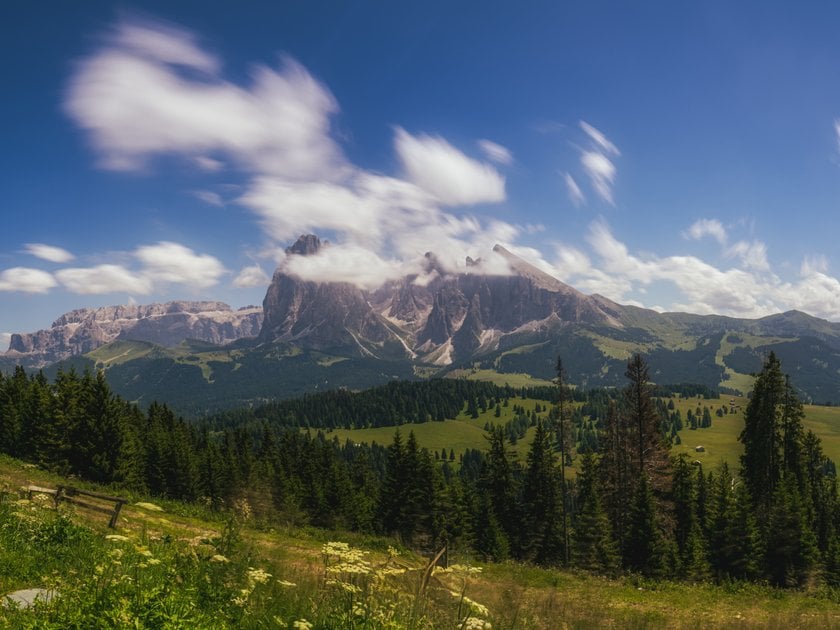
- Function: ND filters reduce the amount of light entering the camera, allowing for wider apertures or slower shutter speeds in bright light conditions.
- Useful in: Capturing long-exposure images, such as smoothing the water in a river or documenting the movement of clouds in the sky.
Polarizing Filters
- Function: They eliminate or reduce reflections and glare, improve color saturation, and increase contrast.
- Useful in: Photographing water-rich landscapes, like lakes or rivers, to minimize reflections and uncover submerged details.

Graduated ND Filters
- Function: They provide a gradual transition from dark to light and are ideal for balancing exposure between a bright sky and a darker ground.
- Useful in: Shooting landscapes with a stark brightness contrast between the sky and the foreground
Part 2: Mastering the Art of Composition
Composition is the art of arranging visual elements within a frame to create an attractive and balanced image. In the context of nature photography, where diversity and surroundings can be overwhelming, composition becomes even more crucial to convey the beauty and essence of nature.
Below, we delve into various aspects related to composition in this photographic genre:
Rule of Thirds
Divide the image into nine equal sections using imaginary lines and place key elements at the intersection points.
Symmetry and Asymmetry
Use symmetry to create balance or asymmetry for a more dynamic equilibrium.
Negative Space Use
Leave empty areas in the image to highlight the main subject and create a sense of spaciousness.
Color Harmony
Choose colors that complement or contrast harmoniously to enhance the overall aesthetics.
Unleash Your Creativity with Luminar Neo's Composition Tools
Try CropAI nowPerspective and Depth
Use foreground elements to add depth to the image.
Rule of Gaze
Use visual lines to guide the viewer's attention towards the main subject.
Triangles and Diagonals
Create dynamism by using diagonal lines or forming triangles in the composition.
Framing the Subject
Use natural or architectural elements to frame the main subject.
Rule of Odds
Place elements in groups of three or five for better aesthetics.

Rhythm and Pattern
Look for repetitive patterns to add visual interest.

Golden Ratio Rule
Use proportions based on the Fibonacci sequence for a stronger focal point.
Frame Effect
Use elements at the edge of the image to frame the main subject.
Leading Lines
Use natural lines to direct the viewer’s gaze.
Visual Contrast
Use contrasts in color, tone, or texture to highlight elements.
Scale
Scale refers to the size relationship between different elements within an image and how those elements relate to their environment. Including elements that provide a size reference helps convey the magnitude and grandeur of the objects in the picture.
Part 3: Finding the Ideal Moment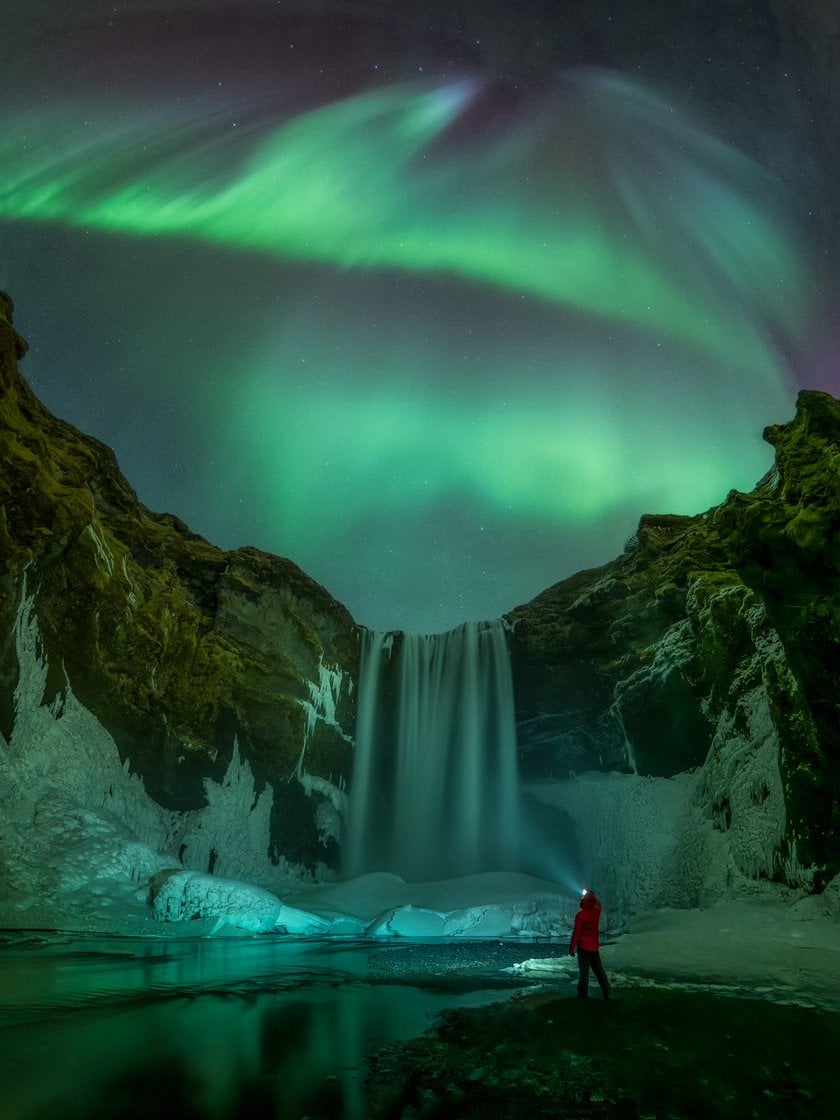
Capturing the precise moment is essential in nature photography. Every instant can provide a unique and fleeting opportunity to capture the beauty and authenticity of a scene. In this section, we will explore how to identify, anticipate, and seize the perfect moment in nature photography.
Identifying Key Moments
Recognizing key moments in nature, from the lighting to the behavior of wildlife, highlights the importance of constant observation and understanding of the environment to identify those fleeting instances that can transform an image. This requires keen observation and a great deal of patience. Nature photographers must stay alert to changes in light, weather, animal behavior, and other elements that can influence the scene they are photographing.
Understanding Weather and Light
The quality of light and weather conditions can completely transform a natural scene. We must be attentive to the soft, warm light of dawn and dusk, as well as the dramatic effects of light during storms or atmospheric phenomena.
Crafting Your Personal Vision
Beyond external conditions, the perfect moment can also result from a unique and creative vision. We can seek unusual angles, distinctive compositions, or unconventional moments that convey our own interpretation and personal connection with nature.
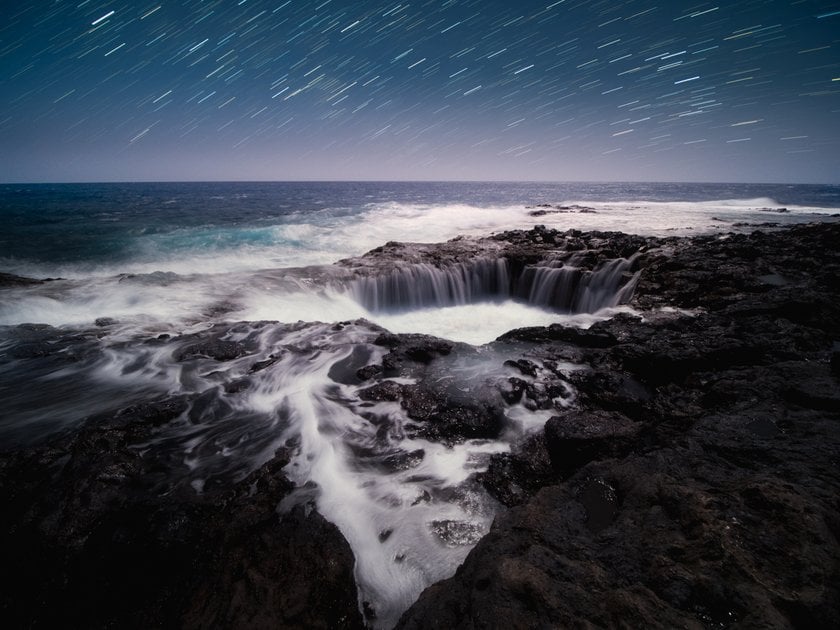
Part 4: Perfecting Images in Post-Production
Image editing are crucial steps in the nature photography process. While the initial capture of the image is vital, careful editing can enhance the image without compromising authenticity. We will discuss how photographers can effectively use post-production tools.
Natural and Effective Editing
Adjust exposure, enhance sharpness, correct white balance, and work with layers for selective adjustments. The key is to improve the image without distorting reality.
Preserving Authenticity
Over-editing can lead to unrealistic images and stray from the photographer's original vision. It's important to maintain the emotional connection and fidelity to the captured scene.
Post-production should not drastically change the essence of the image but rather enhance and optimize the visual quality. By using tools and techniques thoughtfully, photographers can achieve images that glow with the natural beauty captured at the moment of shooting.
Conclusion
In nature photography, where creativity meets the natural environment, we have explored the key elements that shape impactful images: the language of light, composition, and timing. These elements are the foundations on which photographers build visual narratives that capture the essence of nature.
We have learned to interpret light, compose images effectively, and anticipate and capture the precise moment. Post-production has been addressed as a tool to highlight beauty without losing authenticity, and we have explored sources of inspiration and resources that enrich knowledge and appreciation for nature photography.


