Tips For Taking Awesome Night Sky Photos On iPhone
November 20, 2024
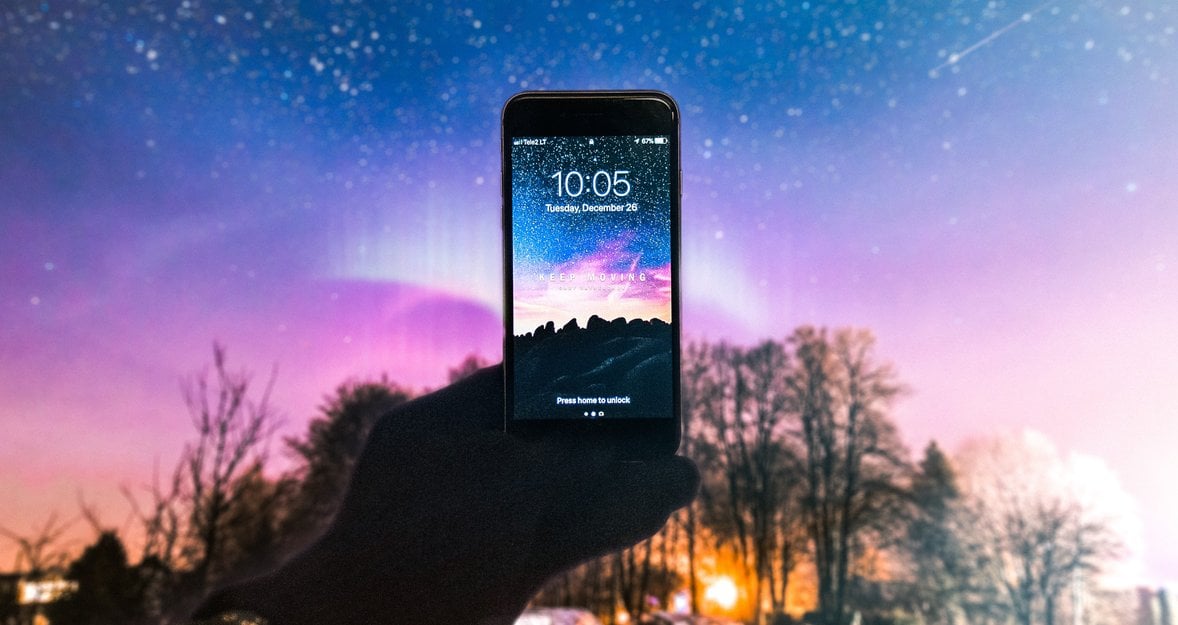
For a long time, taking pictures of the night sky was unavailable to smartphone owners, but now the situation has changed. The world of technology is changing very quickly, so iPhone owners can experience astrophotography. So, how to take a pic of the Moon with iPhone?
For novice photographers, astrophotography is not an easy task, especially without professional equipment. If you try to take night sky photos with an iPhone, the result can be worse than expected. Instead of a bright moon and star trails, you will get just a dark photo that will not capture the real beauty of the dark sky. But do not be upset, with the knowledge of a few simple details you can easily take the perfect picture. In this article, we will review all the information you need while taking photos of stars with an iPhone to get a stunning result.
Astrophotography equipment for iPhone
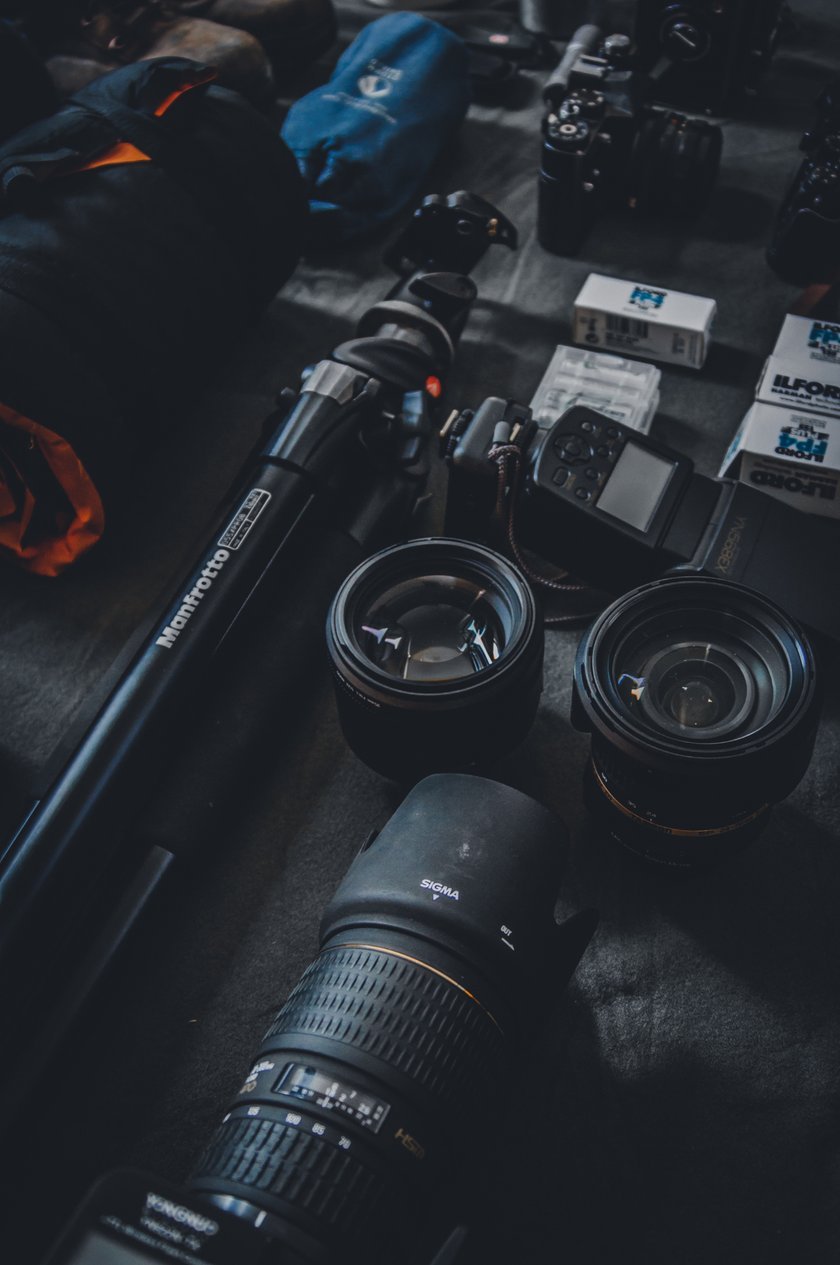
While preparing for taking pictures of stars with an iPhone, you must think carefully about the necessary equipment. Let's take a look at the essentials:
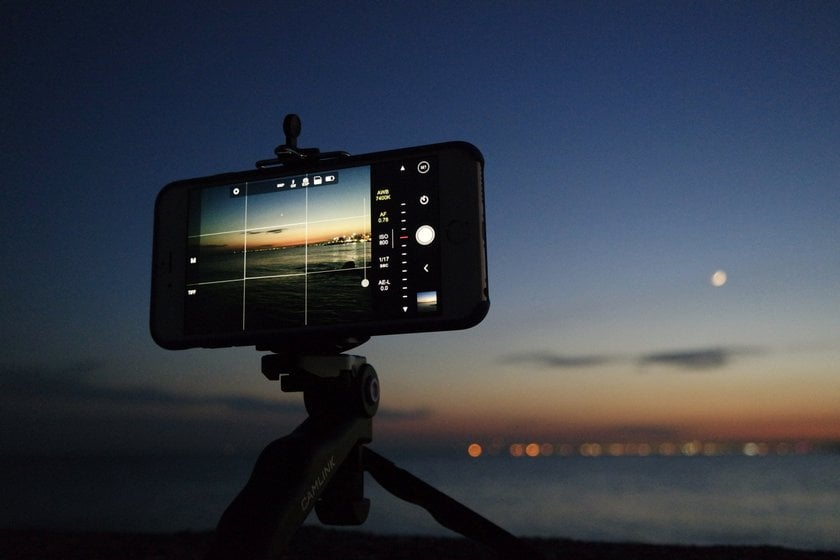
- A tripod is a must-have tool for long-exposure photography, as you need the complete stillness of your device here. In addition, holding an iPhone in your hands for a long time is uncomfortable and tiring. When setting up your tripod, make sure it stands firmly, otherwise, the shots may be blurry. You can also use the NightCap Camera app to help you adjust the shutter speed. And it's even easier for Apple Watch owners to shoot stars with it: you can install the client app on your watch and press the shutter button remotely, without making unnecessary movements when taking iPhone night pictures.
- A flashlight with a red light. Why not a white one? The reason is that human eyes perceive red light better at night because it is not blinding. By illuminating the space with the flashlight you can easily move around, set the tripod in the most convenient place, and perform other necessary actions. It is one of the most useful things you need at night.
- Powerbank. Thinking about the time and place as well as adjusting to the many conditions of iPhone star photography, it would be a shame to be left without good frames for such a trivial reason. So we recommend not only checking the charge level of your iPhone in advance but also taking a power bank with you.
- Another tip on how to take photos of stars on an iPhone is to install the Night Sky app. The developers consider it a powerful personal planetarium. In Night Sky you can not only see the names of constellations by pointing the phone camera to the sky but also monitor the degree of cloudlessness for astronomical observations. So with one application, you can solve 2 tasks at once: choose the right night to take pictures and capture the area of the sky you are interested in.
Photographing the Stars on iPhone: A Step-by-Step Tutorial
To learn how to take pictures of stars on iPhone, you need practice. As you take pictures, the quality will improve. To achieve the desired result faster, we advise you to follow the suggested algorithm of actions.
1: Staying Still is the Key to Success
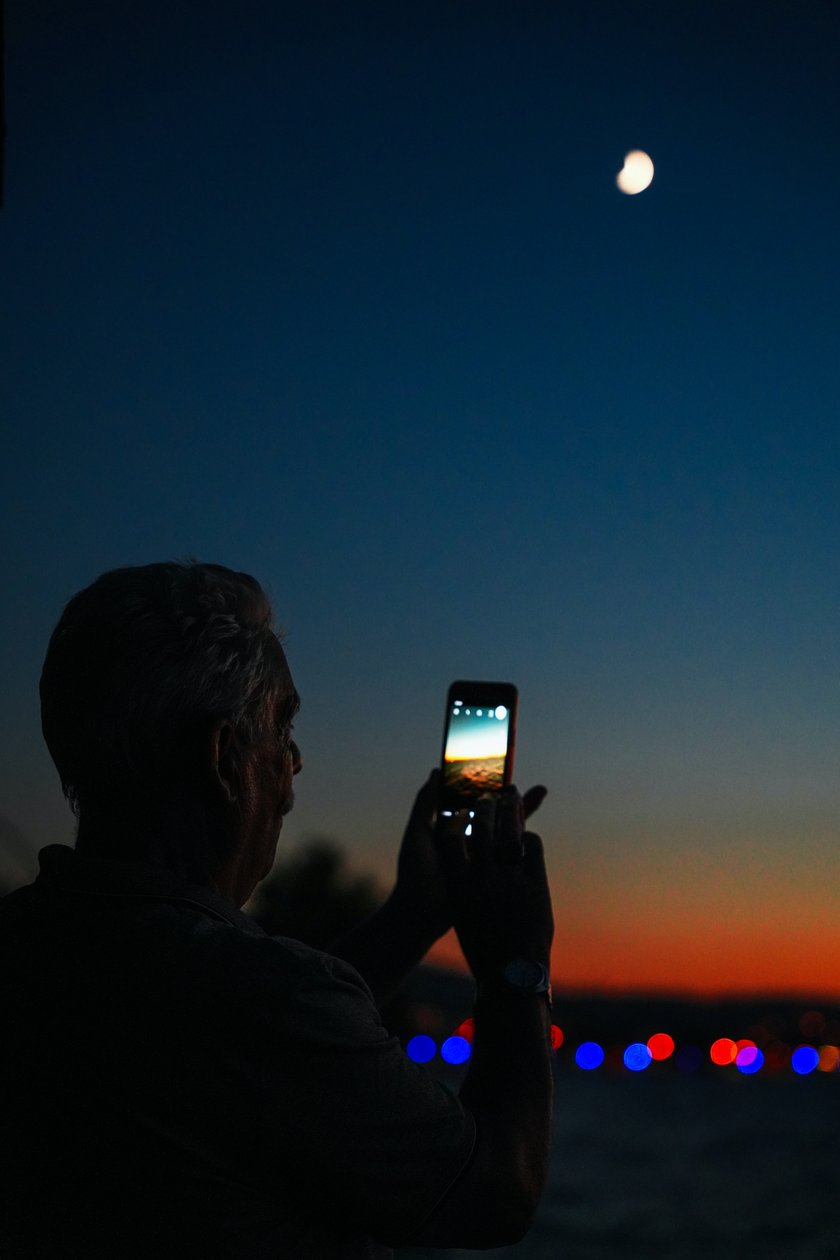
As we mentioned earlier, using a tripod is a must for long-exposure photos and ideal for shooting still images, so make sure you have one beforehand. Besides, a tripod will be useful for different types of shooting, not only for astrophotography.
2: Check the Weather Conditions
Cloudy weather is not suitable for taking pictures of stars. Make sure that the day you are going to take photos is cloudless and as dark as possible. The Dark Sky Finder is a great tool to help you choose the most suitable location.
3: Checking Image Quality
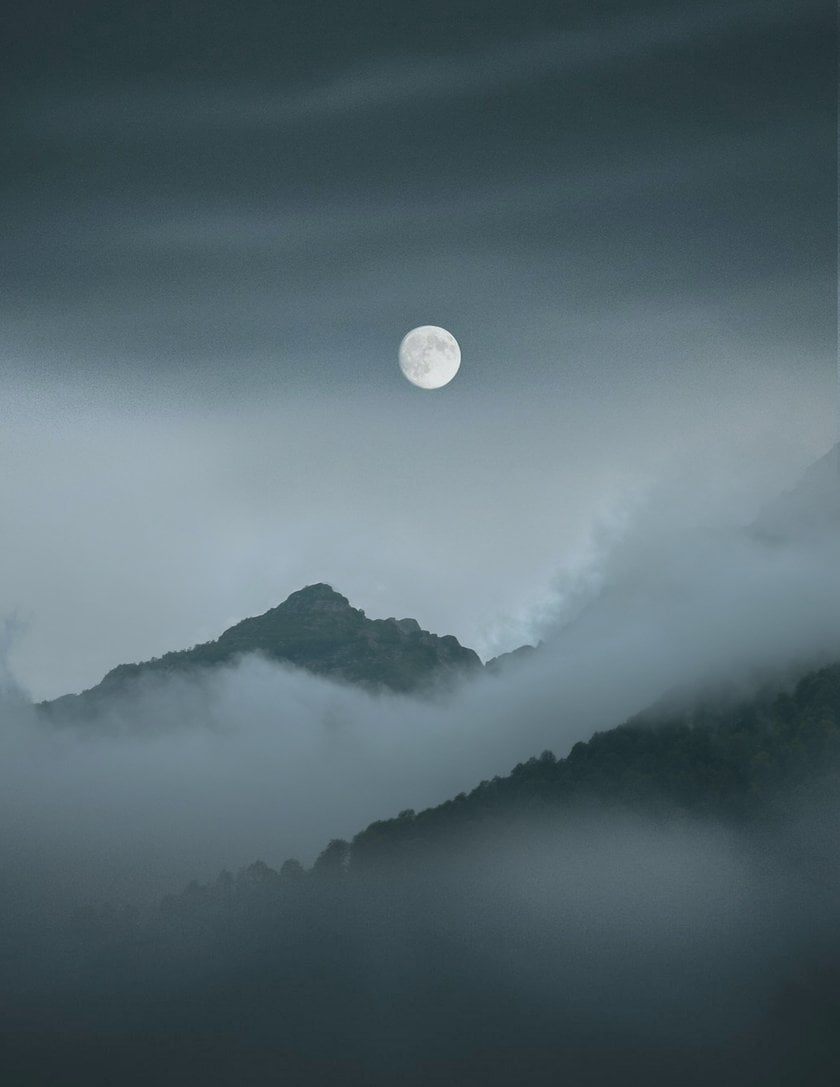
Studying how to take a picture of the stars with an iPhone you have to think about next: what can instantly ruin the quality of a photo? That's right, using digital zoom. The iPhone has several lenses that measure the focal length of the camera. This is a great feature for finding the right exposure, but the digital zoom will just ruin your pictures. It uses internal software to zoom in, and this makes the images worse. If using zoom is necessary, limit yourself to optical zoom. It uses a telephoto lens that brings it closer to the subject but still maintains the quality of the photo.
4: Choose Manual Mode
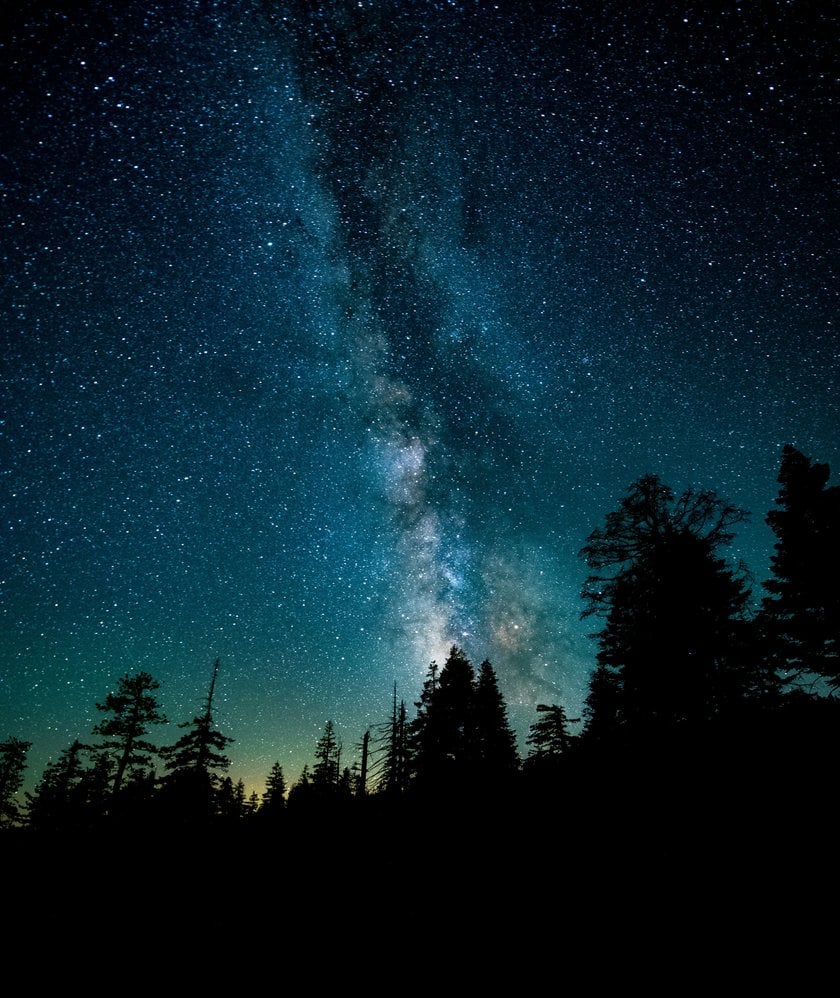
The automatic camera settings are not suitable for capturing the night sky. Switch to manual mode to control ISO, shutter speed, and other settings to adjust the lighting and mode for each shot.
5: Use Noise Reduction
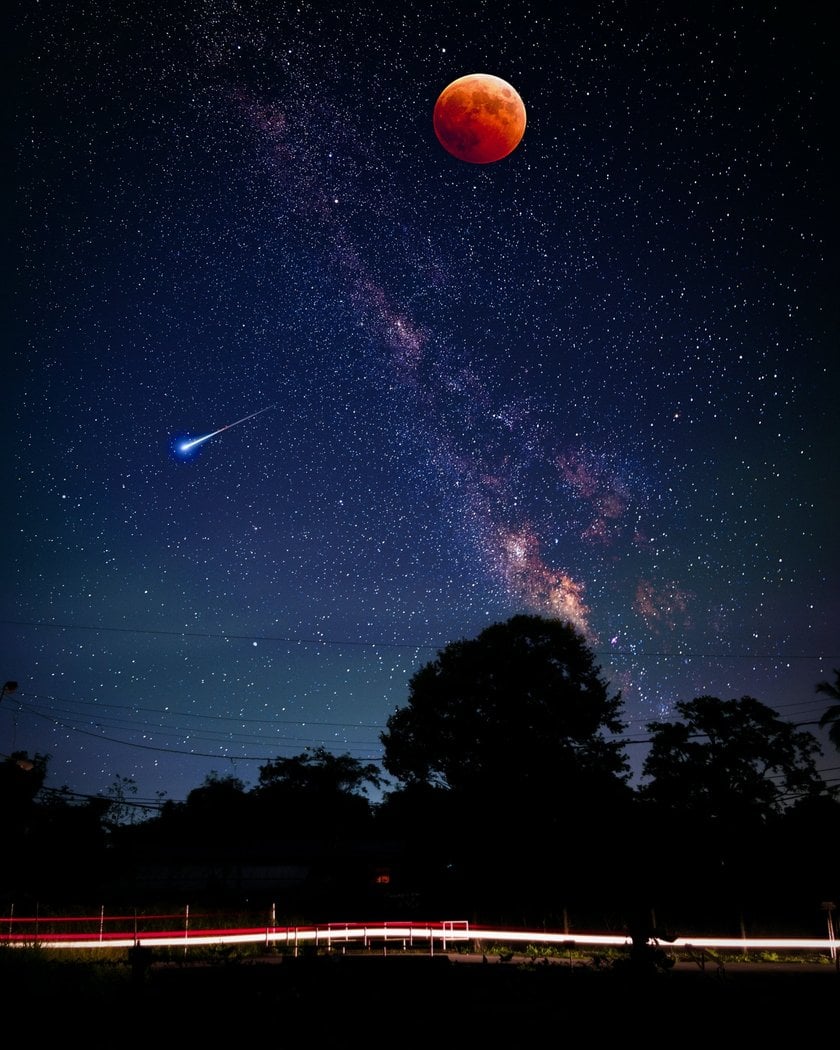
Almost always shooting at night is fraught with the noise in the photo. One way to get rid of this problem is to use the Noise Reduction feature in Luminar Neo. Lastly, the best time to capture stars is before a new moon. During this time, the sky is darkest, and the stars are best seen.
6: Optimizing Exposure Settings
Although it might not be apparent to the naked eye, the Moon is constantly moving. Therefore, it's crucial to use a faster shutter speed to capture sharp images. To avoid overexposing the Moon, set your camera to a lower ISO, which reduces light sensitivity.
On an iPhone using Night Mode, you can adjust the exposure time. Opt for a shorter exposure to ensure the Moon remains clearly visible and well-defined in your photos.
Lastly, the best time to capture stars is before a new moon. During this time, the sky is darkest and the stars are best seen. But if your goal is to take pictures of the moon, then the following information is for you.
How to Take Pictures of the Moon with iPhone
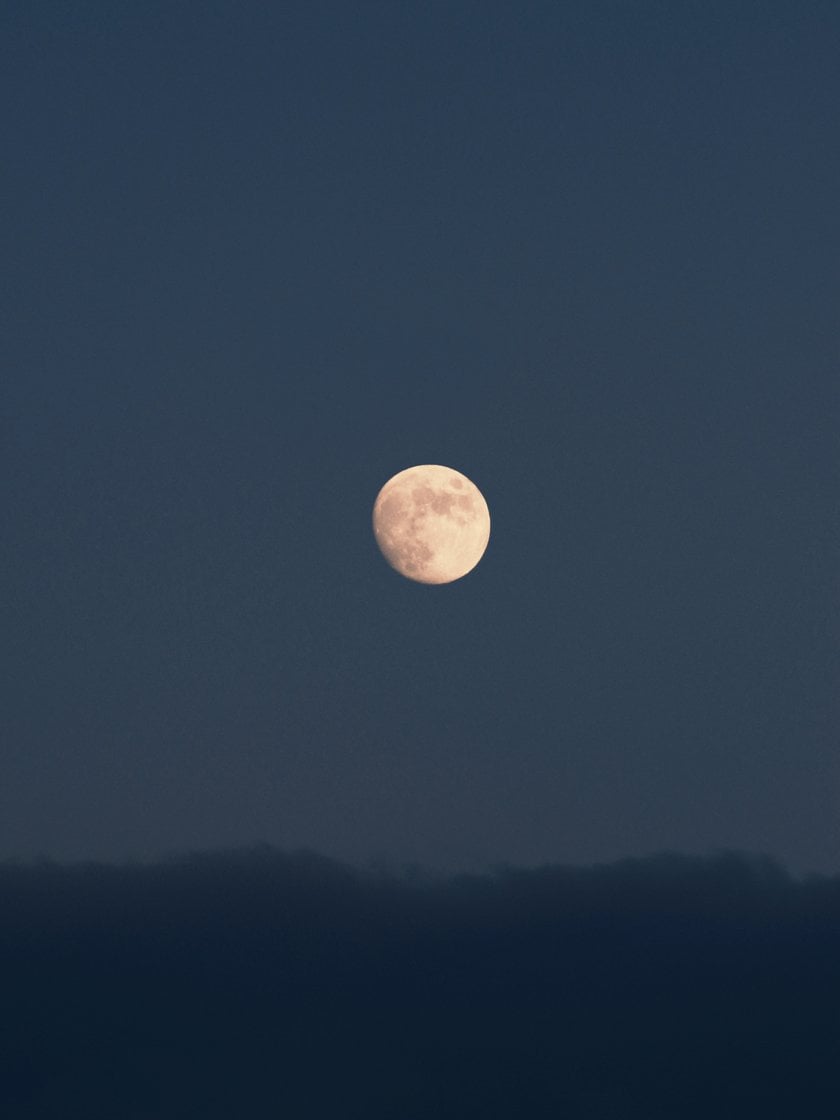
Starting iPhone 11 and all subsequent models are equipped with a night mode that allows you to take clear and beautiful pictures of the moon. To make it work, follow the simple instructions.
1: Activate Night Mode
Open the native camera app on your device. There is a moon icon in the left corner of the top of the screen, tap it.
2: Adjust Exposure Duration
Using the appropriate slider, you need to set the exposure duration. This is where you can experiment. If you haven't tried shooting the moon before, select 1-2 seconds, this is considered optimal.
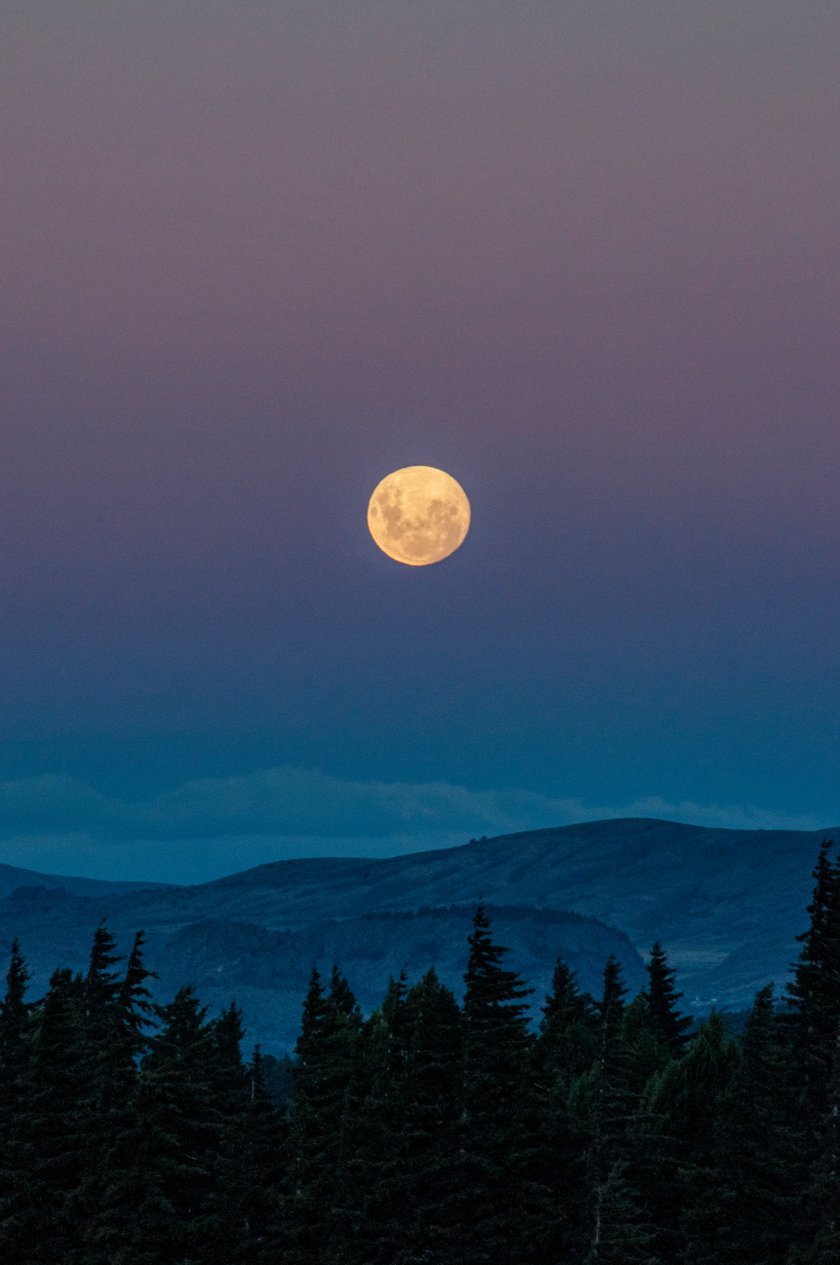
Streamline Your Workflow with All-in-One AI Photo Editor
GET STARTED NOW!3: Use Remote Shutter or Self-Timer
Don't hold your camera, take the picture using the remote shutter or the self-timer. As we said earlier, stillness is the key to a successful shot, so hold your iPhone on a tripod.
Another solution is to download a special app for night photography to get the most out of your camera. For iPhone night sky photography, we recommend installing NightCap.
- Lower the ISO of your camera (you'll have to experiment by monitoring the changes on the screen).
- Set the focus to the maximum for a clear image.
- Take a picture when the image on the screen stabilizes.
Following the suggested steps you can easily take pictures of the moon with iPhone.
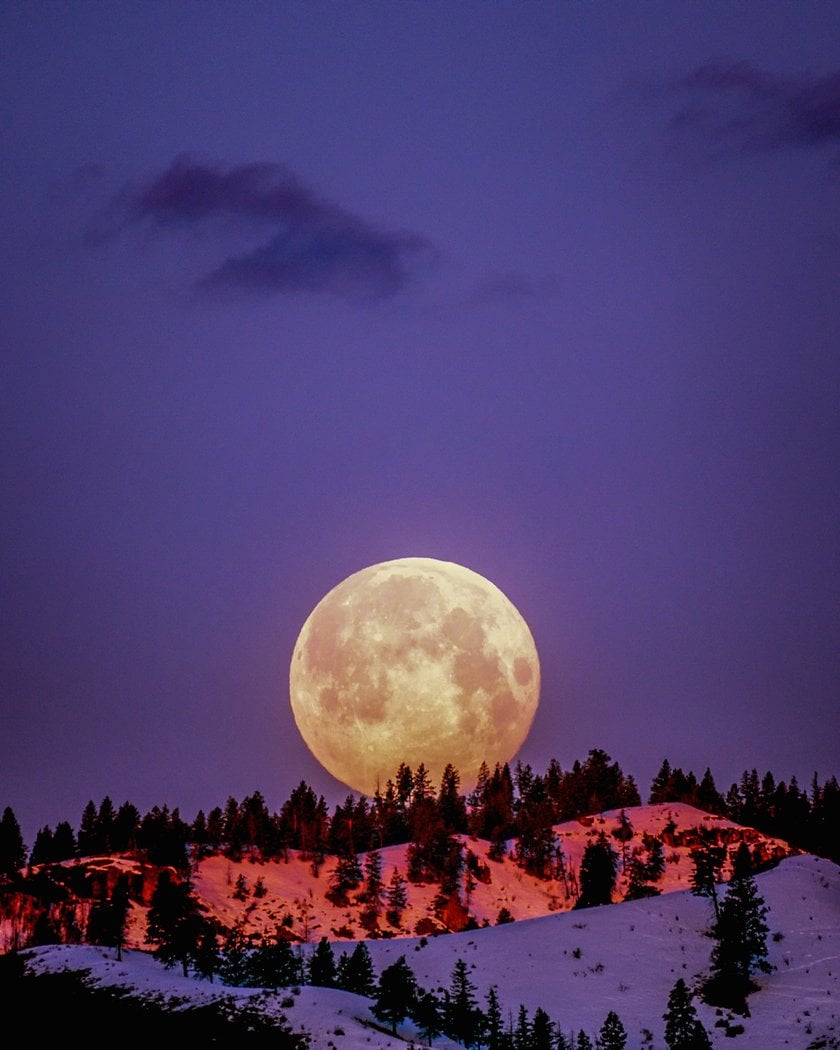
4 Best Astrophotography Apps for iPhone
Of course, the standard camera app does a pretty good job of taking pictures of the night sky, but if you're in search of how to take pictures of stars with an iPhone even better, we advise you to try these apps.
NightCap Camera
NightCap Camera is one of the best programs for mobile devices. Thanks to the slow shutter speed, the app allows you to create attractive photos even in nighttime conditions. This app has four astronomical modes capable of capturing all the splendor of the night sky: scatterings of stars, northern lights, and much more. If you've been looking for a way how to take a picture of the moon on the iPhone, this is one of the best choices.
NightCap Camera allows you to control photo shooting both manually and by engaging AI. Artificial Intelligence will automatically set the optimal focus and shutter speed to get the perfect shot. All NightCap Camera users need to do is not move when taking pictures or use a tripod.
ProCam 8
A paid application that extends the capabilities of the camera and shows how to photograph stars with an iPhone easily. With many filters and photo editing tools. ProCam 8 has a wide range of functions, for example, you can:
- set basic settings (ISO, white balance, shutter speed, adjust the exposure);
- speed up or slow down the video;
- adjust the flash;
- use interval timer photography to capture the slow motion of objects;
- apply a watermark to the photo;
- set up image stabilization.
In addition to the ability to take photos and record videos in low light and at night, the app has support for slow-motion shooting with up to 4K resolution.
Halide
This app is considered one of the most popular for users who want to learn how to take night sky photos with an iPhone. It allows customizing all the features of the camera, such as exposure, shutter speed, white balance, and ISO. Halide works with such image formats as RAW (DNG RAW), TIFF, HEIC, and JPG. Take full advantage of iOS with high dynamic range (Smart HDR) and Deep Fusion. The app is free to download, but you need to make a subscription.
Slow Shutter Cam
This is a highly rated app for capturing stunning long-exposure photographs on an iPhone, making it an excellent choice for night sky photography. The app focuses on providing tools to manage shutter speed and capture more light, perfect for low-light conditions or nighttime settings.
How to Take Pictures of Stars with iPhone Using Slow Shutter Cam:
Download and open Slow Shutter Cam on your iPhone.
Switch to Light Trail mode.
Tweak the Settings:
Set Light Sensitivity to Full.
Adjust Shutter Speed to 30 seconds.
Choose 12MP for resolution.
Mount your iPhone on a tripod and frame your photo.
Use a 3-second timer to avoid shaking, then tap the shutter button.
Editing Photos with Luminar Mobile
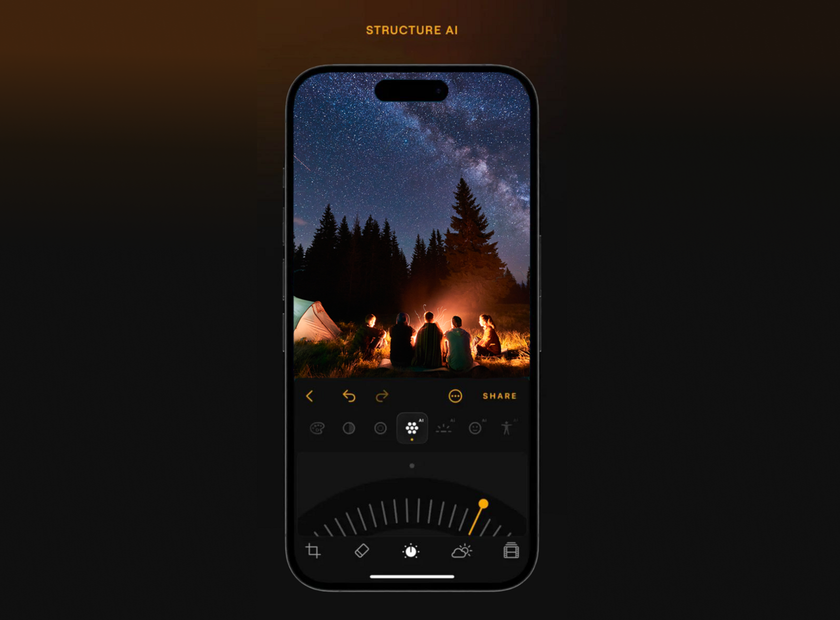
If you prefer to edit your iPhone night sky photos directly on your device, Luminar Mobile is a great tool available for iOS users. This app incorporates the best artificial intelligence technologies that its predecessor, Luminar Neo for desktop, is known for.
Using the advanced tools available in Luminar, you can easily give your night sky photos unique depth by improving the balance of light and shadow, setting the right accents, and adding details. So don't wait—try Luminar's capabilities on your images today.
Conclusion
Now that you know how to take photos of stars with iPhone we can draw some conclusions:
- In addition to your smartphone, you will need a tripod, flashlight, and power bank to take successful photos.
- Check out the proposed programs for astrophotography, they will make your task much easier.
- The moon interferes with shooting the starry sky, so it is worth carefully choosing the right time to take pictures.
- How to photograph the moon with iPhone? Using night mode, of course. Another way is to try a third-party application, such as NightCap.
- When doing post-processing, choose the most convenient and versatile programs. Luminar Neo is a great choice to make your images unique and amazing.
We wish you good luck in shooting the starry sky and wonderful pictures!


