A Beginner's Guide to Editing Landscape Photos
September 22, 2023
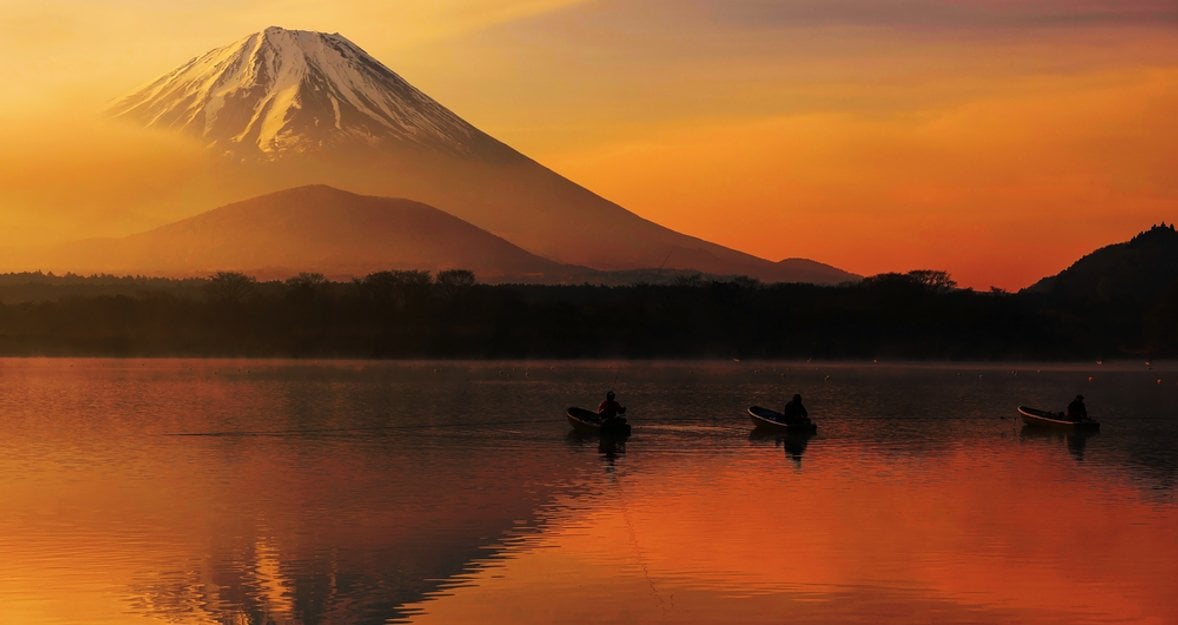
Whether you're a seasoned professional or just starting to learn landscape photography, it is important to look through the basics of landscape photography and expand your knowledge base on how to edit landscape photos.
The following article will teach us how to edit nature photos and observe basic landscape photography techniques. This guide also offers certain tips on landscape photography for beginners. It provides a step-by-step guide on using an extremely helpful and user-friendly landscape photo editor from Luminar NEO based on artificial intelligence. Let's get started!
Landscape Photography: Basic Techniques
Let's examine some techniques a photographer should master to capture landscapes most advantageously.
The Rule Of Thirds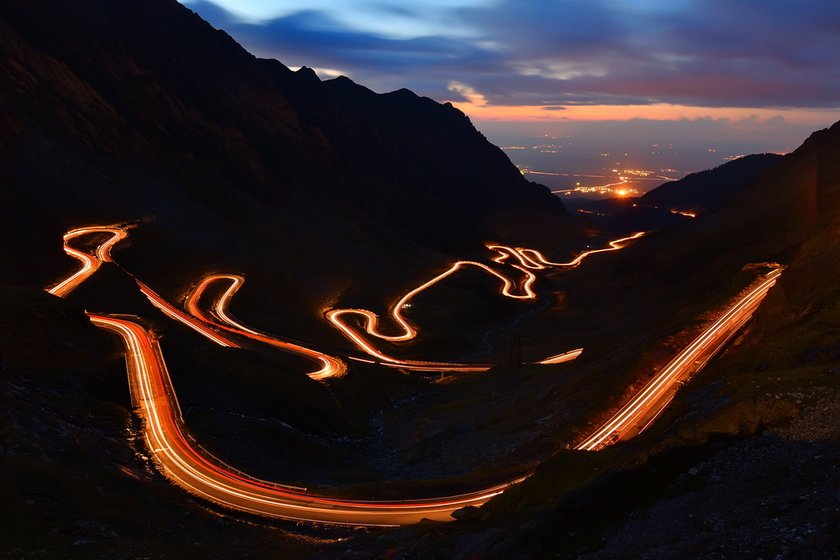
The Rule of Thirds is a fundamental concept of composition. It means dividing your frame into an imaginary 3x3 grid and aims to place the most important elements along these lines or at their intersections. This technique adds balance and interest to your photos, making them visually appealing.
Leading Lines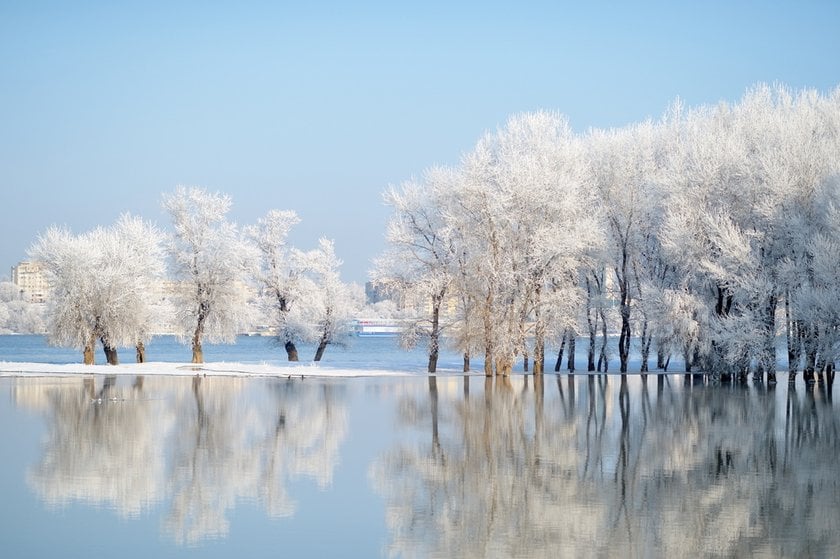
Leading lines are natural or artificial elements that guide the viewer's eye through the photograph. Paths, roads, rivers, or even a row of trees can serve as leading lines to attract the viewers' attention to the focal point of your composition.
Long Exposure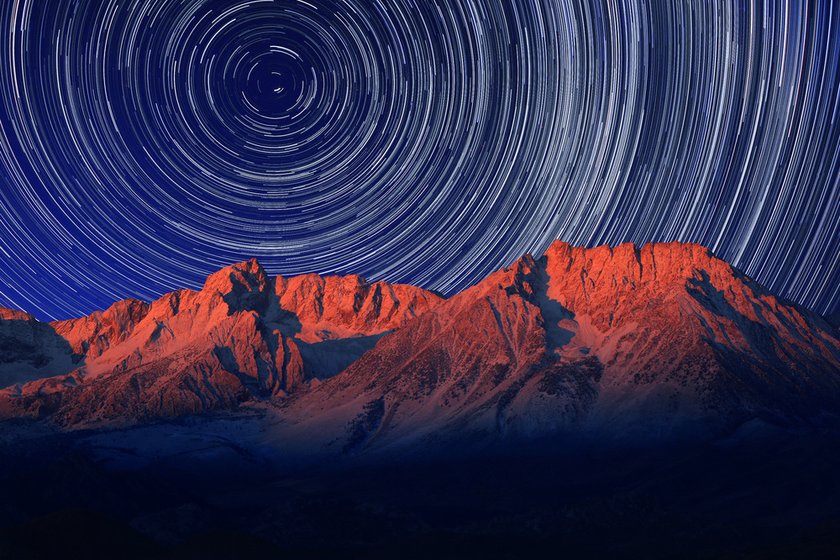
Long exposure photography involves using a slow shutter speed to catch specific movement moments, such as flowing water, clouds, or star trails. It adds a sense of tranquility and ethereality to your images. You'll need a tripod to keep your camera steady during the extended exposure time to achieve this.
Framing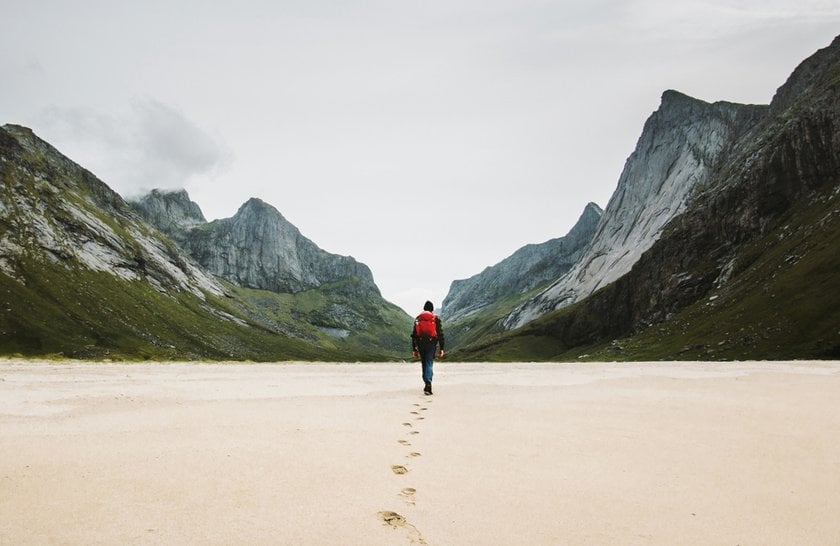
This technique uses natural elements, such as overhanging branches or archways, to create a frame around the subject. This technique makes your composition much deeper and draws the viewer's eye towards the central element. For more information about composition in landscape photography, click here.
Depth Of Field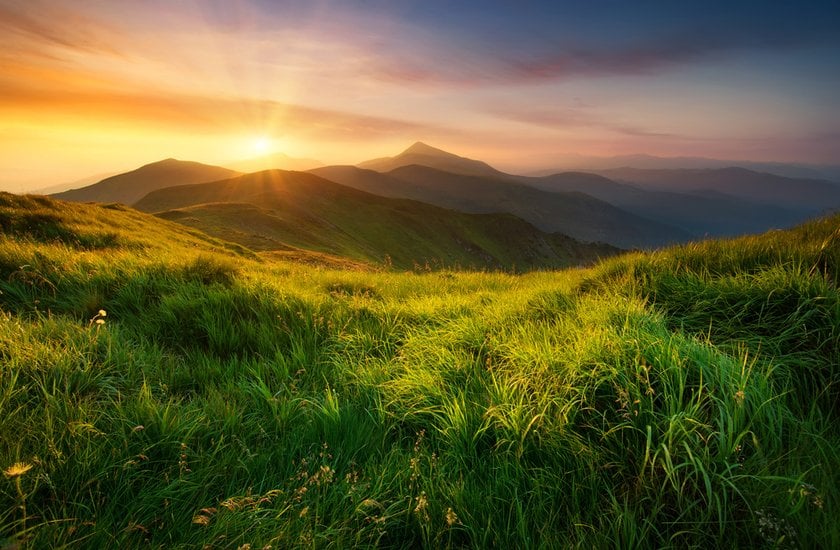
Controlling the depth of field allows you to determine what's in focus in your landscape photo. A shallow depth of field, achieved with a wide aperture (e.g., f/2.8), can isolate a single subject against a soft, blurred background. Conversely, a deep depth of field, achieved with a narrow aperture (e.g., f/16), keeps the entire scene sharp.
Golden Hour Photography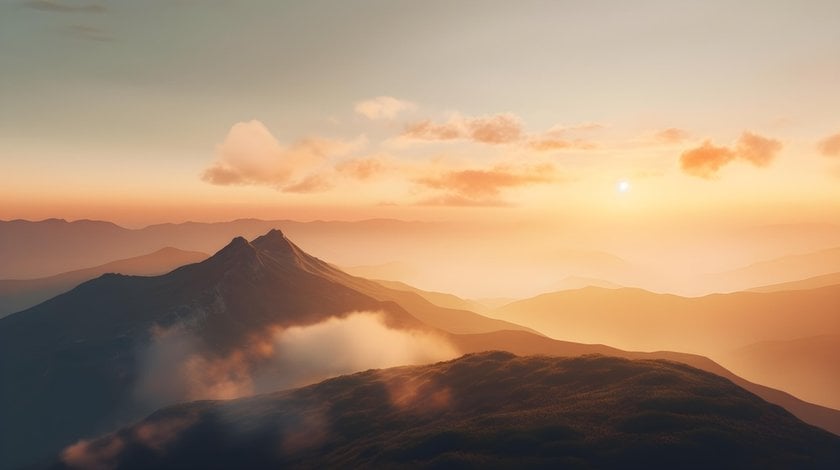
The golden hours, just after sunrise and before sunset, provide soft, warm, and directional light that enhances the beauty of landscapes. During these times, the sunlight casts long shadows and bathes the scenery in a golden glow, adding a magical quality to your photos.
Streamline Your Workflow with All-in-One Auto Photo Editor
Get Started Now!HDR Photography
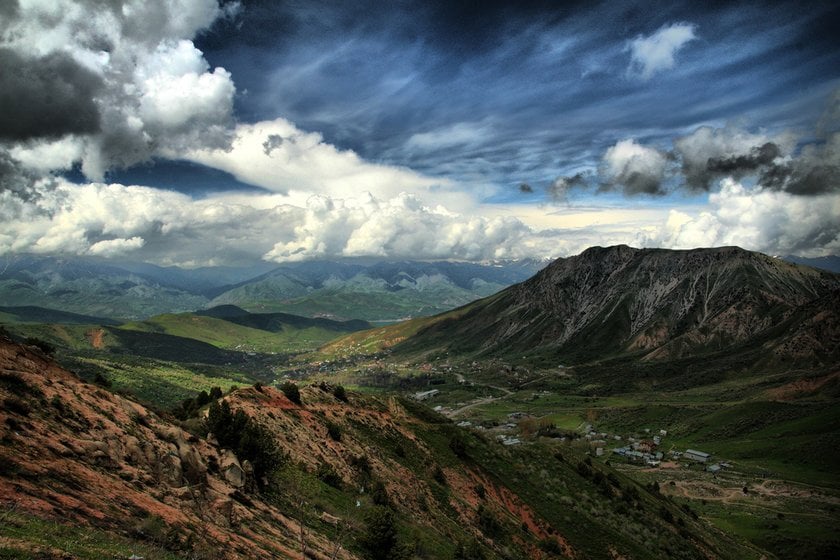
High Dynamic Range (HDR) photography involves capturing multiple exposures of the same scene, from underexposed to overexposed, and blending them in post-processing. This technique helps retain detail in shadows and highlights, producing a balanced, vibrant image.
Focus Stacking
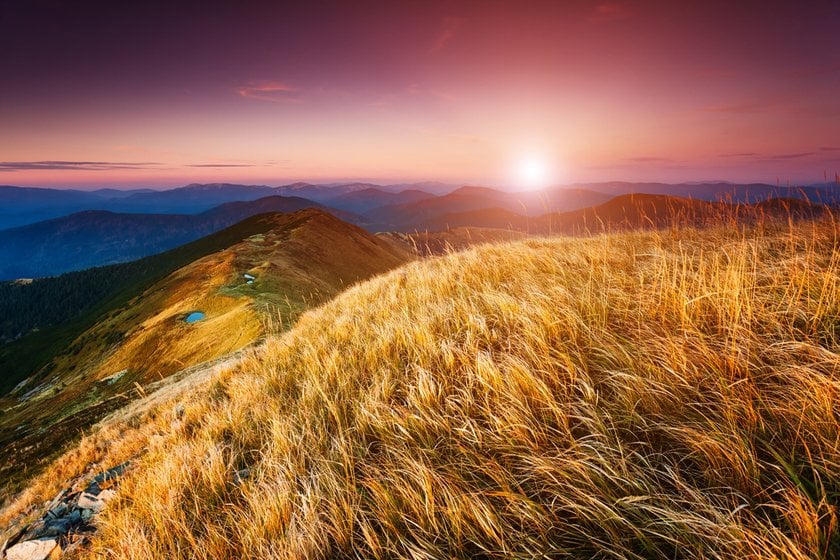
In landscape photography, you may encounter situations where you want foreground and background elements to be in sharp focus. Focus stacking combines multiple images with different focus points into a single, sharp composite image.
Silhouette Photography
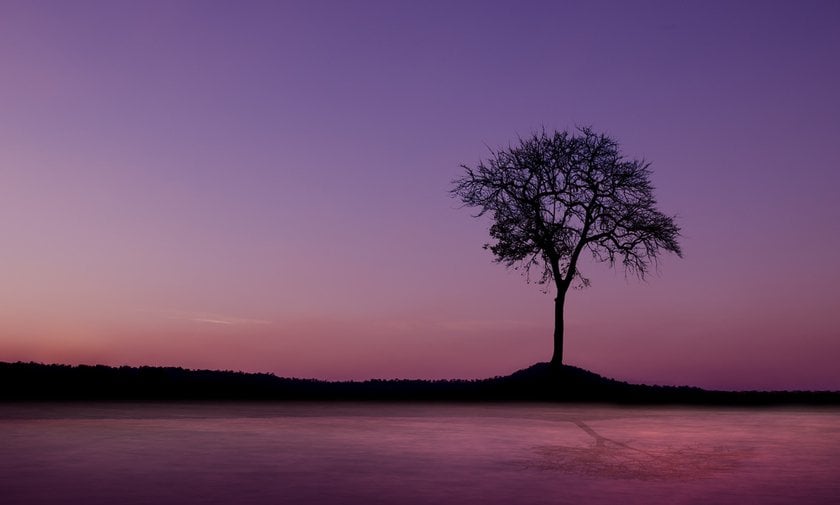
Silhouette photography creates striking, minimalist compositions by placing your subject in front of a bright background, like a colorful sunset or sunrise. The subject appears as a dark, defined shape against the vibrant backdrop.
Weather And Atmosphere
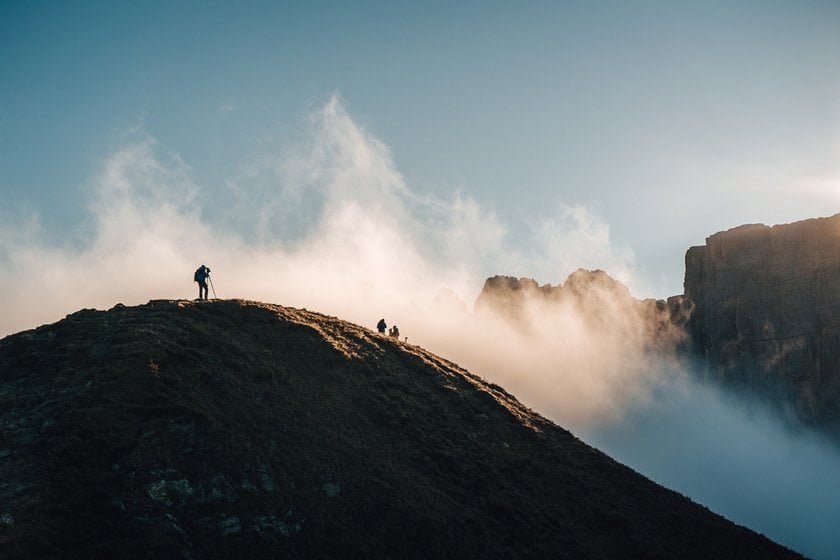
Don't shy away from capturing landscapes during adverse weather conditions. Stormy skies, mist, or fog can add drama and mood to your photos. Experiment with different weather-related effects to create unique and compelling images.
For more insights, read our article: How To Photograph Fog: Essential Equipment, Settings, And Composition
Landscape Photography: Tips For Beginners
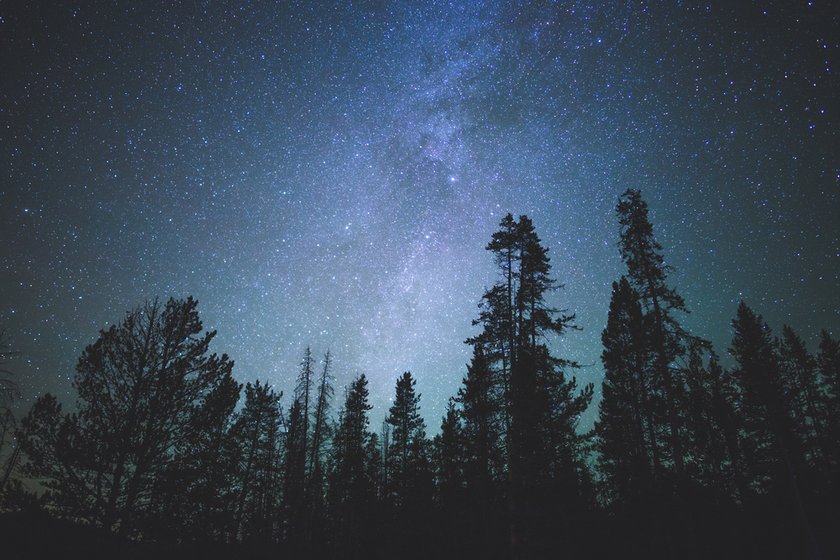 Do you know how to make a photo landscape exciting? Suppose you are new to photography in general and landscape photography in part. In that case, there are certain basic tips to learn before taking your first steps into the exciting world of nature photography.
Photography is a kind of art where your equipment directly defines the final result. It doesn't mean you should buy the most expensive camera immediately. Moreover, if you are a hobbyist, casually taking pictures of nature, your smartphone's camera may be enough. But still, the equipment of high quality leads to photos of high quality. You should know the limitations and capabilities of your tools before you start.
Composition and lighting are the backbones of every genre of photography. Still, when it comes to taking photos of nature, these skills should be mastered perfectly because the natural environment limits the photographer's control over the lighting and composition compared to the studio conditions.
Landscape photography often requires waiting for the perfect moment when the elements align. Be patient and observant; sometimes, the most incredible scenes unfold when you least expect them. Familiarize yourself with your chosen shooting locations. Visit them at different times of the day and during various seasons to understand how lighting and weather conditions can transform the landscape.
Seek inspiration from established landscape photographers. Study their work, attend workshops, and join photography communities to connect with fellow enthusiasts. Learning from others can accelerate your professional development as a landscape photographer.
Pay attention to the stage of editing your pictures. Some people think landscape photography as a genre exists with the only purpose of capturing the raw beauty of the world without any artificial interactions. But if you look at the landscaping pictures before and after editing, you will see that the photo editors keep you from compromising the authentic beauty of nature.
Discover AI's Power in Landscape Photography
Dive In Now!Editing Landscape Photos With Luminar NEO
So, let's move from theory to practice and learn how to edit our landscape photos using Luminar NEO.
1. Import Your Image
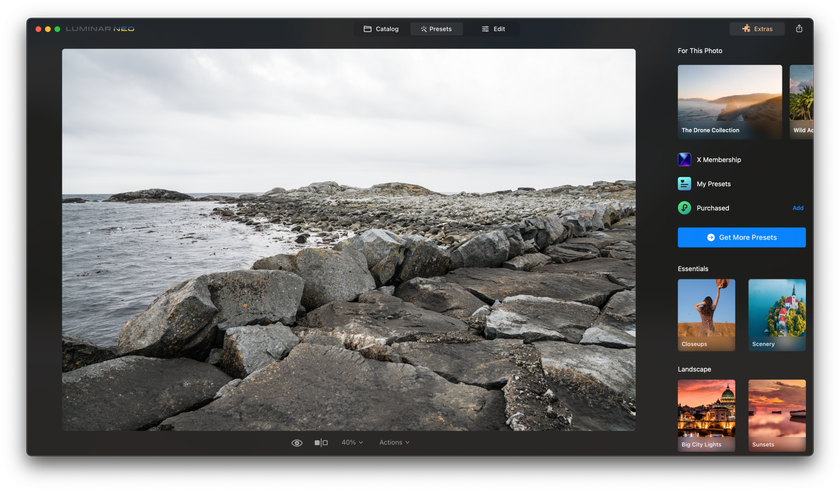
Open Luminar NEO and click "Import" to bring your landscape photo into the software. You can also drag and drop the image into the workspace.
2. Organize Your Workspace
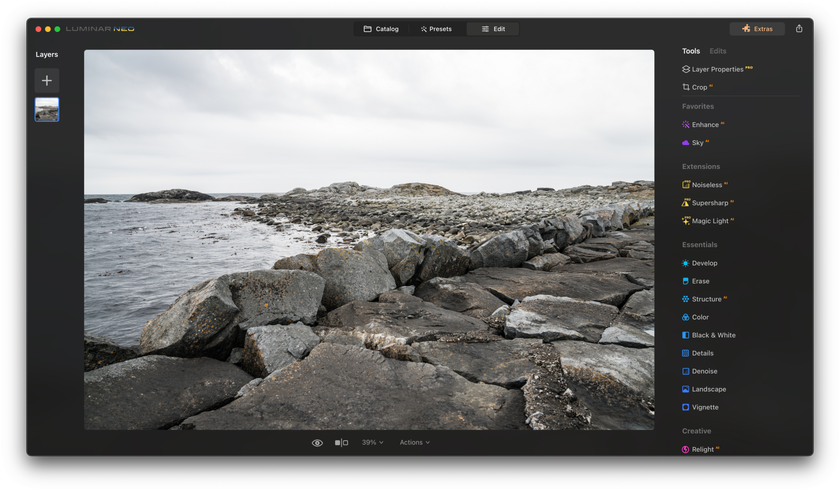
Familiarize yourself with the workspace. Luminar NEO's user-friendly interface offers tools and features organized into tabs and panels. Explore options like "Essentials," "Creative," and "Portrait" to access various editing tools.
3. Enhance Basic Settings
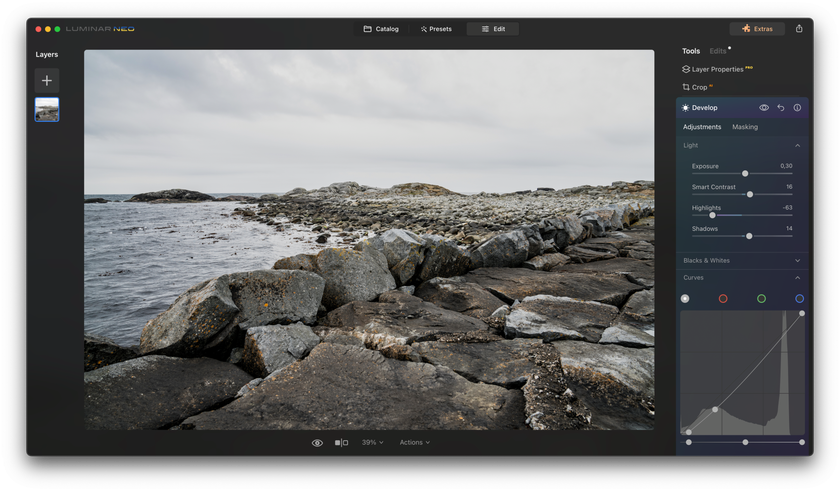
Start with the "Essentials" tab. Adjust basic settings like exposure, contrast, and white balance. These adjustments can help correct your landscape photo's exposure issues or color imbalances.
4. Creative Enhancements
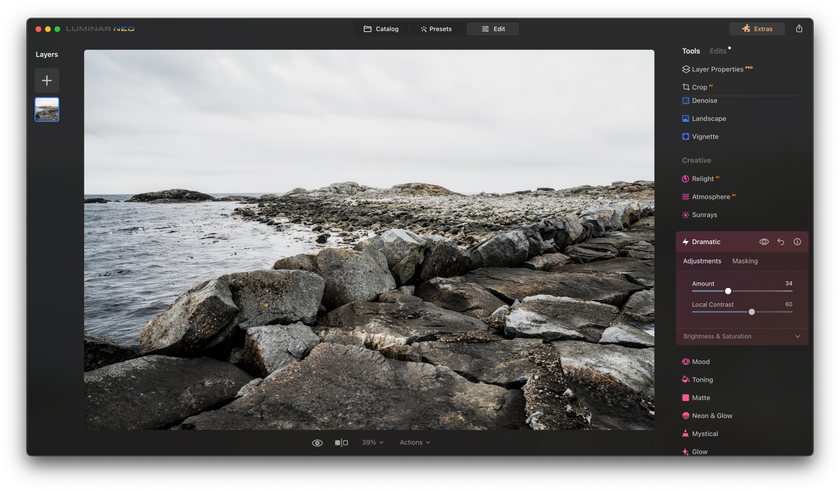
Head to the "Creative" tab to add artistic flair to your image. Experiment with creative filters, such as "Mystical," "Dramatic," or "Aerial," to give your landscape a unique mood and atmosphere.
5. Fine-Tune Colors
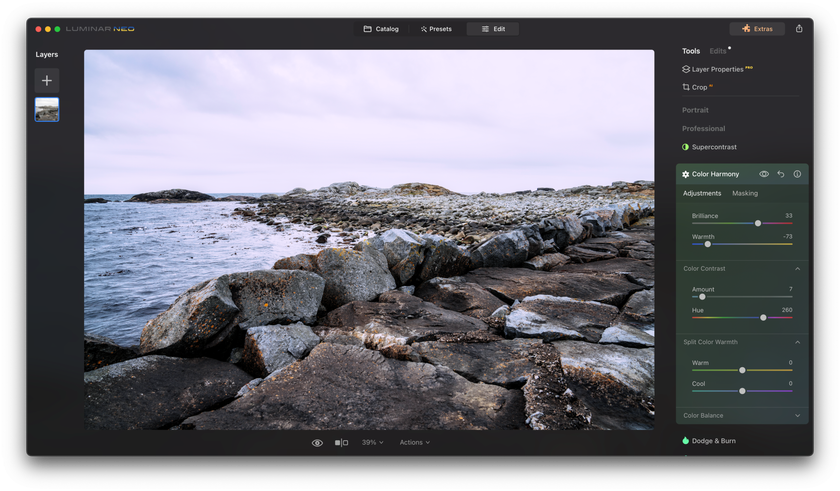
Go to the "Color" panel to fine-tune the colors in your image. Use the "Color Harmony" tool to adjust the color balance and the "Saturation & Vibrance" slider to make colors pop.
6. Sharpen And Enhance Details
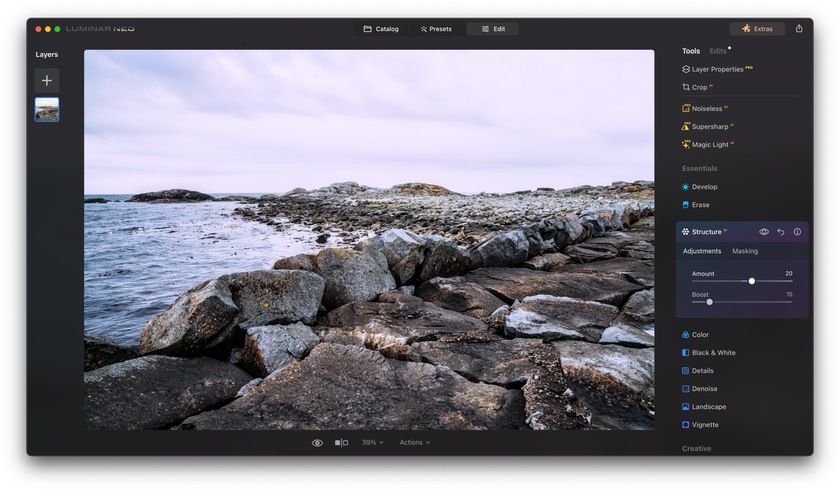
In the "Details" panel, use the "Structure" slider to enhance fine details in your landscape, such as textures in rocks or foliage. Adjust the "Sharpening" settings for overall image sharpness.
7. Transform With AI
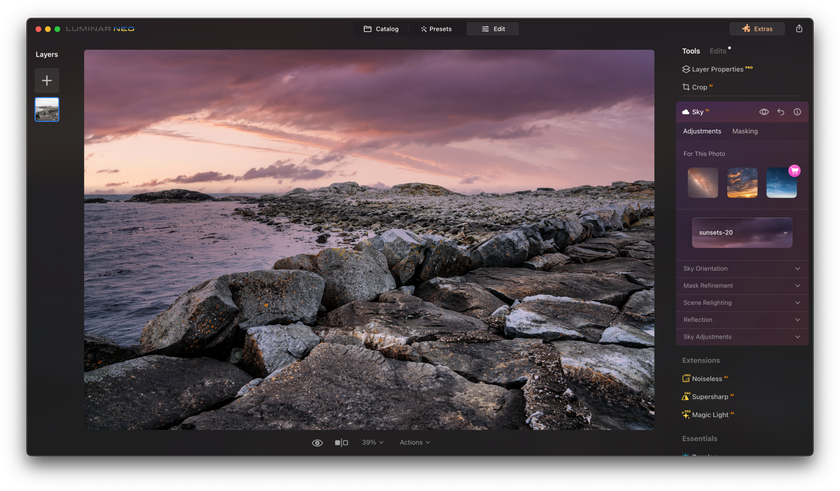
Luminar NEO's AI-powered tools can work wonders. Try the AI Enhance feature to improve your photo's overall quality, making it more vibrant and detailed. Here, you can find all of Luminar’s AI features for Landscape Photography. Changing the sky, adding sun rays or fog, blurring, adding sharpness, smart framing, and much more that will be needed for any photo. You can try each or combine several to make incredible results on your picture.
8. Edit Locally
If specific areas in your landscape need attention, use the "Local Masking" tools. Select the "Brush" or "Gradient" tools to apply editing features only to certain primarily selected parts of your image. For example, you can separately enhance the sky, water, or foreground.
9. Add A Finishing Touch
After you've made all your adjustments, consider adding a finishing touch with filters like "Vignette," "Radial Mask," and many others. Filters attract the viewers' attention to the most important elements of your landscape and create a pleasing visual effect.
10. Export Your Masterpiece
Once you're satisfied with your edits, click on "Export." Choose your desired file format (JPEG, TIFF, etc.), resolution, and file size. Save your edited landscape photo to your preferred location.
11. Compare Before And After
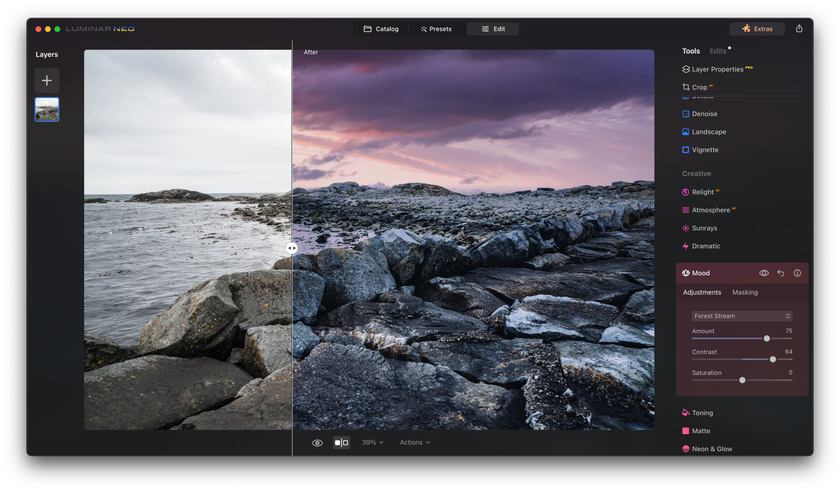
Take a moment and compare the result of editing with the original picture. The changes may be outstanding, highlighting the power of skilled post-processing.
Bottom Line
Whether you're an experienced photographer or just stepping into the captivating world of landscape photography, knowing both the art of capturing nature's wonders and the science of post-processing is important for you.
The most important landscape photography techniques include the rule of thirds, leading lines, magical golden hours, long exposure, HDR, and silhouette photography.
Landscape photo editing is a complicated task. Still, the AI-powered editing software Luminar NEO, with its user-friendly interface and a learning curve understandable even for beginners, will help you edit your landscape pictures to achieve perfection within a few clicks!


