All About Film Photography
February 14, 2023
It's no surprise to anyone these days to take digital pictures because almost everyone has access to cameras and smartphones. Even though we live in an increasingly digital world, there are some things from older times that should be remembered. That's film photography.
I can’t say that many photographers are abandoning digital photography. On the contrary, digital cameras are getting better every day, and the quality of the pictures they take is increasing. However, in the last decade, there has been an interesting trend, namely, go analog. In today’s article, I will talk about film and photography, their advantages and disadvantages. I hope these basics will be helpful for those who want to try different types of photography.
As you begin your journey into film photography, allow yourself to feel inspired by the creative possibilities ahead.
What is Film Photography?
I would like to begin my guide to film photography precisely by explaining what it is. Before the advent of digital cameras, the film was used. It was thin and transparent strips of plastic. One side of such a strip was coated with silver halide, and a gelatin emulsion was applied over it for protection. The size of the silver pieces used on the film will determine the noise at high ISO values.
When we started shooting on a film camera, the prints in silver were pictures that could then be printed out. Here are a few details about how a photo film camera works:
When you take a picture, the camera lens briefly exposes a strip of film to the image, causing it to be enlarged through the lens;
Exposure then burns the print into emulsion through a chemical reaction, and then what we call the latent image appears;
This image can then be turned into a negative, which is then projected onto light-sensitive photographic paper.
Shooting your first roll of film is an exciting milestone for any beginner, offering a unique learning experience as you see your initial results and understand the process from start to finish.
Unfortunately, not many photographers use film yet. The main reason is that the film camera process takes a long time. In addition, you are limited in the number of shots you can take. However, those who have swapped digital images for the film have their own arguments. Among the reasons to go analog, they mention huge creative possibilities. Because of the limited number of frames, you have to think through the composition down to the last detail. Also, a film photoshoot is a great way to get to know your camera better. There are many types of film and cameras. Each device has its own settings, so you’ll have to take the time to understand them. For beginners, starting with one camera and one film stock can help you develop a deeper understanding of your equipment and achieve more consistent results. However, it’s worth it, trust me!
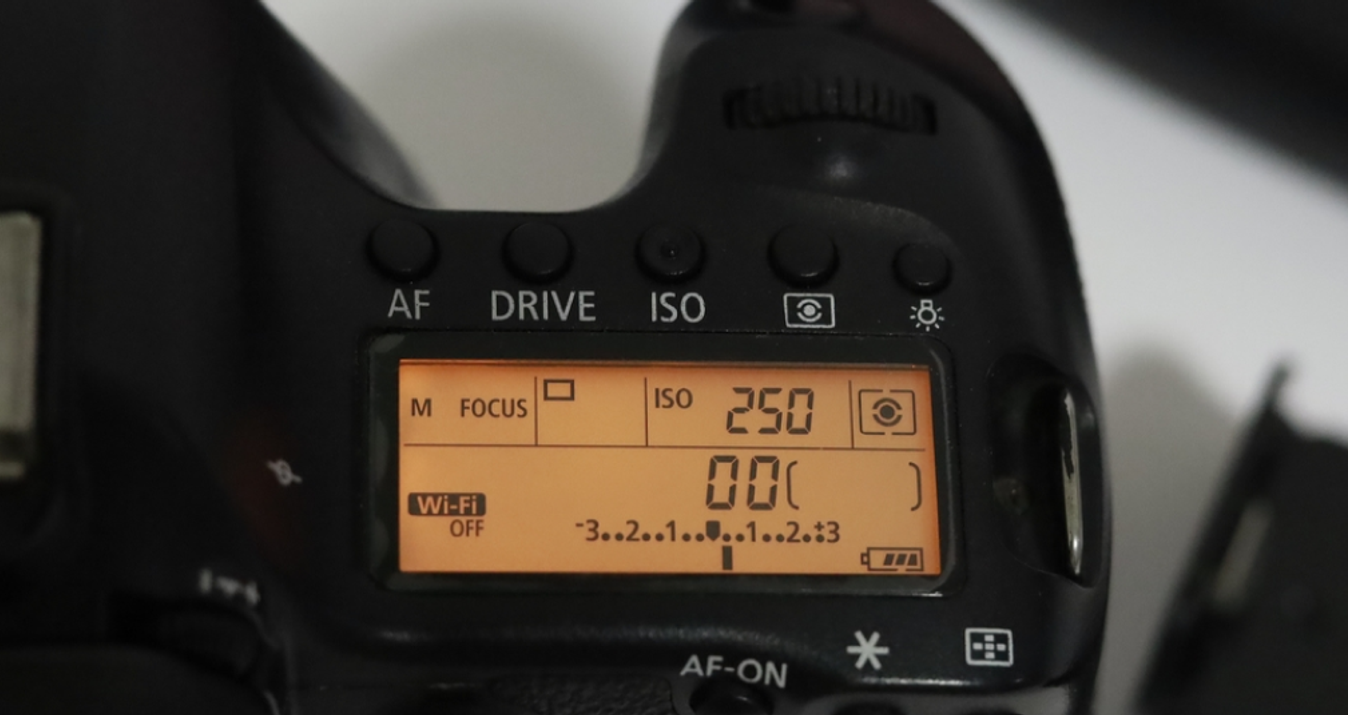
So we learned what’s a film camera and how it works. Now let’s find out what settings you should set to make a photographic masterpiece. For those just starting out, it’s recommended to shoot your film at its box speed—the ISO rating indicated on the film—so you can achieve reliable and predictable results as you learn.
Choosing the Right Film Camera
Choosing the right film camera is an exciting first step in your film photography journey. With so many cameras out there, it’s important to think about what kind of photography excites you most. If you’re drawn to street photography or want something simple for daily life, point and shoot cameras are a fantastic choice—they’re compact, easy to use, and let you focus on capturing the moment. For those who want more creative control, rangefinder cameras and single lens reflex (SLR) cameras offer manual settings for shutter speed and aperture, giving you the flexibility to experiment and refine your technique.
If you’re after the highest image quality and don’t mind a bit of extra weight, medium format cameras are loved by many film photographers for their stunning detail and rich tones. However, they can be more expensive and a bit trickier to handle, so they’re often a step up once you’ve mastered the basics. Most beginners start with a 35mm film camera, which strikes a great balance between affordability, versatility, and image quality. No matter which camera you choose, make sure it fits your style, feels comfortable in your hands, and matches your budget. Take your time to read reviews, ask other photographers for advice, and don’t be afraid to try out a few different cameras before settling on the one that inspires you to shoot.
When Is It Worth Taking Pictures On Film?
The film is still popular even though we are more accustomed to pictures made digitally. Let’s find out when it’s most appropriate to use it.
Different types of film, such as color negative film, slide film, and infrared film, offer unique qualities for various shooting scenarios.
Taking pictures Outdoors
If you want to shoot in the darkroom, you can’t find a better solution. In this case, film cameras come in handy. You shouldn’t use color film because it can’t capture as much detail as black and white film can.
Working with black and white film, sometimes referred to as white film, helps develop artistic vision by focusing on contrast, shapes, and textures.
Taking Black and White pictures
If you want to shoot in the darkroom, you can't find a better solution. In this case, film cameras come in handy. You shouldn't use color film because it can't capture as much detail as black and white can.
If You Want To Try Something New Or Have An Interesting Experience
Shooting film photography is difficult but very interesting and original. If you are still using only a digital camera, you have limited space for experimentation. There are many options for what you can do with a film roll. For example, you have an amazing opportunity to play with shadows in a dark room or change the color temperature settings. In addition, all the settings will be fully manual, which means you can get to know your camera better.
Try experimenting with different angles and different perspectives to discover new creative possibilities in your photography. You might also consider using a twin lens reflex camera to experience a unique shooting method and viewpoint.
Main Film Camera Settings
Of course, you can work out the camera settings by trial and error. But why do that when you can read the article I prepared for you? So let’s talk about the most important camera settings.
Shutter speed. When it comes to how to take film photos, this is one of the most important parameters. Values can range from 1/4000 to more than 1 second. Beginners should remember that a fast shutter speed is great for taking pictures of a moving object: a person riding a bike, a cat jumping, etc. Slow shutter speeds, on the other hand, are best for night photography. The reason is that it lets much more light in.
Aperture. F-stops are used to measure it. In order to make digital and film camera pictures, you need to remember one important thing. The larger the f-stop, the smaller the aperture, and vice versa. If you use a small f-stop, there will be a larger portion of the image in the frame. If you choose a large one, it will be exactly the opposite.
Lens choice. Understanding focal length is crucial, as different focal lengths affect your composition and perspective. Wide-angle lenses offer a broader view and emphasize depth, while telephoto lenses compress distance and isolate subjects, so knowing how focal length impacts your images helps you make better creative decisions.
Focus. It can be manual or automatic. If you want to use film and are just starting out on your photography journey, I advise you to choose the second option. This will help you get results easily and save you time. Practicing manual focusing techniques, such as adjusting focus precisely or using hyperfocal distance focusing, is important for achieving sharp images, especially in film photography.
Mastering these settings is essential for nailing exposure in film photography, ensuring your images are properly exposed and retain all the important details.
Mastering the Exposure Triangle
Understanding the exposure triangle is key to creating beautiful images in film photography. The exposure triangle is made up of three elements: aperture, shutter speed, and ISO. Each one affects how your image looks, and learning to balance them will help you achieve the right exposure every time. Aperture controls how much light enters your camera and affects the depth of field—using a wider aperture (a lower f-stop number) lets in more light and creates a dreamy, blurred background, while a smaller aperture keeps more of your scene in focus. Shutter speed determines how long your film is exposed to light; a slower shutter speed can create artistic motion blur, while a faster one freezes action and reduces camera shake.
ISO refers to your film’s sensitivity to light. Unlike digital photography, where you can change ISO from shot to shot, with film you choose your ISO by selecting a specific film stock. This means you need to plan ahead and think about the lighting conditions you’ll be shooting in. Using a light meter—either built into your camera or as a separate tool—can help you nail exposure and avoid images that are too dark or slightly overexposed. The best way to develop a deeper understanding of the exposure triangle is to practice: try different combinations of aperture, shutter speed, and ISO, and see how they affect your images. Over time, you’ll gain the confidence to get the right exposure in any situation.
Top 10 Tips And Film Photography Ideas
So, I’ve already told you what film photography is and what the pros of it are. If you are interested in that, then the next part of this article will be very useful to you. I will tell you the best film photography tips that you can immediately put into practice. So, let’s go! Don’t hesitate to start shooting and apply these tips as you learn.
1. Choose A Suitable Film
You’d be surprised at how various films can be. My first advice is to try as many types as possible to see which one suits you best. According to professionals, the best choices are Kodak, Ilford HP5, Fomapan 400, and Lomography Color films. Color negative film is a versatile and widely used option, especially for beginners looking to capture color images with film. Try them, but once you've explored several options, focusing on one film stock can help you understand its unique qualities and improve your results. Of course, there’s nothing stopping you from finding something else for yourself.
2. Decide What Your Prime Lens Will Be
Some people think that you can only make good photography film camera pictures with a 35mm lens. It’s true that you can get an easy start, but that doesn’t mean you have to give up on the 50mm. Practice with one lens first and then buy another. Understanding focal length is important because different focal lengths affect your composition, perspective, and the overall feel of your images—wide angles capture more of the scene, while telephoto lenses compress distance and isolate subjects. Either way, it’s worth a try. If you’re wondering which camera to buy, I’d recommend the Canon AE-1, Nikon F2, Leica M6 TTL, and Olympus OM-1.
3. Don't Be Afraid Of Mistakes
Of course, few people like to redo shots multiple times because of mistakes. However, I advise you to remember one simple truth: he who does nothing makes no mistakes. If you make a bad shot, there is nothing wrong with it. Just analyze what you did wrong and don't do it again in the future. Sometimes mistakes can make your film photos amazing. For example, breaking the rules can result in double exposures, but in black and white pictures, it can look original.
4. Use A Light Meter
Manufacturers most often equip modern SLR cameras with built-in meters, so this will not be a problem. However, if you want to use a vintage Polaroid, you will probably need a separate meter. It can be downloaded to your smartphone from the Apple store or Play market.
5. Read Your Camera Manual Carefully
It sounds trivial, but not all photographers who choose to use counterparts are familiar with their cameras. To avoid this, you need to study your camera's manual carefully. Photography and film do not forgive carelessness, so take this tip very seriously. Also, manufacturers may hide a lot of settings in their cameras that you can't figure out without a manual, which means that your field of experimentation will be limited.
6. Learn To Take Monochrome Photos And Avoid The Flash
I'm not going to argue that shooting color film, getting color negatives, and then doing photo editing is much easier than learning to work with black and white. However, if you want to make unique film pictures and develop your skills, that's where you should start. The most important thing is to pay attention to such moments:
- contrast;
- shapes;
- textures;
- frame composition.
If you learn how to shoot monochrome pictures, you will quickly develop your creative sense.
You should avoid flash for one reason only: you can't tell exactly what effect it will have on an image.
7. Plan Your Shoot In Advance
As I said before, to make great pictures of film cameras you will have a limited number of attempts. That’s why it’s a good idea to prepare for the shoot in advance. Plan how you will use your rolls of film to ensure you make the most of each one, considering the number of exposures per roll and your budget. Shooting an entire roll in one session can help maintain consistency in your images. Using a whole roll for a specific technique or project can also improve your skills and results. Make sure you know what camera settings you want, and make sure you don’t take an expired film.
8. Give Yourself A Daily Challenge
This will be interesting for those just learning the basics of film photography as well as professionals. Make up your assignments for each day and do them. For example, on Monday you can shoot only pedestrians, on Tuesday only animals, on Wednesday only the sea, ocean, or lake, etc. You can also challenge yourself by shooting one roll of film for a specific subject or time period, which helps track your progress and creativity. This will be a great source of inspiration for different looks.
9. Use Geometry
If your composition is balanced, the photo will catch the audience’s interest. That’s why it gets so much attention. Here are a few rules you can use to create your photo masterpieces:
Golden ratio. If your subject is placed in the center of a 3:3 grid, the composition will look great. Using the golden ratio and grid lines helps achieve balanced compositions by ensuring the main subject is positioned for optimal aesthetic appeal.
Natural frames. Have you ever noticed that there are many natural frames all around us that are created because of the objects around us? An example of this would be a photo of a forest taken from a window or a shot of a woman through a keyhole.
Leading lines. These, too, can be obtained from surrounding objects, for example, it could be a sunbeam that divides the picture into two parts. When placing your subject, use leading lines and composition rules to guide the viewer’s eye directly to the main subject for maximum visual impact.
10. Make Notes About Your Shots
When you're just starting out in film photography, take notes of everything. Write down what time of day you shoot, in what weather, and what basic camera settings (ISO, aperture, and shutter speed) you set. This will help you analyze the data in the future and correct mistakes if any.
Digital Photography Comparison
While digital photography has made it easier than ever to capture and share images, film photography offers a creative process that’s truly unique. Shooting with a film camera encourages you to slow down and think carefully about each shot, from composing your image to choosing the right film stock. Unlike digital cameras, which allow for endless experimentation and instant feedback, film cameras challenge you to trust your instincts and develop your artistic vision. Many film photographers love the distinctive look of film—whether it’s the organic grain, subtle color casts, or the way light is rendered on different film stocks.
Film photography also brings a tactile, hands-on experience that digital photography can’t quite replicate. Loading a roll of film, advancing the frame, and hearing the satisfying click of the shutter all add to the magic of creating images on film. While digital cameras are perfect for convenience and high-volume shooting, film photography is about embracing the process and finding beauty in imperfection. Whether you’re shooting digital or film, the most important thing is to create images that tell your story and reflect your unique perspective.
Editing Film Camera Pics With Luminar Neo
After you develop the film, the image can be edited. What I mean is that you can make digital copies of the photo and change it the way you want. I recommend using Luminar Neo for this. This photo editor is really capable of a lot of things. You can use it to change the white balance, exposure, contrast, clarity, saturation, and sharpness. However, that's not all! Luminar Neo is equipped with AI tools, so editing will be easy and fast.
Community and Resources
One of the best parts of film photography is the vibrant and welcoming community that surrounds it. Whether you’re just starting out or have been shooting film for years, there are countless resources to help you grow as a photographer. Online forums and social media groups are great places to connect with other film photographers, share your work, and ask questions about cameras, film stock, or techniques. Many cities also host film photography workshops and meetups, where you can get hands-on experience and learn from others in person.
If you prefer to learn at your own pace, there are plenty of blogs, YouTube channels, and podcasts dedicated to film photography. These resources cover everything from camera reviews and film stock comparisons to tips for developing your own film at home. Photography books and online courses can also provide inspiration and practical advice. By tapping into the film photography community and exploring these resources, you’ll find endless opportunities to improve your skills, discover new film stocks, and connect with people who share your passion for film.
Staying Inspired
Keeping your creativity alive is essential in film photography, especially when you hit a creative slump. One of the best ways to stay inspired is to experiment—try shooting with a new roll of film, explore different film stocks, or pick up a camera you’ve never used before. Changing up your routine can help you see the world with fresh eyes and spark new ideas. Looking at the work of other film photographers, whether online or in print, can also motivate you to try new techniques or tackle different subjects.
Don’t forget to find inspiration in your daily life. Sometimes the most interesting images come from ordinary moments, whether you’re capturing still life at home, candid street photography, or the beauty of your surroundings. Carry your camera with you and be open to unexpected opportunities. Remember, film photography is about enjoying the process and exploring your artistic vision. Every roll is a chance to learn, grow, and create images that reflect your unique view of the world. So keep shooting, stay curious, and let your passion for film photography guide you.
Final Thoughts
So now you know a lot, if not everything, about film photography. Now it's up to you. Pick up your camera, get inspired, and experiment. I'm sure you can do it. I wish you great shots!