Cool Photo Effects
Last Updated on October 10, 2025

Discover cool photo effects that make your pictures stand out. Learn how to add depth, emotion, and unique style to wedding, family, and portrait photos — beyond basic Instagram filters.
Wedding photos, family photo shoots, personal portraits — what could be better? In fact, apart from “ordinary” photos, there are many ways to make them more vivid. And for this, photographers use photo effects.
Instagram picture filters won't work here — they're too “exaggerated” and make photos look too artificial. Besides, not all of them can be used as tools in your work. Today, we will explore many of the image effects that can make your photos more expressive, lend them a distinct style, or even add a psychedelic touch.
Popular Types of Cool Photo Effects
Some looks do what a lens alone can’t: they set the mood before a viewer reads the scene. From concert posters to social feeds, cool photo effects act like visual shorthand, while broader image effects shift era, genre, or attitude — retro grit, dreamlike calm, or high-energy pop.
1. Glitch Effects for a Retro Vibe
 What does this effect look like? Think of analog TV glitches and early console screens. Pixel displacement and varied colors are key to glitch photography. You’ll spot this look across album covers, gaming promos, festival teasers, and fashion spreads chasing a digital edge. Palettes skew neon with crisp contrast, typography goes bold and geometric, and faces stay legible while the world around them “corrupts.” As part of modern photo filters and effects, this image effect sells mood at a glance, landing between rebellious pop culture and cyber-punk grit.
2. Double Exposure for Artistic Photos
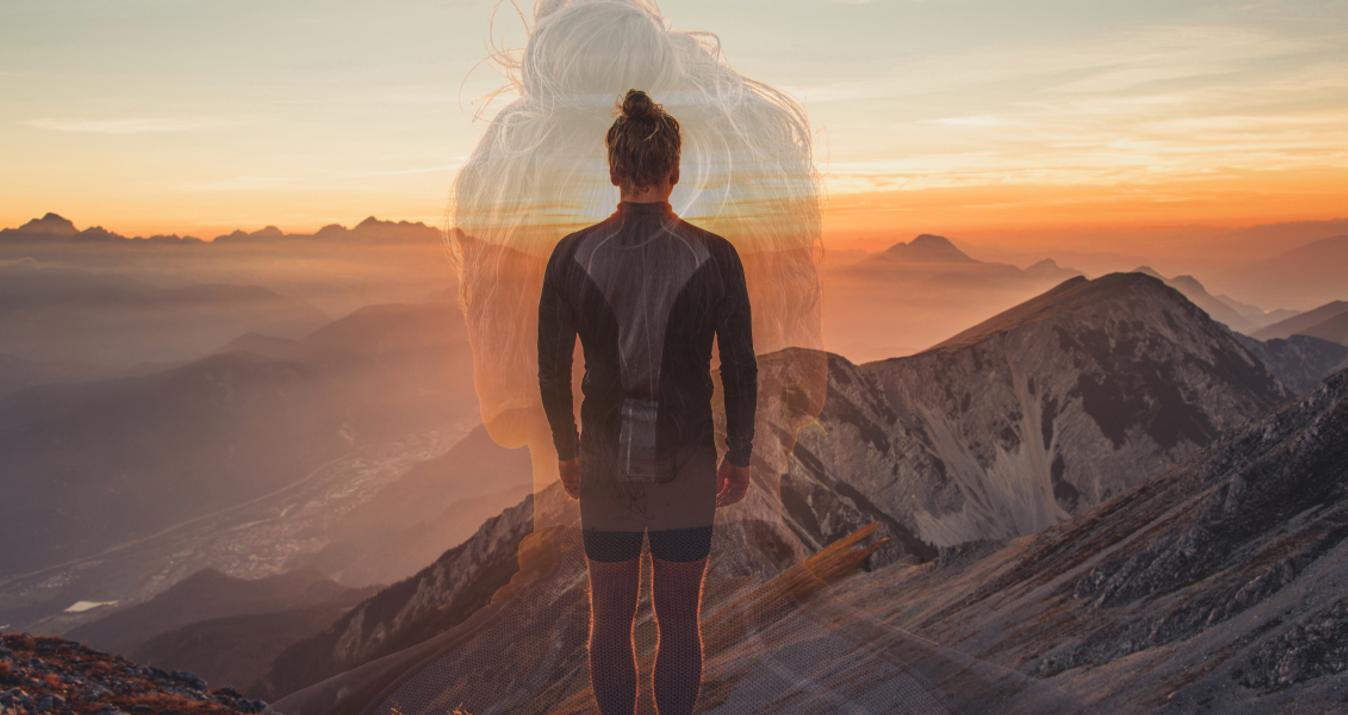
 Two stories in one frame — a portrait interwoven with forest, skyline, or surf — turns the subject’s outline into a canvas for memory and metaphor. Common in fine-art series, wedding sets, and brand campaigns, this picture effect reads as introspective and cinematic. Light tends to stay soft, transitions are gentle, and the final effects photo feels timeless rather than trendy, inviting viewers to linger on meaning instead of mechanics.
3. Bokeh and Light Leaks for a Dreamy Look
 Blurred light spots turn into soft balls, and streaks of scattered color wash over the frame, giving portraits and street scenes a hazy, romantic charm. You'll see this effect in wedding photos, night cityscapes, and lifestyle shots where the background becomes a mood rather than a detail — a natural pairing for cool filters with a warm, airy tone.
In short, bokeh is the blurring of the background behind the main subject of the photo, either at the top or bottom of the image. This means that if a person is standing on the ground, they will not appear to be levitating above the background.
A subtle photo glow effect is something completely different. It resembles sunbeams reflecting off the camera lens. It evokes memories and distance without hiding the subject. When it first appeared, it was considered a defect, but later it began to be added specifically to emphasize reality, the atmosphere of sunshine, and to convey warmth.
4. Vintage Film Effects for a Nostalgic Feel
 Muted colors, elevated black tones, soft graininess, and a slight halo recreate the chemistry of old emulsions, transporting contemporary shots into a timeless narrative. The vintage style and picture effects for photos are achieved with warm, brown colors, sometimes transitioning into marshy shades, and reduced contrast.
It's the opposite of the “cinematic effect” (meaning modern movies). It's the language of travel journals, traditional brands, and intimate editorials that trade glamour for character, often pairing soft contrast with tactile textures. Somewhere in the mid-tones lies a sepia photo effect. The charm of the picture effect lies in its restraint: allow imperfections to breathe so that the scene appears slightly aged and authentic.
5. Watercolor and Painting Effects for Unique Creations
 These photos' effects look like hand-painted media by simplifying edges and smoothing fine detail. Expect lower micro-contrast, gentle color bleeding between neighboring tones, and visible paper or canvas texture added as an overlay. Brush-style strokes replace pore-level detail, gradients become softer, and outlines read as tapered rather than razor-sharp. It’s a stylized image effect often applied to portraits or cityscapes when you want shape priority over texture, and it sits comfortably among curated photo filters and effects.
6. Cinematic Color Grading for a Professional Finish
 Here, the image is shaped through palette and contrast: cooler shadows against warm skin, restrained saturation, and a soft roll-off in highlights. Blacks are slightly lifted, midtones get a controlled S-curve, and selective vignetting or halation guides attention without crushing detail. White balance stays consistent across a set to maintain continuity, with secondary hues (greens, purples) pushed toward a cohesive scheme. Used on portraits, travel, or product work, this is a precise approach to filter effects that let you add effects to image while keeping realism intact.
7. Motion Blur Effects for Dynamic Images
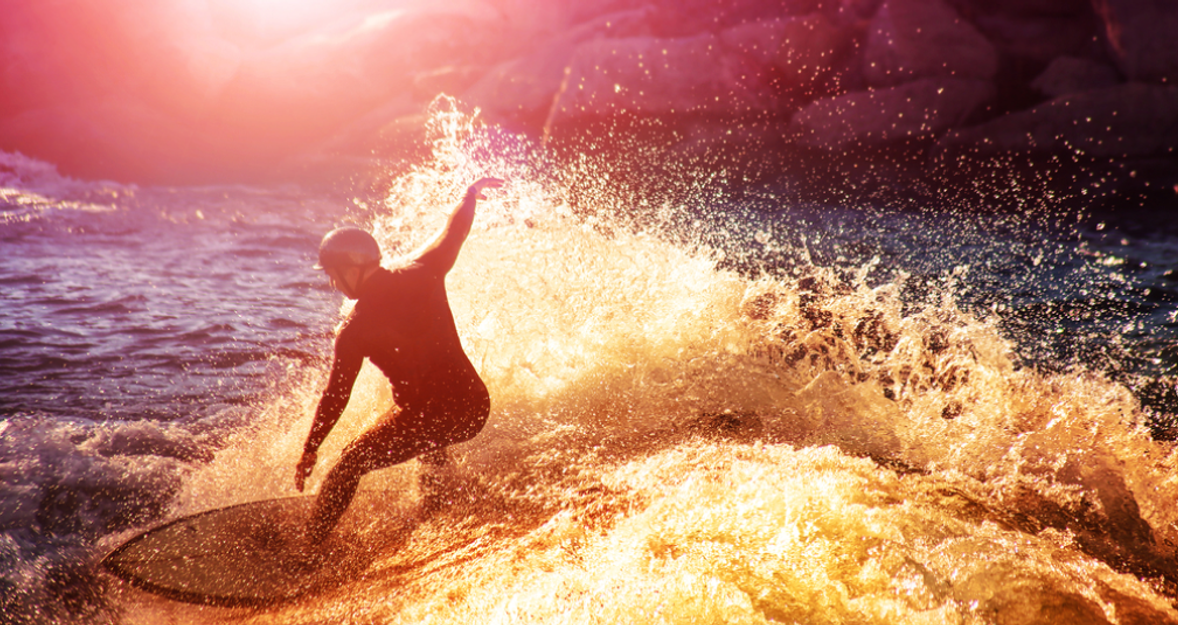
 This is motion recorded as streaks or blurred trails — either the subject is moving during exposure, or the camera is panning with it. In practice, you will see guide marks from runners, traffic light ribbons, or a gentle flow of water; when panning, the object remains relatively clear, and the background stretches.
Motion blur can be a substitute for a photo eraser if you cannot remove a specific object from the background, for example. Options include radial (zoom) blur and rotational blur, both used to center attention or create the impression of speed, resulting in a clean, readable image effect when movement is part of the story.
8. Grunge and Acid Effects for an Edgy Style
 Grunge adds roughness: visible graininess, scratches, paper or concrete overlays, cropped light areas, and reduced saturation to create a worn surface effect. Acid moves in the opposite direction — high saturation, neon hues, cross-processing of green and purple colors, with sharp contrast and halos around the edges. Both styles are used in streetwear advertising campaigns, live music art, and skateboarding visual effects, where rough texture or synthetic colors are key. Applied consistently across a set, each effect photo signals attitude first and detail second, trading polish for deliberate abrasion.
Regardless of the effect, focus on the meaning of the photo. What should it contain? What mood should it convey? Have you achieved this? Test yourself with these questions, because photography is more of a science than an art.
Infuse Your Photos with Dynamic Energy Using the Motion Blur
Learn moreStep-by-Step Guide: How to Add Effects to Photos in Luminar Neo
We make a simple instruction on how to add effects to photos — from opening your file to finishing touches — so any photographer can build repeatable photo editing effects in minutes.
Step 1: Open Software
Launch Luminar Neo and import your image (RAW, JPEG, TIFF are supported). On first load, you’ll see the Catalog (non-destructive) and the Edit workspace — a familiar layout for a pc photo editor that supports layers, masking, and exports.
Step 2: Apply Filters and Effects
Start with Presets for one-click looks, then refine; Neo even suggests options based on the photo. If you want more styles, browse the official Marketplace packs — handy when you need cool filters for photos across a series.
Step 3: Adjust Colors, Shadows, and Highlights
Use Accent (global smart adjustment) plus Relight AI for underexposed scenes; shape contrast with Supercontrast (independent control over highlights, midtones, shadows). These core tools establish a clean tone and color before any creative steps.
Step 4: Add Special Effects for a Cool Finish
Creative tools like Atmosphere AI (fog/mist), Magic Light (glow on light sources), and Portrait Bokeh AI (depth blur) deliver a polished Luminar effect without manual masking;
Sky AI can also replace a dull sky when the concept needs it. Generative options — GenErase, GenSwap, GenExpand — handle removals, swaps, and extended canvas.
Step 5: Fine-Tune Your Edits for the Best Result
Finish with Dodge & Burn, Layers (stacked adjustments), and local masks for precision; if you pushed ISO or caught a slight motion, Noiseless AI and Supersharp AI clean it up. Export to your preferred format once everything reads clearly. If you like the looks you’ve built, save them as reusable styles instead of redoing steps.
Luminar Neo works straightforwardly: select a preset, set a clean tone, then add creative modules and finish with targeted local adjustments — all without losing quality. For refinement, use GenErase/GenSwap/GenExpand to remove or replace elements, and Relight AI, Supercontrast, and Magic Light to quickly draw attention. The result is crisp photo editing effects that can be replicated in virtually any photo shoot or retouch.
Enhance Your Images with an Aesthetically Pleasing Film Grain Effect
Try It OutInspiration: Cool Filters for Photos You Should Try
Psychedelic or cartoonish? Or maybe retro? It's hard to choose, we agree. So here is a detailed description of the main types of filters that are sure to captivate your eyes.
1. Psychedelic Glitch Filters
 Expect split RGB channels, warped geometry, scan-line textures, and posterized neon palettes that mimic signal errors and VHS bleed. The result suits music artwork, gaming promos, and nightlife portraits where the “digital” look is the point — high contrast, sharp edges, and deliberate artifacts. Used sparingly, it’s among the coolest effects for pictures when you want impact before context.
2. Retro Film Grain Filters
 Think soft contrast, lifted blacks, restrained saturation, and fine grain that reads more tactile than noisy. Subtle halation around highlights and a muted palette push images toward print-era authenticity. This sits comfortably within modern photo filters and effects, giving travel sets, portraits, and product shots a cohesive, archival tone without heavy manipulation.
3. Duotone Filters for a Bold Look
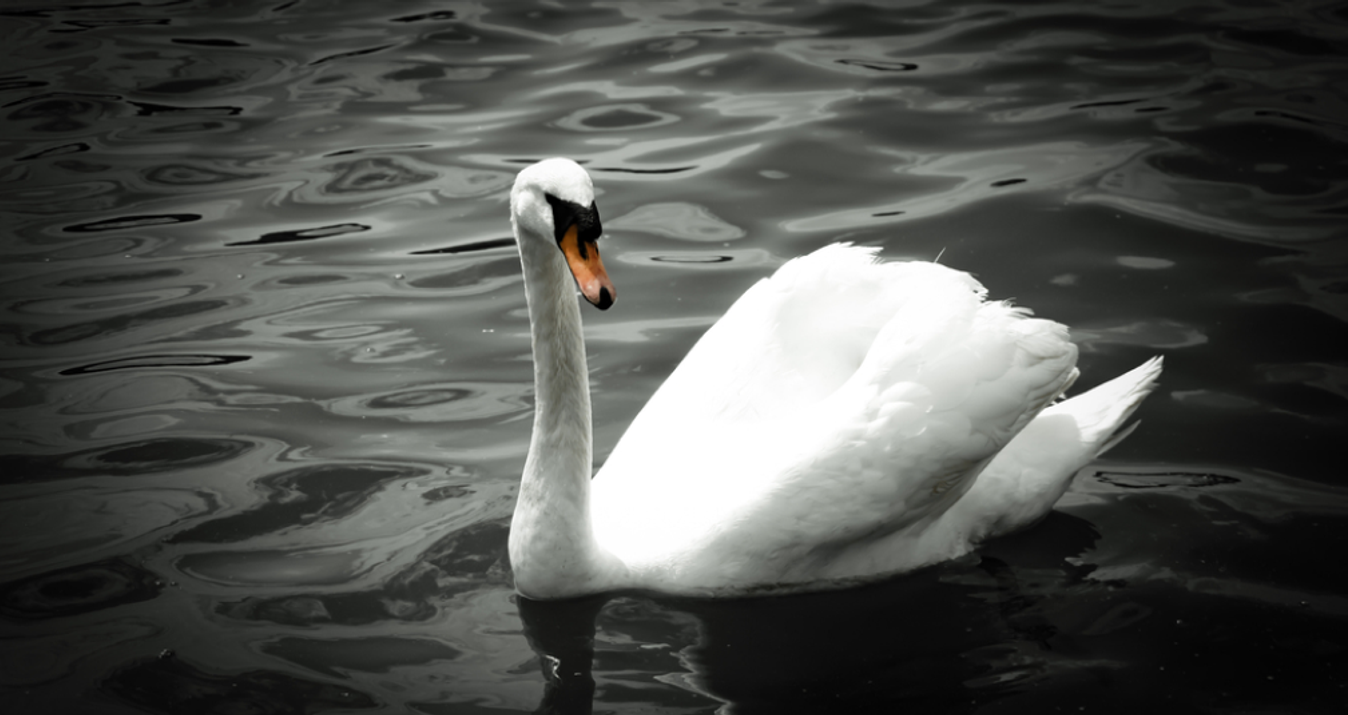
 Two colours replace the full spectrum, creating high-impact silhouettes and clean graphic contrast. Common in posters, album covers, and hero banners, this treatment simplifies form, pushes type to the foreground, and reads clearly even at small sizes. Picked well, it slots neatly alongside modern photo filters and effects without feeling noisy.
4. Light and Dark Filters for Cinematic Photos
 Lifted highlights with soft roll-off versus deeper blacks with controlled midtones — both aim for dramatic separation and scene “shape.” Bright variants suit airy lifestyle sets; darker grades favour moody portraits and night cityscapes. Expect consistent palette control, restrained saturation, and intentional vignetting that guides attention.
5. Cartoonify Filters for Fun Creations
 Edges harden, shading flattens into blocks, and textures simplify into clean tones, turning photos into comic-style frames. Ideal for avatars, merch mockups, and playful social posts where legibility matters. With limited gradients and bold outlines, it delivers unmistakable character while staying readable among other cool effects for pictures.
Final Thoughts
Cool filters for photos work best when they serve the story, not the other way round. Build a clean base edit, choose one visual idea (tone, texture, or depth), and keep everything else out of its way. Save versions you like and reuse them as a lightweight style guide — that’s how your images stay consistent without feeling cloned.
FAQ
What are the most popular photo effects for beginners?
Soft film grain, subtle colour grading, light bokeh glow, and clean duotone treatments — simple moves that are hard to overdo.
How can I add creative photo effects using free tools?
Use apps that offer layers or masking (e.g., Photopea, Snapseed): stack a look, mask it where needed, and export a high-resolution copy.
Can I create cinematic photo effects without professional software?
Yes — consistent white balance, gentle contrast curves, and restrained saturation already deliver a filmic feel in most free or basic editors.
How do I apply cool filters to my pictures?
Start with a preset that matches your mood, then refine exposure, colour, and local contrast so the subject still leads.
What are the best tools for adding effects to photos?
Luminar Neo for fast AI-assisted looks, Photoshop for deep control, and mobile options like Snapseed or Lightroom Mobile for quick edits.


