Bird Photography Guide: Capture Our Feathered Neighbors
April 11, 2024
Dive in to discover how to capture the beauty of the feathered friends in your own backyard and beyond, making your photography stand out!
Do you see colorful birds near your home and wish you could keep their pictures forever? Or do you hear them singing and want to see them up close? You’re in a great place to start! This is our beginner’s guide to bird photography. We’ll show you how to take amazing pictures!
Photographing birds might sound hard. Our feathered friends move fast and don’t wait for you to snap a photo. But don’t worry! With some patience and tips, you’ll be able to capture beautiful pictures. You don’t need a fancy camera; even your phone can work! Even an amateur photographer can get started with bird photography using simple equipment and a bit of practice.
So, get ready with your camera. We’re going to learn how to get close to nature and maybe find a fun new hobby!
By the end of this guide, you’ll do more than just take pictures. You’ll share stories of meeting birds. Let’s begin!
Introduction to Bird Photography
Bird photography is a captivating adventure that brings you closer to the natural world. Whether you’re photographing birds in your backyard or exploring distant birding hotspots, this genre of wildlife photography offers endless opportunities to capture stunning bird photos. Photographing birds requires patience, a keen eye, and an understanding of bird behavior, but the rewards are well worth the effort. Each bird photo tells a story—of vibrant plumage, intricate patterns, and fleeting moments that might otherwise go unnoticed.
With the right camera settings and a bit of practice, anyone can become a great bird photographer. You don’t need to be an expert to start; even amateur photographers can achieve good image quality with basic equipment and a willingness to learn. Bird photography encourages you to spend time observing birds, appreciate their beauty, and develop new skills behind the lens. So grab your camera, step outside, and discover the joy of capturing birds in their natural habitat!
Why Knowing Birds is Key for Good Photos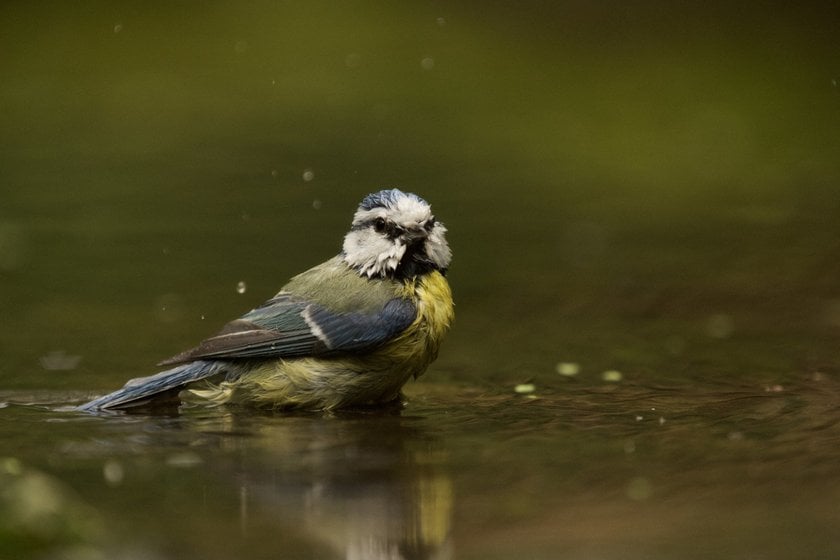

Getting to know birds helps you take better images. Learn what they do, when they are most active, and where they like to be. This knowledge means you can be ready to take a photo at the right time!
Noticing the obvious difference between small and large birds can help you choose the right camera settings and techniques for each situation.
How to Watch Birds Without Scaring Them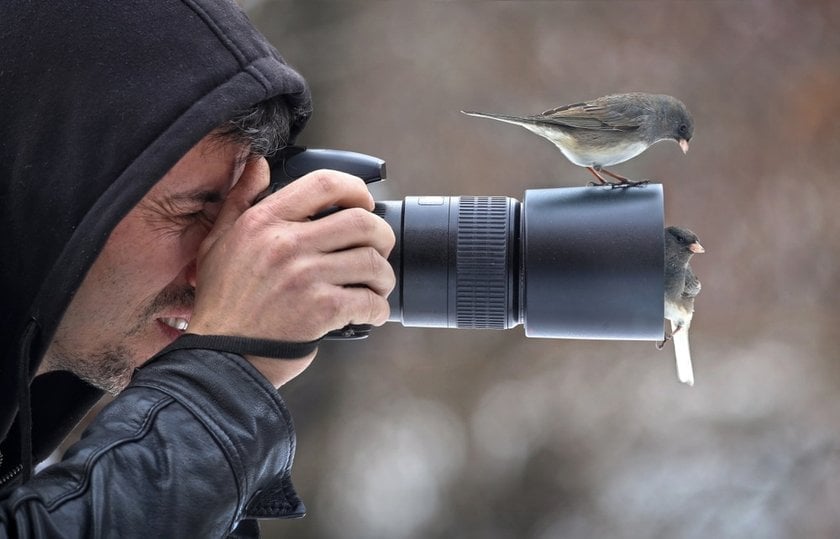

Move Slow: If you move fast, birds get scared. Slow movements are less likely to make them fly away.
Stay Quiet: Birds are scared easily by loud sounds. Try to be as quiet as you can when you are close to them.
Hide: If you can stay a bit out of sight, like behind something, birds are less likely to notice you.
Best Times for Bird Pictures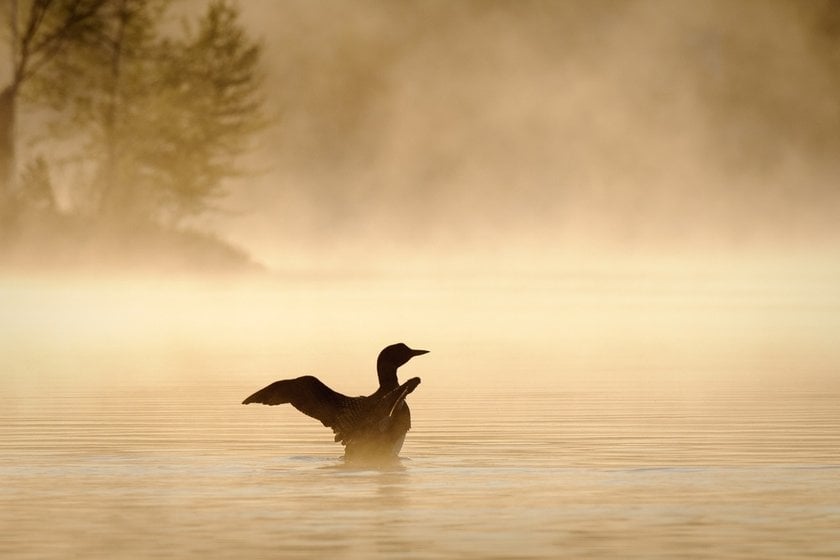

Morning: Many birds are busy in the morning. It’s a good time for photos.
Afternoon: Late in the day is also good. The light is nice, and many birds are active.
Change of Seasons: Spring and fall are interesting times because many birds move to new places.
If you are shooting in bright sunlight, you may need to adjust your camera settings to avoid overexposure and harsh shadows.
Patience and respect for birds and where they live are important. These tips will help you start taking great photos!
Advanced yet easy-to-use photo editor
Get Luminar Neo NowWhat You Need for Bird Shots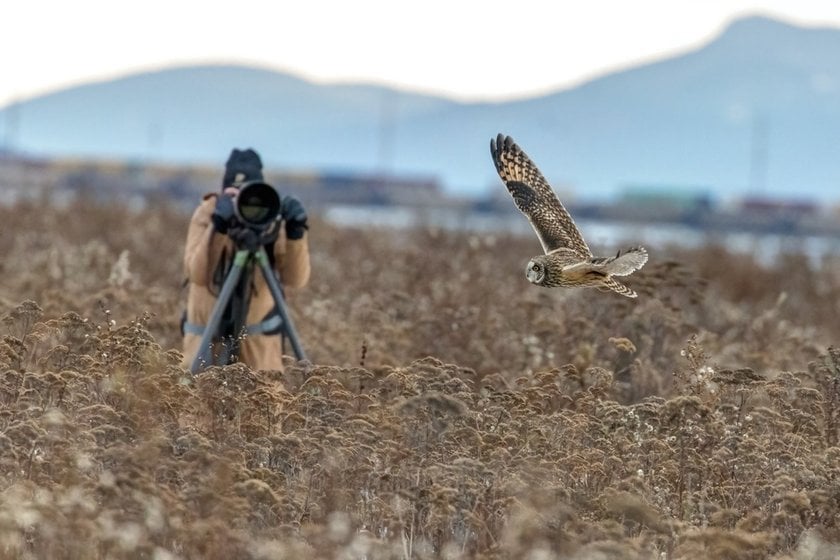

Picking a Camera and Tools
A fancy camera is one that lets you switch lenses. This type of camera is good because you can use different lenses for different needs, like getting a clear shot of a bird that’s far away.
When choosing a camera for bird photography, there are several options to consider. Bridge cameras, such as the Canon SX40HS and Nikon P100, are popular for their long zoom lenses and manual controls, making them ideal for capturing distant birds without the need for expensive DSLR lenses. Bridge cameras offer versatility and practicality, especially for beginners or those who want an all-in-one solution. On the other hand, full frame cameras provide superior image quality and autofocus performance, which is especially useful for photographing fast-moving birds in flight. Canon DSLR models are also widely used by bird photographers for their reliability, sensor quality, and compatibility with a wide range of telephoto lenses.
Best Lenses and Their Benefits
Zoom Lenses: These are good for taking close shots from where you stand. They help you capture details without needing to get too close and scare the bird.
Telephoto Lenses: These are even better for pictures that are far away. They make it seem like the subject is closer in your picture than it really is.
For bird photography, using a telephoto lens with the right focal length is essential for capturing sharp, close-up images of birds without disturbing them. To get the best image quality, try to find your lens's sweet spot—usually a specific aperture or focal length setting where sharpness is maximized. Additionally, using a lens hood can help stabilize your camera setup and reduce lens flare, especially when shooting outdoors.
Why a Tripod is Useful
Putting your camera on a tripod is a smart move for bird photography. Here’s why: it keeps your camera from moving. Even a small wobble can mess up a zoomed-in shot, making everything look fuzzy. A tripod keeps everything steady. And there’s another plus: your arms won’t get tired. Set the camera on the tripod, relax, and wait for the perfect shot without the strain. This setup lets you chill and focus on snapping that amazing photo when the moment is right! If your camera or lens has image stabilisation, turning it on can further reduce camera shake and help you achieve sharper images, especially when shooting handheld or at slower shutter speeds.
Having the right camera, a good lens and a tripod can really help you take clear and beautiful photos, no matter how far away they are!
Also read: Focus Stacking in Photography: Share Secrets of Making Images Sharp
Composition and Lighting
Great bird photography isn’t just about finding the right bird—it’s about creating a beautiful bird photo that stands out. Composition plays a huge role in making your bird images memorable. Try using the rule of thirds by placing the bird off-center, which often leads to a more dynamic and interesting photo. Look for natural frames, like branches or leaves, to draw attention to your subject, and use leading lines to guide the viewer’s eye toward the bird.
Pay close attention to the background. A blurred background, achieved with a wide aperture like f 5.6, helps your bird stand out and reduces distractions. Watch for clutter or bright spots that might take focus away from your subject.
Lighting can make all the difference in bird photography. The golden hour—just after sunrise or before sunset—offers soft, warm light that brings out the bird’s colors and details. Overcast days can also be great for photographing birds, as the diffused light reduces harsh shadows and highlights. Don’t be afraid to experiment with backlighting or side lighting to add depth and mood to your bird photos. With thoughtful composition and creative use of natural light, you’ll be well on your way to capturing great shots every time.
Bird Photography Tips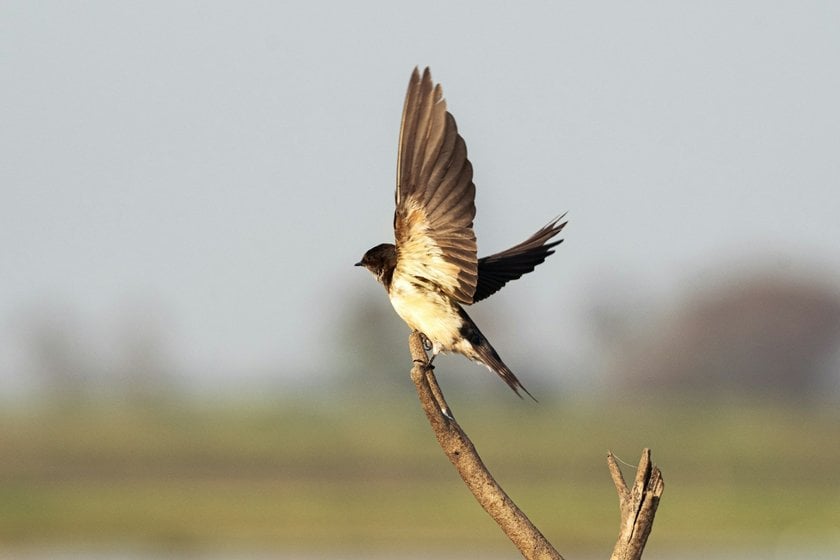

Taking great pictures means knowing how to use your camera well. Photography birds can be challenging but rewarding, and with the right techniques, anyone can capture birds and take decent photos, even when taking pictures in difficult conditions. We prepared some tips on setting up your camera, making your photos look their best, and capturing birds whether they’re moving or staying still!
Choosing the Right Camera Settings
For photos that are clear and bright, here is a simple backyard bird photography setup:
Shutter Speed: Use a fast shutter speed for moving subjects. This stops them from looking blurry. Try starting at 1/1000th of a second.
Aperture: A wide aperture (a small f-number) lets in more light and makes the bird stand out from the background.
ISO: Keep the ISO low to avoid grainy photos. Only make it higher if it’s really dark.
Choosing the right exposure mode is important for bird photography. Using aperture priority mode (a type of priority mode) lets you set the aperture while the camera adjusts the shutter speed, which is helpful for controlling depth of field. Shutter priority mode allows you to set the shutter speed to freeze motion or create motion blur for artistic shots. In manual mode, you have full control over aperture, shutter speed, and ISO, which is useful for tricky lighting. Adjusting shutter speeds is crucial—using a slow shutter speed can add creative blur, but too slow can cause blurry images if the bird moves. In low light conditions, you may need to raise the ISO or use exposure compensation to keep your images bright and sharp.
How to Make Your Photos Look Good
Where to Stand: Stand so the sun is behind you and shining on the bird. This makes the colors pop.
What to Focus On: Always focus on the eyes. Capturing the bird's eye and bird's head sharply is essential for creating sharp photos that draw the viewer in. If the eyes and head are sharp, the whole photo looks better.
Tips for Different Bird Situations
If the bird is moving:
Use burst mode to take lots of photos quickly. This way, you have a better chance to catch a good moment.
Try to move your camera smoothly with the bird as it moves. This helps keep the subject in focus and the background blurry.
If the bird is not moving:
Wait for the bird to do something interesting, like singing. This wait can pay off with a special photo.
Think about the photo’s layout. Imagine your photo is split into nine parts by two lines up and down and two lines across. Try to put the feathered friend where these lines meet.
For small birds, use a faster shutter speed to freeze their quick movements. When capturing flight shots or a bird in flight, use tracking autofocus and burst mode to increase your chances of sharp images. For white birds, adjust your exposure compensation to avoid overexposure, especially in bright light. To fill the frame with a distant bird, use a longer lens rather than cropping later. When photographing birds against a dark background, carefully manage your exposure to keep details in both the bird and the background. Always press the shutter button smoothly to minimize camera shake and keep your images sharp.
Now, you’ll start taking amazing photos in no time. Remember, the more you practice, the better your photos will get!
Exclusive Tools of Endless Possibilities in One AI Editor
EXPLORE NOW!Backyard Bird Photography
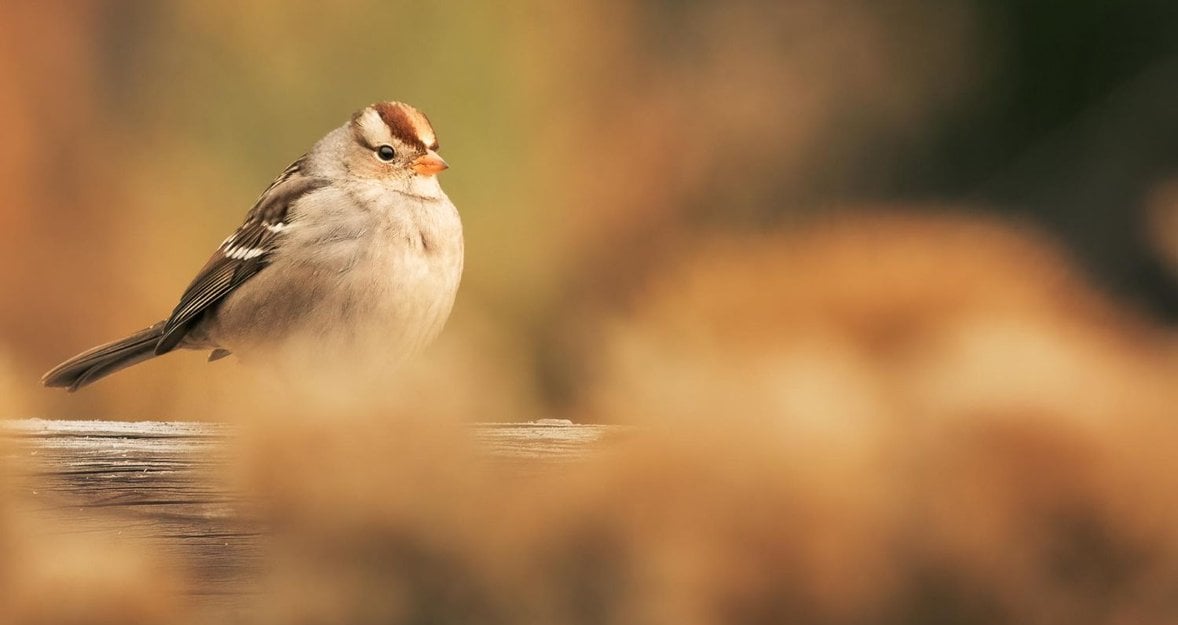
You don’t have to travel far to enjoy bird photography—some of the best shots can be taken right in your own backyard! Backyard bird photography is a fantastic way to practice your skills and photograph birds up close. Start by setting up bird feeders or a bird bath to attract a variety of common birds. Place feeders near natural perches or create your own bird stand using branches, which gives birds a place to land and makes for more natural-looking bird photos.
Pay attention to the background when setting up your shooting spot. Position yourself so that the background is uncluttered and, if possible, far away from the bird feeder to create a pleasing blur. Early morning is often the best time for backyard bird photography, as birds tend to be most active and the light is soft and flattering.
Be patient and spend time observing the birds’ routines. Smaller birds may dart in and out quickly, so use a fast shutter speed to freeze their motion and reduce camera shake. With a little creativity and observation, you’ll be able to capture beautiful bird photos without ever leaving home.
Capturing Bird Behavior
One of the most rewarding aspects of bird photography is capturing unique bird behavior. Birds are constantly on the move—feeding, preening, singing, or interacting with each other—and these moments make for truly stunning shots. To photograph birds at their most interesting, spend time observing their habits and routines. Notice when a bird takes flight, fluffs its feathers, or feeds its young, and be ready with your camera.
Anticipating action is key. Use burst mode to increase your chances of getting the perfect shot when photographing birds in flight or during quick movements. For perched birds, wait for a special moment, like a head turn or a display of tail feathers, to add life to your bird images. Patience is essential—sometimes the best shots come to those who wait quietly and let the birds come to them.
By focusing on behavior, you’ll not only create great bird photos but also tell a story about the bird’s life and personality. These images often stand out and connect viewers to the wonder of the natural world.
Being Kind to Birds While Taking Photos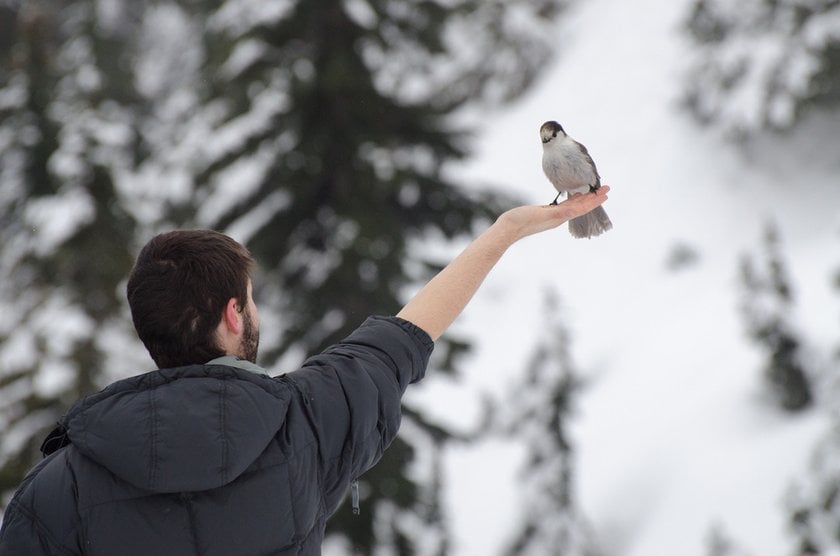

When taking photos of birds, it's key not to bother them or mess up where they live. Move quietly and keep your distance to make sure they feel safe. Also, remember to stick to the rules about nature and wildlife. These rules help keep the birds and their homes safe for us to enjoy later.
So, when you're out with your camera, think about their well-being first. This way, we make sure they stay happy and healthy in their natural homes!
Enhancing Your Bird Shots
Most bird photographers rely on post processing to turn a decent image into a good shot or even a great shot. Studying high-quality bird photographs can help you learn what makes an image stand out, such as sharp focus, good lighting, and strong composition.
AI Image Sharpening makes the edges in your photos look sharper and clearer. Supersharp AI Extension is perfect for when your pictures are blurry or not as clear as you want. It makes everything in your photo look detailed and sharp!
Sometimes, your photos might look too small or not clear. That’s where AI Upscaling helps. It can increase picture resolution and make images clearer. It adds details to your photo that make it look better, almost like you took it with a better camera.
Zoom In for Perfection with UpscaleAI
Try it TodayInspiration and Community
Bird photography is more than just a solo pursuit—it’s a vibrant community filled with passionate bird photographers from around the world. Seeking inspiration from other photographers can spark new ideas and help you grow as a bird photographer. Browse online galleries, follow bird photography groups on social media, and participate in local birding clubs to see what others are capturing and to share your own bird photos.
Joining a community allows you to exchange bird photography tips, learn about new birding hotspots, and get feedback on your work. Many bird photographers enjoy collaborating on projects or participating in photo challenges, which can push your creativity and skills to new heights.
Don’t be afraid to reach out, ask questions, and celebrate the successes of fellow photographers. The support and inspiration you find in the bird photography community can make all the difference in your journey, helping you capture your best shots and enjoy every moment spent with our feathered neighbors.
Wrapping It Up

We've come to the end of our guide on photographing birds. This journey showed us that taking good photos is about more than just pressing a button. You need to understand birds, have the right camera setup, know how to set your camera, and always be respectful of wildlife!
Keep practicing and be patient. The more you work at it, the better your photos will become. Luminar Neo can help make your pictures even better. It's a simple tool that uses AI to sharpen images, make them clearer, and improve their quality with just a few clicks!
So, always have your camera ready, take care of the birds, and use every photo to tell a story about the beauty of nature. Enjoy taking photos and sharing the wonders you capture!