Reflective Surface Photography: How To Shoot Shiny Products
Last Updated on March 13, 2025
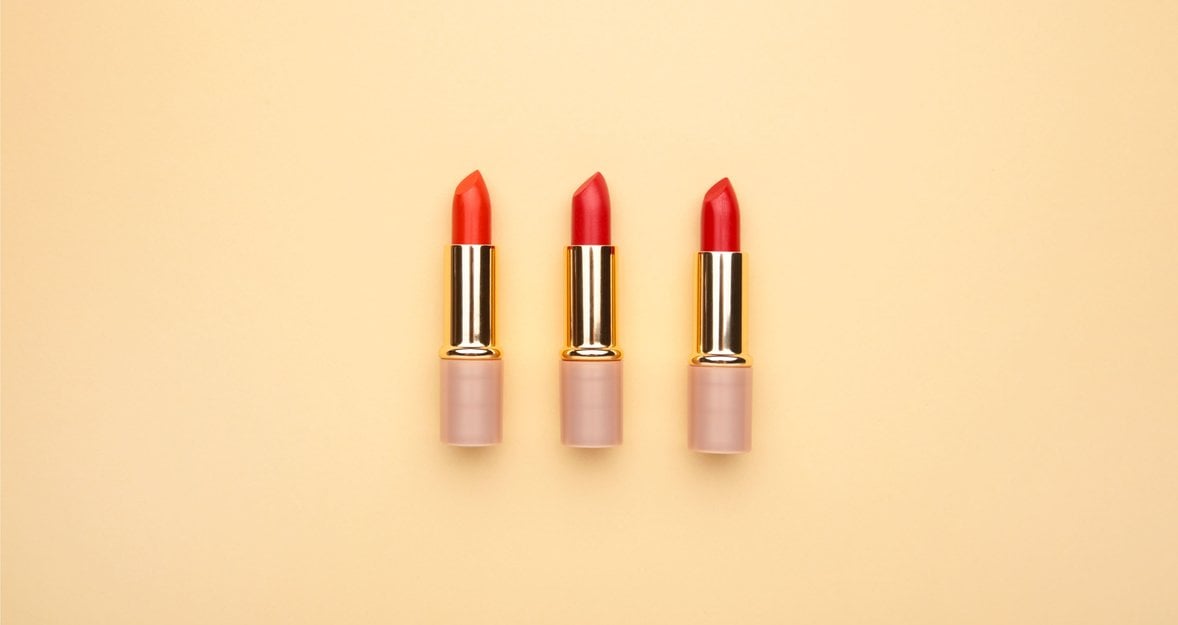
Unlock how to photograph shiny objects without reflection using these simple hacks.
Photographing reflective surfaces is a unique challenge. Shiny objects have a horrible tendency to pick up unwanted reflections from the environment, making it difficult to achieve a clean, professional-appearing image. Yet, with the right setup, techniques, and editing workflow, you can achieve impressive results. This guide will teach you how to photograph reflective surfaces that minimize glare and unwanted reflections.
How to Set Up a Studio for Reflective Surface Photography
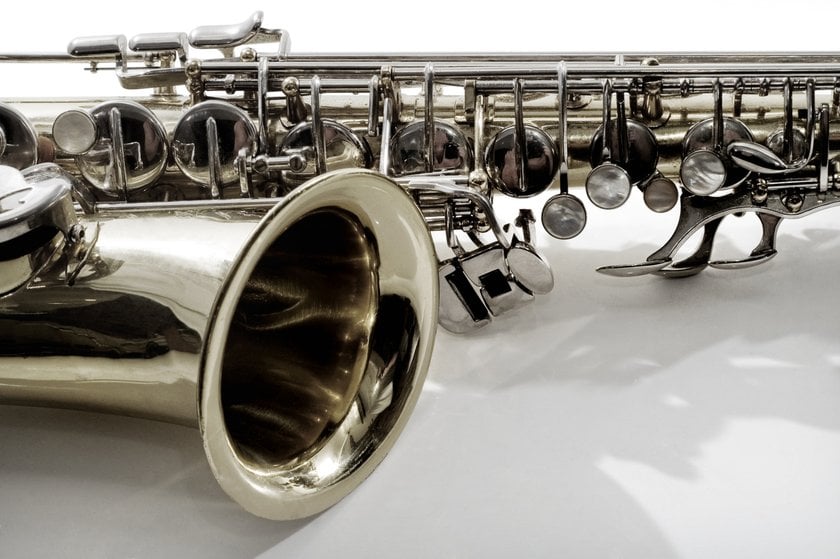
Setting up a dedicated studio is essential for the ideal reflection—start by keeping your space organized to prevent distracting objects and unwanted glow.
1. Create a Clear Space
Before installing your studio, tidy up your shoot area. Anything in the room will create reflections on your product. Use a colorless background, white or black, to control the background and distract less. Preferably, look for a place where you have control over lighting to prevent external glares. An ideal setup is one with minimal ambient light interference and walls that do not add unexpected colors to the reflections.
If feasible, prepare a specific place for the e-commerce photography. A controlled area reduces the potential for having to shoot with a variable lighting setting. This is particularly important while shooting gleaming materials because even subtle variations in surroundings can significantly alter how they reflect. Splurging money on blackout drapes or even shooting in an environment without any windows can also ensure total control over light.
2. Prepare Your Product
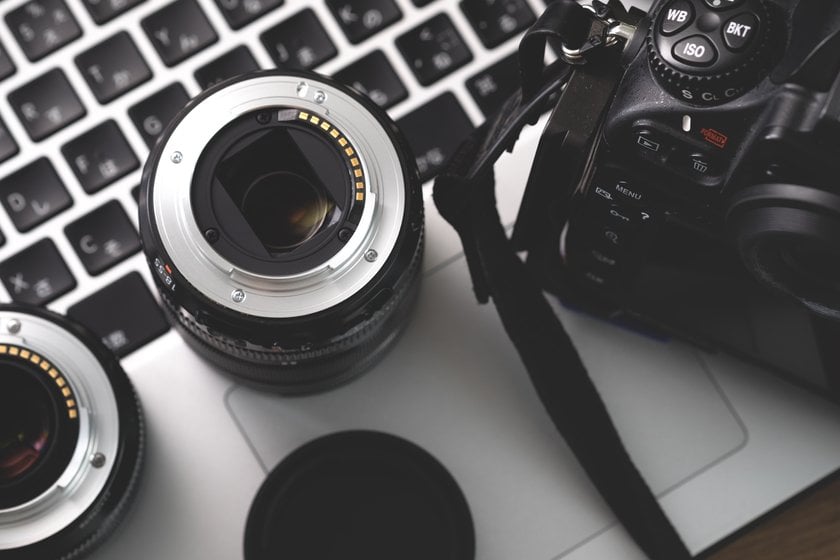
Shiny things reveal even small flaws. Clean the surface of your product carefully before taking the photo to get rid of dust, fingerprints, or smudges. Even tiny dust particles can become extremely noticeable when photographing shiny surfaces. Use gloves to handle the object if needed to avoid fingerprints. Microfiber cloths and compressed air can be used to remove dust without leaving streaks.
Understanding how to avoid reflection in photography is crucial. It is also a sound practice to look at the product in bright light before shooting. This allows you to spot defects not immediately obvious in standard conditions. In some cases, a layer of anti-reflective spray can minimize unfavorable reflections without taking anything away from the object’s look.
3. Assemble the Essential Gear
Before you begin shooting, ensure you’ve gathered these key tools to create a controlled, reflection-free setup.
Camera. A DSLR or mirrorless camera with manual settings will give you maximum control.
Lens. A macro or prime lens with a focal length of 50mm or higher will help reduce distortion.
Tripod. Keeps the camera stable and allows precise adjustments.
Lighting equipment. Softboxes, LED panels, or diffused natural light work best.
Reflectors and diffusers. Essential for controlling and softening light.
Dulling spray. Helps reduce extreme glossy when needed.
Black and white cards. Useful for blocking reflections and controlling highlights.
Using good-quality equipment guarantees that you capture sharp, well-illuminated photographs. However, even using the best equipment, mastery of light control is the most important skill in successfully photographing reflective surfaces.
How to Photograph Reflective Objects

By carefully controlling your environment and planning your shots, you’ll be able to capture the natural allure of these objects with clarity and precision.
1. Arrange Your Lighting
Good lighting is also significant for reflective surfaces photography. Position your light sources at an angle so they will not create direct reflections to bounce back to the camera. Use two soft diffused LED sources on either side of the product instead of one direct hard light. Diffused soft light reduces glare and accentuates the texture of the object.
If at all possible, try varying lighting configurations, like a three-point lighting scheme. This has a key light (main source), a fill light to counteract shadows, and a backlight to create depth. If confronted with extreme reflections, employing a blacked-out setting with managed, low-intensity lamp sources can assist.
2. Set Your Camera
Use manual mode to control exposure. Here are the recommended settings:
ISO. Keep it low (100-200) to avoid noise.
Aperture. Use a high f-stop (f/8 to f/16) for sharp focus.
Shutter speed. Adjust according to your lighting setup. Use a slower shutter speed if necessary, but compensate with a tripod to avoid blur.
White balance. Set manually or use a gray card to ensure accurate colors.
A polarizing filter can also reduce glare by blocking some light waves. This is particularly useful for how to take a photo without glare when dealing with glass or glossy surfaces.
3. Find the Right Angles
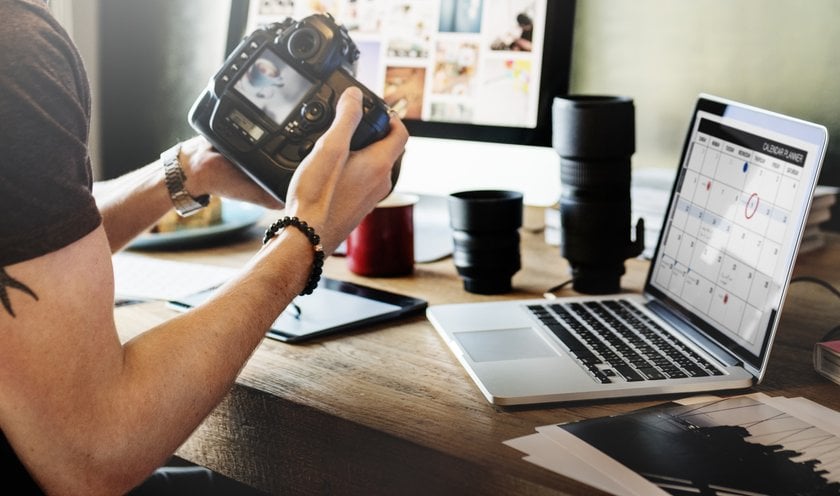
Positioning your camera in the right position can eliminate reflections. Try angling the object slightly or shooting from a higher or lower position. Minor changes in angles can help when wondering how to avoid reflections in photography and improve the final picture.
Other items, like curvaceous subjects, require further angles to achieve mastery. In case the head-on method incurs unreasonably too much glare, angle in with a 45-degree shot. The use of an articulated screen or mounting the camera on the computer can also expedite this action.
4. Diffuse the Light
Severe light produces glare and highlights all the imperfections on the surface. When you consider how to photograph shiny objects without glare, use softboxes, diffusion panels, or white fabric to spread light evenly. This diminishes harsh contrasts and prevents a fake appearance.
Also read: The Complete Guide to Choosing Light Boxes
5. Reflect the Light
If parts of your product look too dark, use a reflector or white card to bounce light off the object. This will tend to equalize the exposure and add more detail without producing hard reflections.
6. Use a Dulling Spray
For severe reflections, try using a matte or dulling spray. This is particularly useful when dealing with unwanted reflection off a shiny or glossy surface. A light touch can soften severe highlights without impacting the product’s overall appearance.
How to Edit Reflective Surface Photos
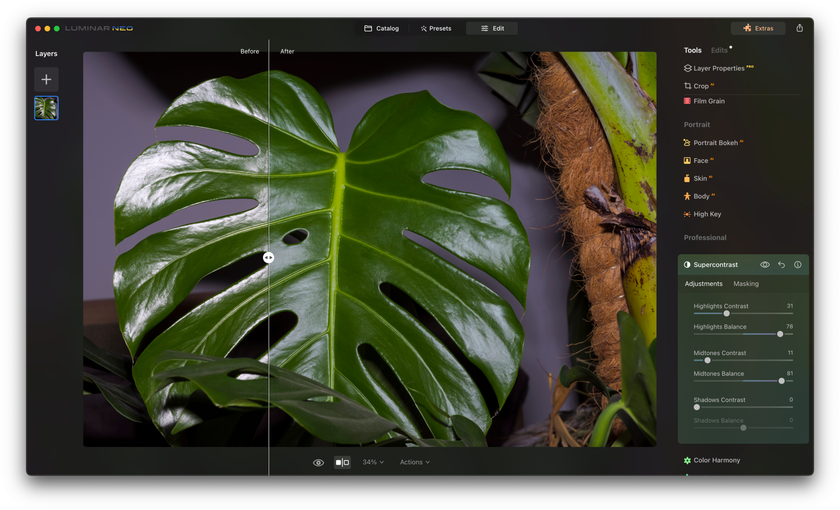
Effective editing of shiny surface photographs involves solving three common problems—reducing glare, removing unwanted reflections, and correcting color casts—resulting in a clean and pleasing-looking image.
1. Reduce Glare
Glare may obscure information within the image. In editing programs—we recommend Luminar Neo— use the highlights adjustment slider to tone down bright areas. The adjustment brush tool can also target specific spots when you wonder how to take a photo without glare.
2. Remove Reflections
If there are a few reflections in the image, use the clone stamp or healing brush tool to remove them. Don’t overdo it, though, because completely removing the shadows can make the image look unnatural.
3. Correct Color Casting
Another object will absorb the unwanted color by reflection from shiny surfaces. For an accurate representation of a product’s natural color, use the white-balance feature to eliminate color casts.
Wrapping Up
Shiny objects are hard to photograph since they reflect light. However, with the right setup and technique, you can beautifully showcase these objects. Manage your environment, lighting, and camera settings to minimize glare. Practice, and you will turn queries like how to take pictures without glare into unique, stunning photographs. Curiosity and patience are the secrets to mastering this art.
FAQ
How do you photograph a reflective surface?
To photograph such a surface, control the lighting and use diffusers to disperse reflections. Take the picture from an angle to minimize direct reflections and compensate with your settings for optimal exposure.
What are the best camera settings for reflective photography?
Shoot at low ISO (100-200), high f-stop (f/8-f/16) for depth of field, and slow shutter speed if needed. Manually set white balance maintains colors true.
Why are reflective surfaces difficult to photograph?
Refractive surfaces are tricky as they tend to reflect and bend light, resulting in unpredictable glare and hotspots that are typical to conceal details. They collect unwanted objects in the surrounding environment, thus making it difficult to select the subject. Achieving the correct exposure and color balance is also challenging, as light acts in complex manners on such surfaces.


