Intensify & Share - Uploading to IG Made Easy
July 26, 2016
Why not turn your Mac into the “nerve center” of your social life and create an online identity?
If you’re like us, you have images lying all over the place. It’s a headache. Your Mac is your storehouse of photos and it’s where your best photo editors are. Why not turn your Mac into the “nerve center” of your social life and create a great online identity for yourself?
Photos and social networks go together like peanut butter and jelly. One social network that every photographer loves is Instagram. In the short video and tutorial below, we’ll show you how to edit your best photos in Intensify and then upload them directly to Instagram from your Mac desktop.
Tutorial
Intensify
- Launch Intensify and open the image you’d like to edit and share
-
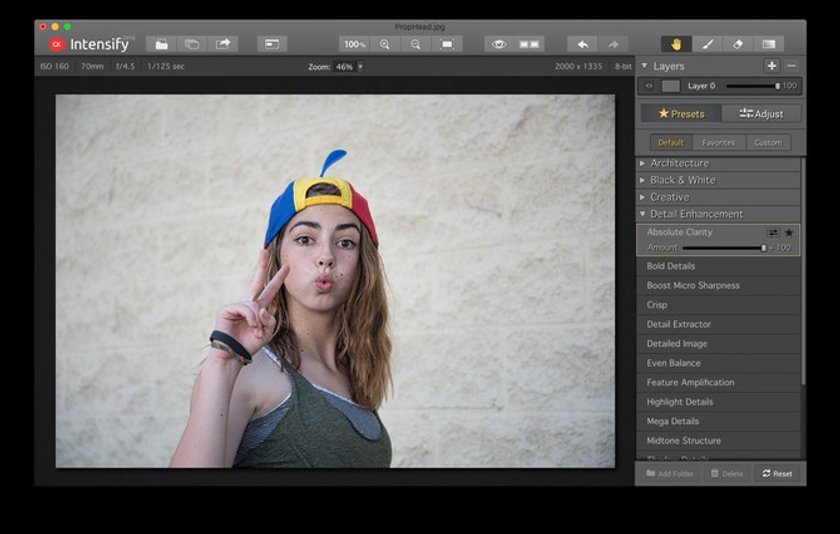
Select a preset
-
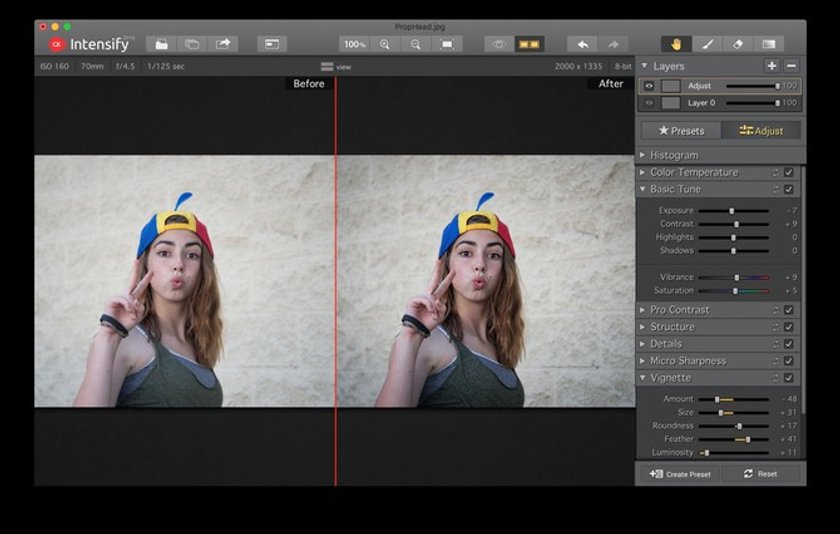
If desired, add a new layer and make more fine-tuned adjustments
-
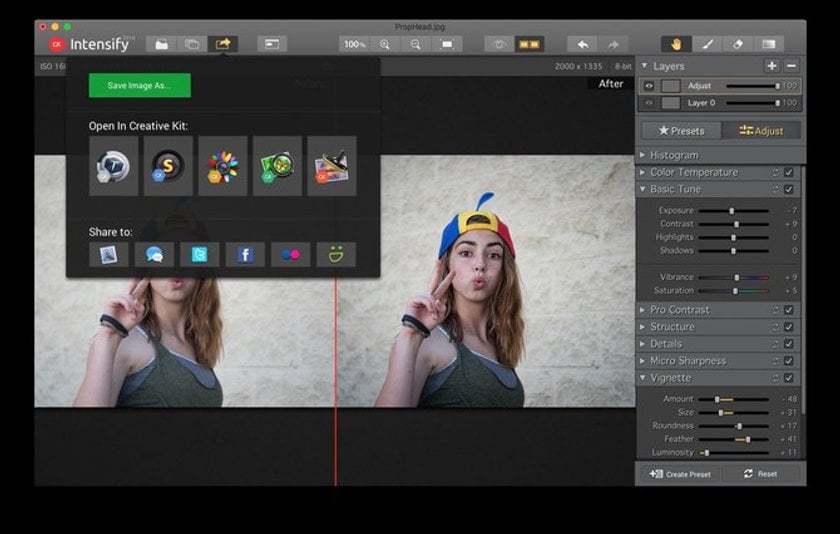
Save the image
Uplet
- Launch Uplet
-
You’ll need to connect your Instagram account in order to upload

-
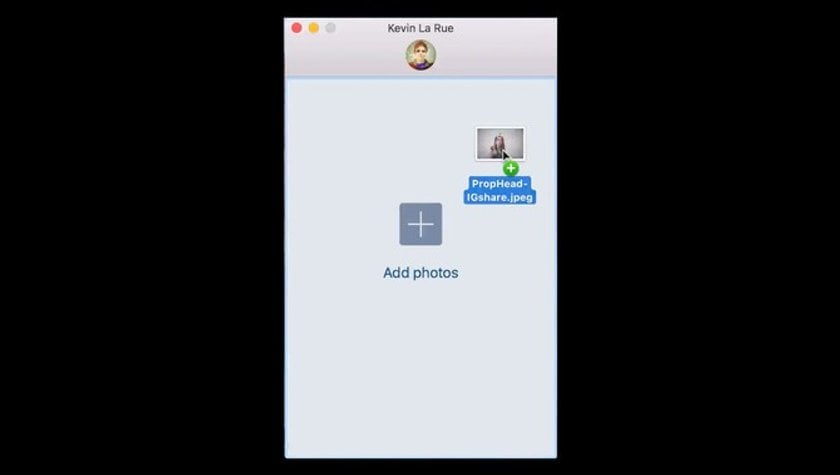
Drag and drop the image you’d like to share onto the Uplet window
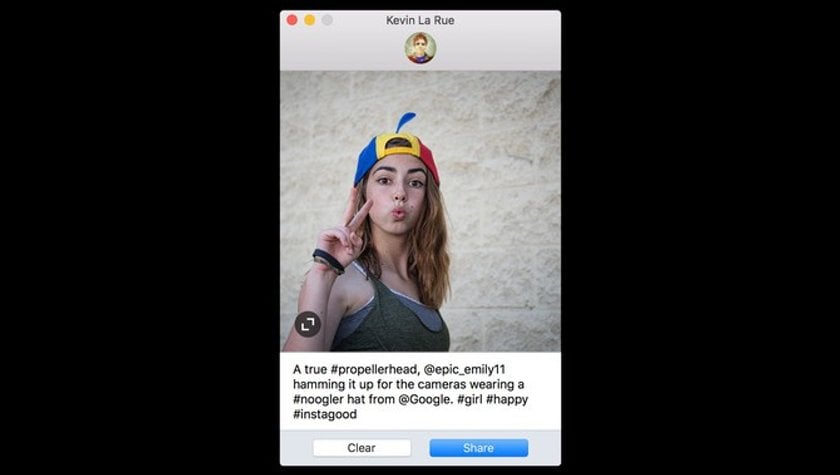
- Use the crop symbol in the lower left to adjust the orientation of your image (square or as-captured size
- Type in a caption and any hashtags you want
-
Click the Share button
-
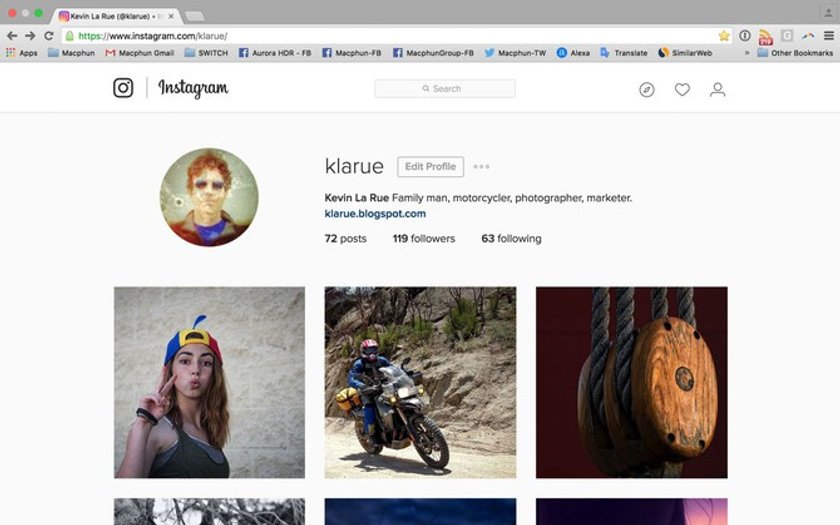
Launch Instagram and refresh your photo stream to verify that the new image is now presenty
We hope you enjoyed the tutorial and it enables you to share a lot more high-quality images to your Instagram photo stream. Hashtag #skylum and #madewithintensify when you post to Instagram.
Give Intensify a try.
If you have any questions, please leave them in the Comments field below. Have fun!


