Joshua Tree Photography: Mastering the Symphony of Light Streaks
July 05, 2023
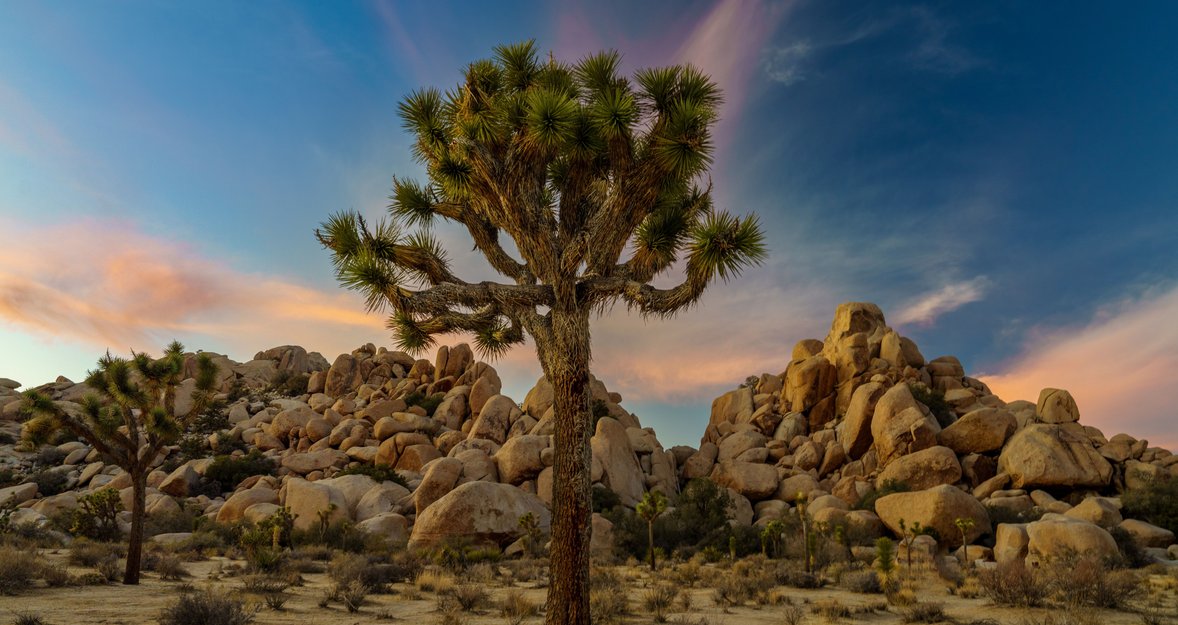
Are you impressed by the combination of streaks of light and magical desert glow around the iconic Joshua trees? You can master these techniques quite easily. In this article, we’ll share tips and tricks on how to do it.
Do you plan a trip to southeastern California, namely to the Joshua Tree National Park? Then you have a lucky ticket! Here, you’ll discover the beauty of amazing landscapes in the middle of pristine nature. Rugged cliffs and wide spaces of the Mojave Desert that exist side by side with California junipers, cacti, flowers, and different wild animals attract photographers worldwide. But the most desirable location is Joshua Trees, which are known for their bizarre shapes. In this article, we’ll reveal some lifehacks that will help you to master shooting these plants to get unbelievable results.
Photo of Joshua Trees: Exploring the Beauty of Thorny Miracle of Pristine Nature
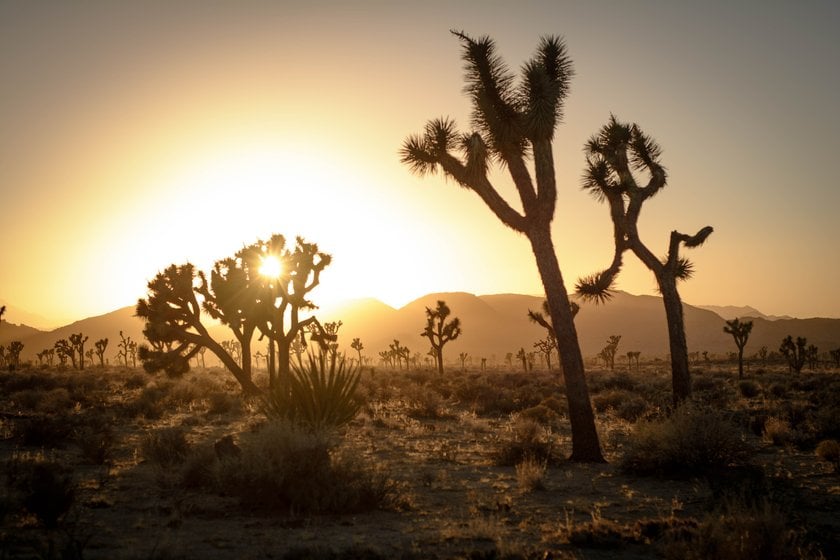 First, let’s get to know these unique trees and find out why they are featured in pictures by many photographers so often. These plants grow in the southwestern part of the USA, mainly in the Mojave Desert. They are not only an excellent material for weaving baskets and sandals but also attract photographers with their grotesque appearance. Just imagine that you are standing in front of a brown trunk up to 12 meters high, from which twisted branches with long, narrow, and thorny leaves that look like needles extend to the sides. It’s impressive, isn’t it?
Joshua trees live well in desert environments, withstanding extreme temperatures and drought. That’s why photographers capture these plants as symbols of resilience in the midst of hard reality, and then process pics in a photo editor to best convey their essence. If you're thinking about choosing an AI photo editor, check out Luminar Neo. With it, you'll be able to make real magic in a matter of seconds.
Convey the Essence of Enigmatic Joshua Tree: Some Effective Techniques
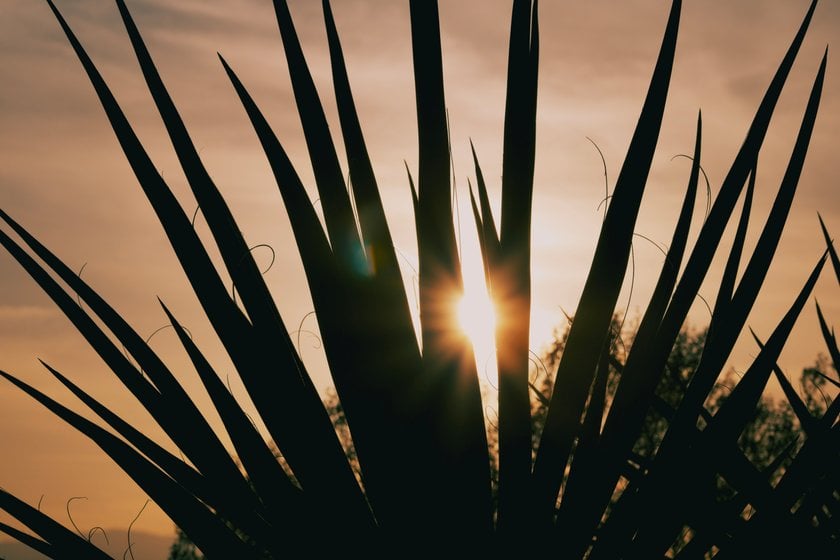 Do you want to take Joshua tree pics that will impress at first sight? Then put a good camera, a wide-angle lens, and a tripod in your backpack before your journey to the National Park. In addition, learn a few techniques that will help you create masterpieces:
- Play around with the composition. Experiment with different angles and include the surrounding landscape in addition to the plants. It can be a road, a rock, people, or something else.
- Experiment with different perspectives. You can use a wide lens to reflect the immensity of the desert. Or apply a telephoto one to focus on the unique shapes, leaves, or patterns of the trees, which you can look at in detail in an alternative to Windows photo viewer.
- Choose the right lighting. Joshua trees look most enchanting during the so-called golden hour, that is, after sunrise or before sunset. At this time, the light is very soft and warm. It emphasizes the unique textures and true beauty of the plants. If you want to add notes of drama, turn on the side lighting when it is already dark outside.
In addition to the above techniques in pictures of trees, it is worth considering photographing light streaks from passing cars and trucks, as well as star trails. Such effects fill photos with dynamics, creating a realistic sense of movement and energy that you’ll want to share with the world with one of the best photo-sharing platforms.
Light streaks
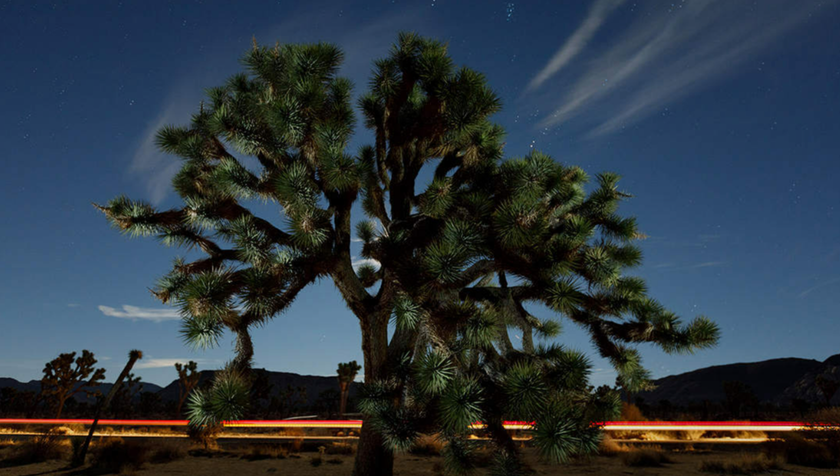 Light streaks from headlights and taillights of passing vehicles look amazing. And you can achieve such an effect very easily. First, find a road that passes through the Joshua Tree National Park and keep a safe distance from cars and trucks. Then compose the shot so that the road is in the background and the trees are in the foreground. To achieve the best effect, switch the camera to manual mode. Choose a slower shooter speed (about 30 seconds), f/8 for a deeper depth of field, and ISO 200 to maintain image quality. Now your camera is ready to hunt for the perfect shot. Just keep the shutter open, wait for the vehicle to pass by, and capture the moment that you can improve with one of the best Lightroom plugins later.
Star Trails
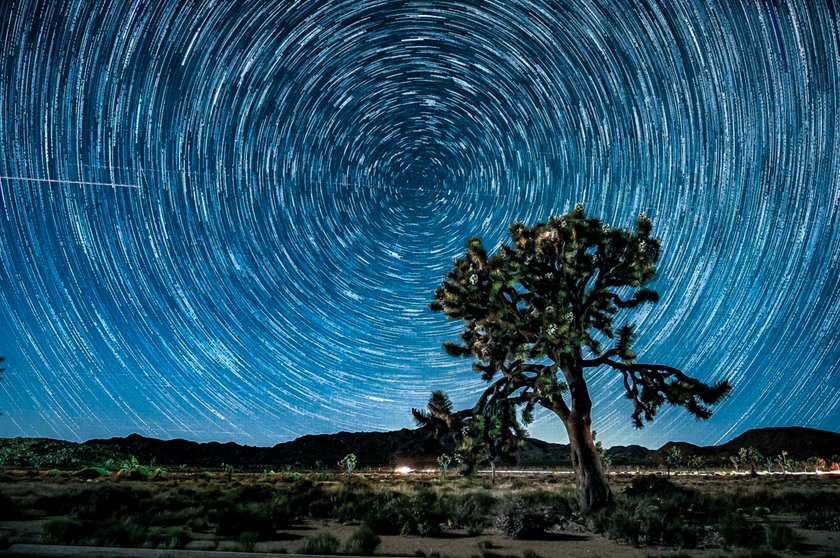 This is another interesting effect in the Joshua tree pic that fits perfectly into the night landscape. In it, the stars in the dark sky turn into incredible star trails. All you have to do is play around with the camera settings. Here you need f/2.8 and a 15–20 seconds shutter speed. As for ISO, first, try 1600. If the picture in the frame will not ideal, experiment with 3200 and 6400 ISO. And use an intervalometer. It allows automatically taking photos at set intervals. Shot several images in a row with the same settings and simply merge them in Photoshop or another online photo editor at the post-production stage.
Advanced yet easy-to-use photo editor
Get Luminar Neo NowFinal Thoughts
Joshua Tree Photography gives opportunities to refresh your artistic vision that you can make perfect in a free Mac photo editor. By mastering the main techniques, experimenting with different camera settings, as well as trying star trails and streaks of light, you’ll get amazing photos that convey the natural beauty of desert landscapes with unique textures and colors of thorny plants.
FAQ
How Can I Achieve Sharp Focus in Photos With Joshua Trees?
If you want to get a sharp focus on thorny leaves or the texture of trees, first place the camera on a tripod and use autofocus to aim the desired object. If it doesn't work, use manual focus to achieve desired sharpness.
How Best to Set the Camera to Capture Light Streaks in the Frame?
To get light streaks in the photo with Joshua trees, switch your camera to manual mode. Use a slow shutter speed (30 seconds), ISO 200 to get a high-quality picture, and f/8 to provide greater depth of field. Later, you can improve your result.
What Do I Need to Know About Safety When Photographing Joshua Trees at Night?
The National Park is open 24 hours a day. It means that you can visit it with your camera at night. But in the dark, this place hides dangers, such as thorny cacti, uneven landscapes, and wild animals that are more active at night. So, carry a flashlight, walk only on specially designed trails, and let someone know about your photo hunt and estimated time to return.


