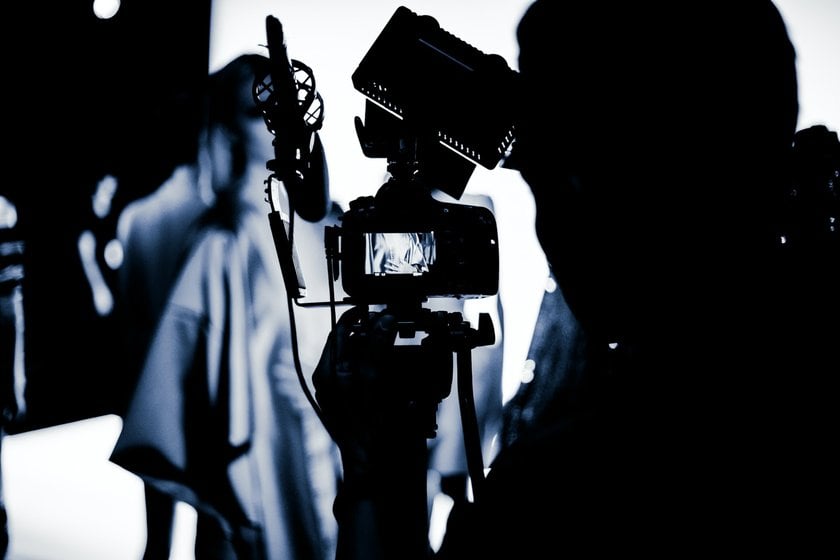
Build Your Own Home Photography Studio
Last Updated on June 26, 2025
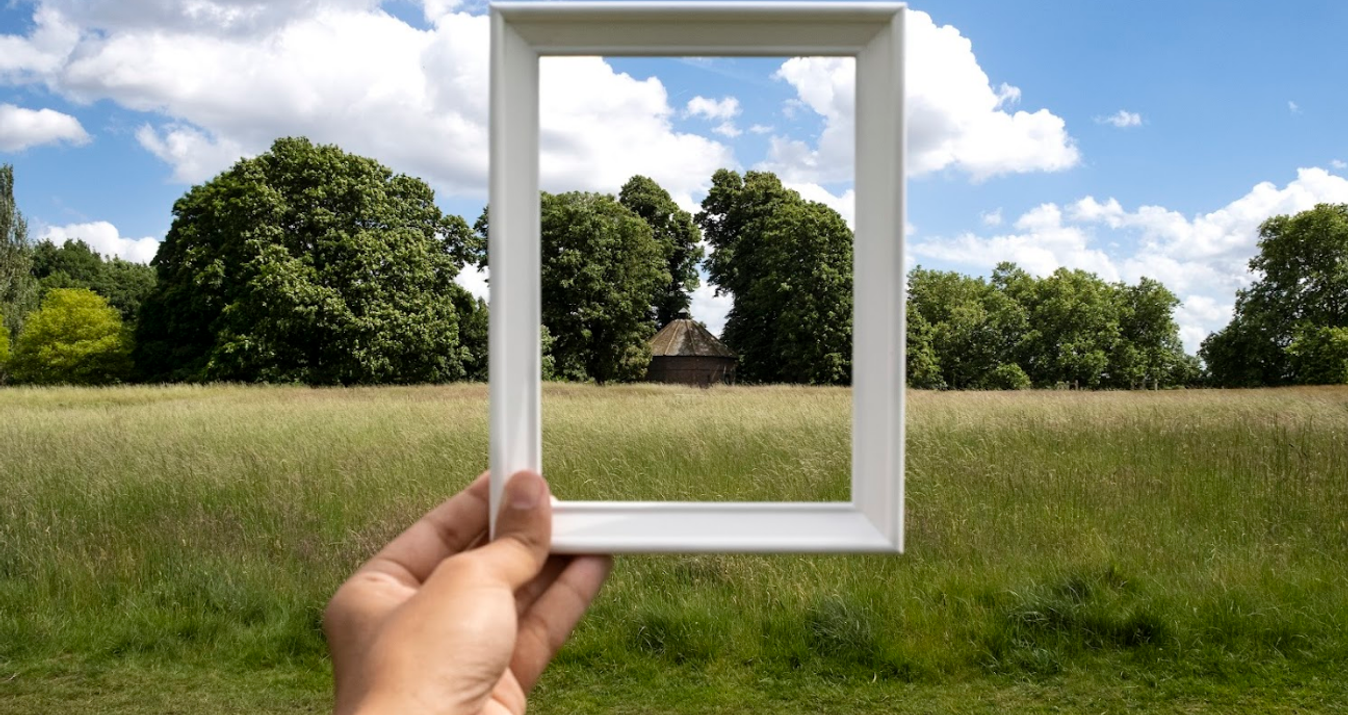
Learn how to build a budget-friendly home photography studio. Discover essential gear, cost-saving tips, and how to set up a DIY space that meets your creative needs.
Renting a studio for shooting can cost hundreds of dollars. Basic fees for leasing a studio start at approximately $50 per hour and range up to $150, excluding the cost of lights or setup. Add to that the need to stick to the schedule, transportation, and preparation, and cope with unpredictable force majeure.
If you schedule your sessions once a week or so, expect to spend a lot more than $1,000 each month. It becomes clear why many photographers and content creators ultimately wish for their own space. By paying $500 to $800 for equipment, you can create a small studio that you can start using at any time.
Having a DIY photo studio gives you chances to economize, work faster, and be in complete control of your ideas. Even with a small budget, you can create a space that meets your needs.
In this piece, we help you choose what is required, offer tips for saving money, and describe the best way to build your home photography studio without sacrificing anything.
Why a Home Studio Is Worth It

What is the difference between working at a professional studio and doing it at home? In your DIY photography studio, you have full control over your ideas, since rented spaces or working for someone can restrict you. It is up to you to determine prices, buy or rent equipment, form a team that works for you, and create an atmosphere.
Is it worth it? Of course, because all the income goes to you and is not given to the owner of the premises. Besides, opening a studio makes you appear more professional to clients and allows you to strengthen and extend your relationship with them. Although it requires valuable time, effort, and resources, ambitious photographers reap benefits from this path.
Your AI-Powered Photo Editor for MacOS and Windows
Discover Now!Having your own studio is perfect for everyday work, including product, portrait, or content photography for online platforms and retail stores. You won’t need to travel far in the city, which also saves you money. As soon as customers become regular, the work keeps flowing, and your confidence grows, you will acquire more tools, expand the space, and upgrade your lighting.
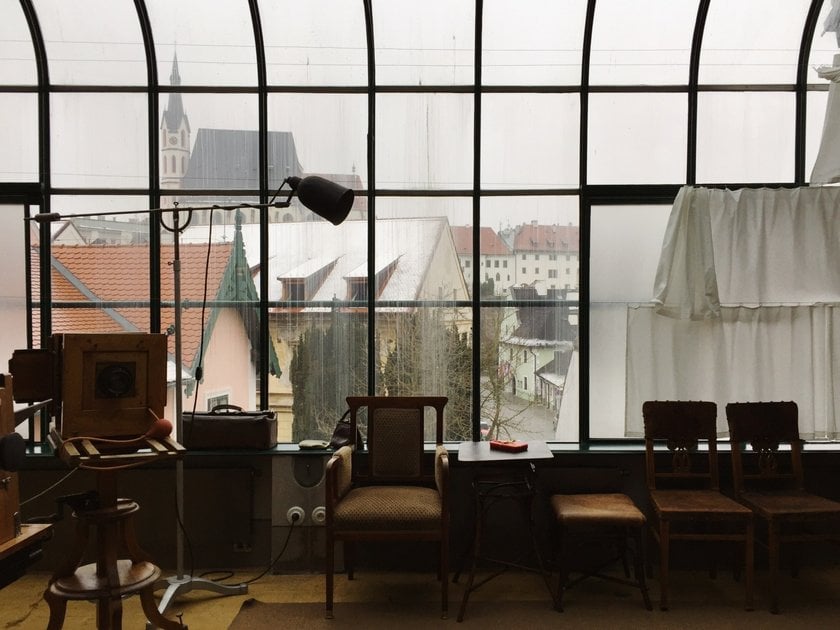
Choosing the Right Space for Your DIY Home Photo Studio
Ideally, a home photography studio should be between 10 and 25 square meters, with a ceiling height of 2.5 meters. As a result, you can put lamps and other tools where they are needed, and your model can move around without any problems during shooting. For the best shots, look for a spot next to big windows and white walls that brighten and improve your pictures.
You should also choose a quiet zone for your DIY photo studio so that nothing can distract you while you’re shooting. The temperature inside should be between 65-75 °F, and the humidity falls between 35-45%. Such values guarantee the equipment is running great.
Even if you don't have a dedicated area, the corner of the living room or the loggia can be ideal for taking pictures of people or subjects. Eliminate anything you won’t need, so that it doesn’t end up in the photo or block your view while you work.
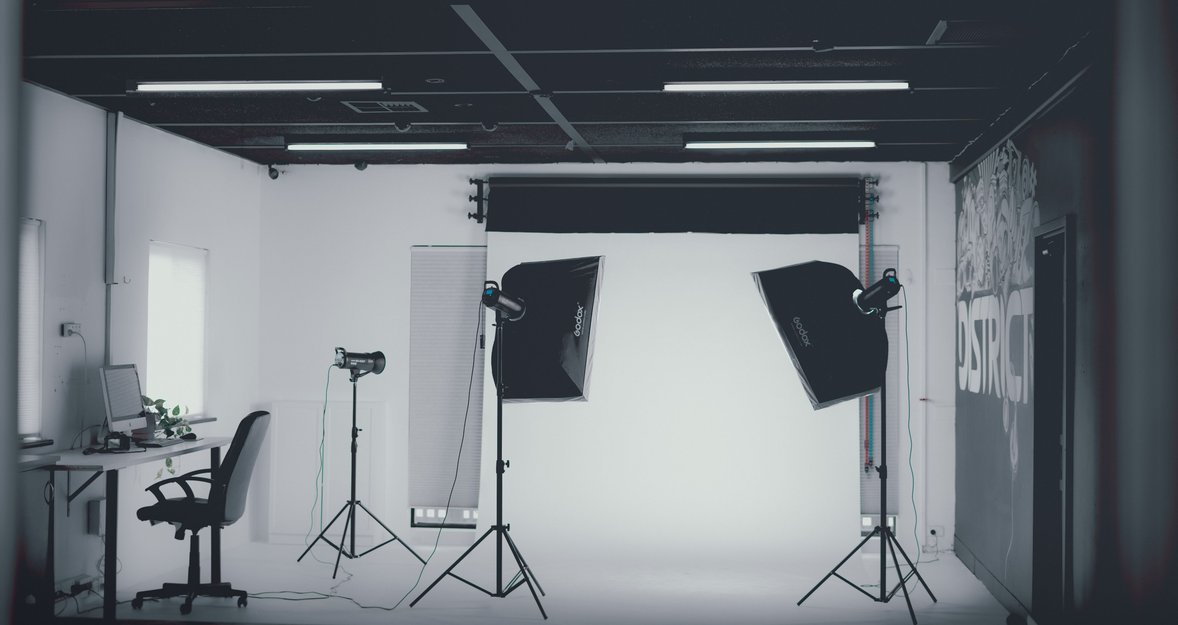
Basic Equipment for a Home Photography Studio

A well-thought-out set for a photographer covers the basic needs for shooting. We will review various categories and determine which options best fit your budget and the type of work you do. Many of these tools make great gifts for a photographer who has just started to build their home studio.
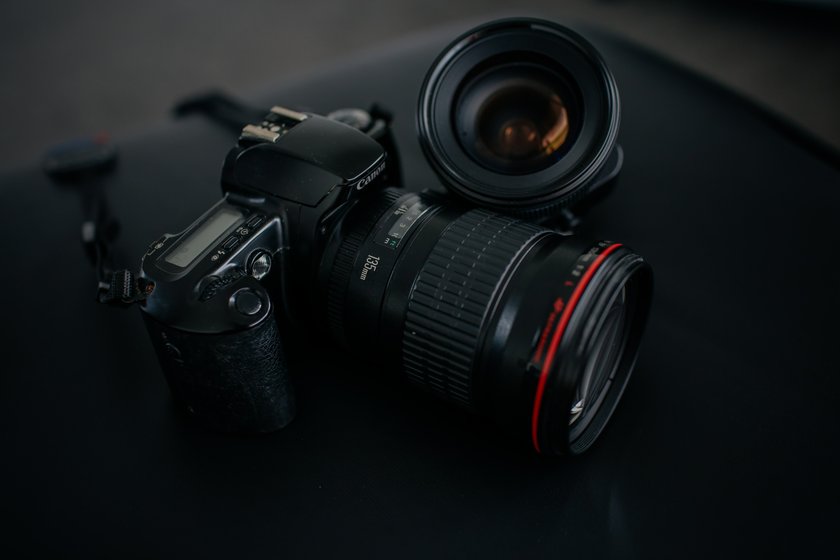
Camera and Lenses
Your camera needs to be intuitive and handle its abilities efficiently. Currently, a wide range is available, from compact mirrorless models to high-end DSLRs. These are four cameras that have grabbed the interest of photographers working in their home studios:
Sony A7 III. A versatile mirrorless camera with excellent light sensitivity and fast autofocus, ideal for portraits and product photos.
Canon EOS R6. Combining speed, image quality, and convenient ergonomics, it is suitable for video and photography.
Nikon Z6 II. A reliable and functional camera with good color rendering and stable operation in low light.
Fujifilm X-T4. It is a popular model with a retro design and advanced color correction and video capabilities.
Once you've picked a camera, focus on the lens that affects the image’s sharpness, depth of field, perspective, and aperture. Professionals recommend having multiple lenses for various subjects.
A standard universal lens (e.g., 24-70 mm f/2.8) allows you to shoot from portraits to product photography.
A fixed lens with a wide aperture (e.g., 50 mm f/1.8) is indispensable for portraits and shooting in low-light conditions.
A wide-angle lens (e.g., 16-35 mm) is excellent for interior and architectural photography.
A macro lens (e.g., a 90 mm macro) is helpful for challenging product photography that requires sharp details.
The quarrel between Nikon and Canon cameras has lasted for decades. Nikon's photos are impressive, the images are of high quality, and the design is easy to grip. Canon is renowned for its intuitive interface, natural-looking skin tones, and extensive range of lenses. The controls and menus of the two cameras are completely different. But both offer good performance, choose the one that best suits your needs.
The Definitive Solution for Picture-Perfect Portraits
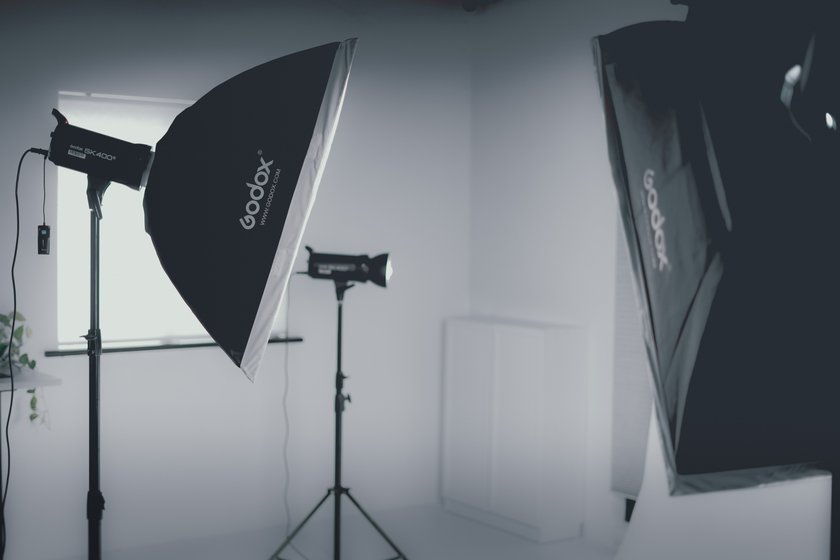
DISCOVER TODAY!Lighting Equipment for Your DIY Photography Studio
Beginners always ask about the most common photography lighting equipment: LED panels and studio flashes. Or both? LED lights save energy without generating excessive heat. They can smoothly adjust brightness and color temperature in the range from 2700K (warm light) to 6500K (daylight, cold light), allowing you to create the proper lighting for various types of photography.
You can use shadowless lightboxes when doing subject photography. From the brands that supply reliable equipment for home studios, it makes sense to highlight Godox, Neewer, Aputure, and Yongnuo. They offer several LED panels, powerful flashes, and applicable modifiers for an affordable price.
Technical flashes, such as the Visico VL-400 Plus, offer a powerful burst of light for capturing freezing action, but require some effort and time to set up before use. Elements such as softboxes, octoboxes, strip boxes, and reflectors help avoid harsh shadows and achieve even lighting.
Modern LED lighting is ideal for studio photography at home, as it provides excellent lighting, is easy to control, and uses less electricity. Control your lamps and cables are well-positioned and kept secure to avoid injuries and potential problems.
Backgrounds and Backdrops
Without using backdrops and backgrounds, you cannot finish setting up a home photography studio. Often, photographers use fabric, paper, and vinyl, each with specific qualities. Any textile backdrop made of cotton, muslin, or polyester (cotton, muslin, and polyester) can be ironed inside out at a low temperature after washing and should be stored either rolled or in neat folds without making deep folds.
Paper backdrops are a cost-effective alternative, but they crease and tear easily. Replace them whenever they become damaged. The most favored ones in this category are studio paper rolls from Savage or Lastolite. Both are simple to operate and save storage space.
With vinyl backdrops, you can be sure they are durable and do not create glare. Wiping them clean is simple, although you shouldn’t iron them, as the heat can cause creases and reduce the color.
White, black, and gray are the standard background colors and can be used for general shooting. Pick depending on whether your photos are vivid or muted, bright or dark.
For portrait lighting, white will be good as it attracts more light and brightens the pictures. Black adds depth and contrast, and using gray does not detract from the primary focus of the photo. Choose a background that complements the shooting situation and the color of the subjects, so the overall image appears well-coordinated.
To avoid wrinkles and creases, save backdrops on special stands or in rolls. When wrinkles appear, smoothing a wet cloth over a fabric background at low heat should help. You can also use a steamer on vinyl backdrops or leave them rolled tightly to help untwist naturally. Always order from producers and test the materials ahead of time, as the colors may differ from those shown online.
Vinyl backdrops with dimensions of 70x140 cm are commonly used for subject photography because they are resistant to moisture and clean up easily. Having backdrops made of fabric or paper, measuring 11 m in length and various widths (1.36–2.7 m), allows you to select the perfect fit for your DIY home photo studio and the desired style of shooting. Choosing and maintaining backdrops nicely will help them look good and ensure the quality of the photos you take at home.
Studio Accessories
Accessories include fasteners, tripods, background boards, reflectors, flags, filters, various clamps, and brackets. They offer excellent control over lighting, allowing shadows and bright spots to be placed in the right locations and ensuring the equipment and background are set correctly.
An aluminum tripod featuring a ball head is a suitable and reasonably priced option. For big cameras or zoom lenses, it’s better to choose a carbon fiber tripod. When taking photos of food or products, a horizontal arm tripod makes the process more convenient. These tripods are best for small rooms or when shooting small products. If sharp or tilted shots are needed, consider investing in devices known as fluid or geared heads for their smooth operation.
For the reflectors and diffusers, in addition to your light sources, opt for the 5-in-1 version, as it features surfaces in white, silver, gold, and black, allowing for a variety of effects.
Getting background holders and clamps keeps the background flat, preventing the fabric or paper backdrops from forming any creases or folds. Consider using movable telescopic stands to hold your lighting equipment. Don't forget to add chargers, extra electrical storage devices, and memory cards. Take care of cleaning supplies for the optics and other tools, since this affects the final picture.
How to Set Up a Home Photography Studio on a Budget
It is possible to set up a DIY home photo studio at little cost if you are smart about it. There is no such thing as a perfect room. Verify that the area is sufficiently large to accommodate the model and gear, and include at least one large window. Ideal windows face north, as sunlight does not reach them. However, if your windows are not on the north side, compressed curtains or blinds can still provide some relief.
Start with regular LED lamps that have a line for adjusting brightness rather than expensive studio flashes. Any hardware store sells these, and the cost is less than that of name-brand ones. We recommend using several light sources and covering them with softboxes made of cardboard, fabric, or paper.
Instead, backgrounds also come pre-built, so you don’t have to purchase them. Using a smooth wall, hanging old sheets up, or even applying a sheet of Whatman paper with tape is enough. The background doesn't need to detract from the subject's focus.
Check flea markets or look on photography group websites for used flashes, lenses, and tripods that are affordable. Before buying anything, inspect the condition of the tools.
Add a pleasant chair, a table where you can display props, a clothes hanger, and somewhere to save your photographer's kit from dust and sunlight.
The main thing in photography is to see the world creatively rather than relying on fancy gear. That’s why you should try to explore, learn, and improve yourself, and soon, your home photography studio will become a place for creating remarkable music.
Choose Luminar Neo for Your Photography
A good photo editor enables photographers to transform raw images into professional-looking shots, bring out details, repair any issues, and set each shot’s style apart. With this tool from Skylum, you get help from AI to edit photos with excellent results. People with any skill level may use Luminar Neo’s user-friendly interface.
Luminar Neo functions independently on both Mac and Windows, and can run as a plug-in for Adobe Photoshop and Lightroom. Purchase the program just once or opt for a subscription that includes technical assistance and a money-back guarantee.
You get quick presets for simple editing, and you can further extend the software’s features by installing more modules. The 30 AI-based tools in the program include enhancements in color, details, contrast, sky modification, AI background removal, and local corrections with masks.
Simple controls. Most functions are controlled by a single slider, with minimal complex settings.
AI assist. Artificial intelligence helps quickly replace the sky, highlight shadows, remove dust, improve skin, or blur the background.
Support for RAW, JPEG, PNG, TIFF, and work with layers.
Extensions. SupersharpAI (sharpness), NoiselessAI (smart noise reduction), HDR Merge, Focus Stacking, and others.
Suitable for color correction in portrait, product, interior, and landscape photography.
For those who desire pro editing options, Luminar Neo performs better with RAW files. You may work on color, detail, and exposure without compromising image quality. Instead, JPEG images have some drawbacks because of the amount of data they compress.
Your AI-Powered Photo Editor for MacOS and Windows
Discover Now!The program is designed for creators who aim for simplicity, as it doesn’t require complex settings like other editors do. If you want to improve your pictures rapidly and easily using AI, this is a great pick.
Common Mistakes to Avoid
Even experts can miss a shot or an entire session because of a flat battery, a lost memory card, or an ineffective shutter. Be mindful of the points below when setting up your home photography studio, as they influence your workflow and overall experience.
Improper equipment placement. Not positioning the cameras, lights, and background according to logic will make filming tough and require more time to fix the errors.
Ignoring safety. A defect in the installation of wires causes the equipment to wobble. When the load is too heavy, accidents or damage may happen to the equipment. Shield the camera from shocks, dust, moisture, and quick temperature swings.
Lack of preparation and rest areas. If models are unable to have their space to change or take breaks, it causes discomfort.
Poor attention to acoustics. The sounds from other areas of the venue add unnecessary noise and distract. Using acoustic panels can stop the room from being too echoey.
Overloading the space with unnecessary objects. If the room fills with too much stuff, it becomes difficult to arrange the workflow and distracts you from the primary task at hand.
Lack of lighting planning. You cannot use a single light source for multiple tasks. It can create shadows or unnatural colors, insulting the quality of images.
Ignoring personal comfort. A lack of a comfortable workplace, insufficient lighting for working with equipment, or uncomfortable furniture can quickly tire and reduce productivity.
Scarce preparation for working with clients. The absence of a relaxing and trusting atmosphere on the shoot causes the client to feel awkward, which, in turn, affects the quality of the photos.
Lack of regular maintenance of equipment. Clean your cameras, lenses, and other equipment regularly to prevent dust and water damage from ruining your pictures.
By attending to these simple details, your photography studio at home will be both pleasant and inviting for you and your clients. Start shooting with the valuable tools you have available and develop your skills.
Final Tips for Maintaining Your At-Home Photography Studio
You should look after your studio just as you would your apartment: ventilate it, clean the floors thoroughly after every appointment. Maintain a hygienic and comfortable work environment to achieve optimal performance.
Keep things tidy. After every shooting session, put the gear away and clean off the surfaces. Overflowing spaces create difficulties in doing your job and lower your productivity.
Store your tools carefully. Keep all your camera, lens, and light in a space that is both protected and dry. Use in moisture absorbers and dark covers when the room's climate is not suitable for photography.
Regular cleaning. Dust on lenses, sensors, or light-shaping attachments can ruin your shot. Use special brushes, blowers, and microfiber.
Check your gear before shooting. Charged batteries, clean memory cards, and a working light save nerves and time. Do you want angry clients?
Do not clutter the space. If you add new tools, optimize, or remove old ones. There should be sufficient space in the studio for you to move and set up the light and model freely.
There are many other tips and techniques, and every photographer, sooner or later, discovers their favorite methods and approaches. However, it is better to begin with something basic: the simple rules will provide you with the rhythm. You can arrange the process and, with time, create a personal, convenient system that will keep you motivated and comfortable while shooting.
Your Way to a Successful Home Photo Studio
As we've seen, this idea offers advantages: it allows you to earn and spend your money as you please, choose your working hours, and select whatever styles and materials you prefer.
Pay attention to whether the ambiance is spotless and well-organized, maintain your gear regularly, and provide a cozy and safe place for every customer. Additionally, you should continually train your skills and learn new things, as the photography world is constantly evolving, and you want to stay up-to-date with the latest trends.
Take the time to focus on effective marketing and strong client relationships. An easy-to-use website, a simple booking process, and outstanding reviews are the primary ways to attract new clients and establish a good reputation.
Now, when you know how to set up a home photography studio, focus on organizing the space in a way that’s comfortable and lets you concentrate fully on your work.