Videography for Beginners: Guide With Essential Basics and Techniques
June 03, 2023
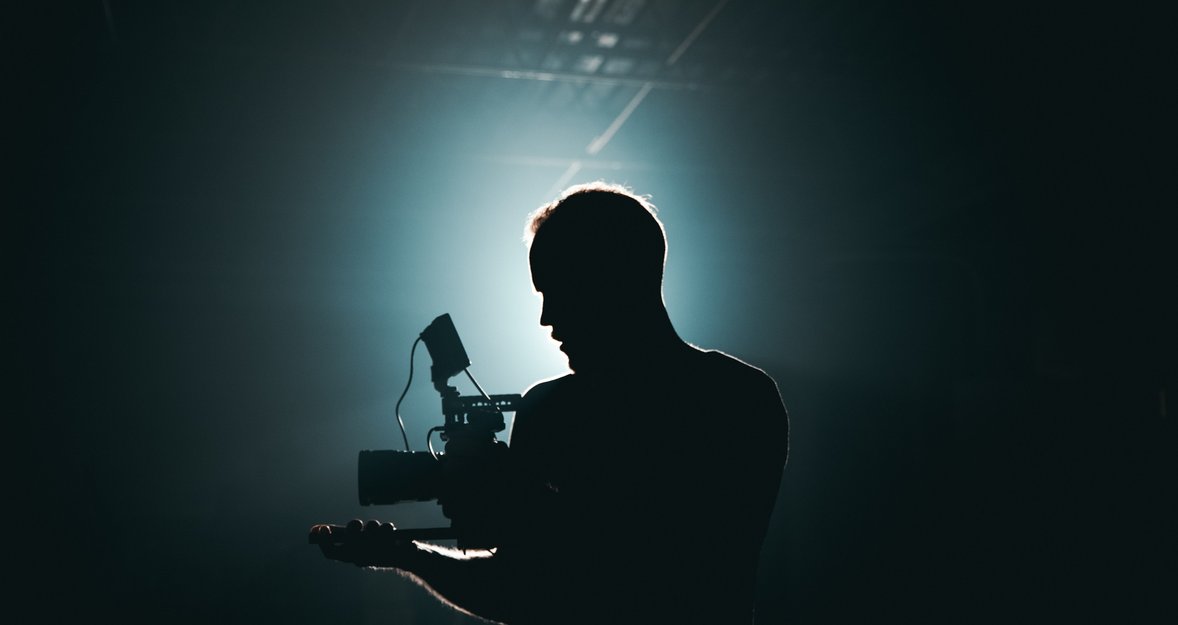
Video production in the digital world is more accessible than ever. And you can easily master it! Our guide on how to do videography will help you make a journey into the world of creativity.
Are you impressed with the aesthetically pleasing video content on Instagram, YouTube, or commercial sites? Do you want to create the same thing, but think only professionals can do it? Internet and mobile phones are so advanced that anyone becomes a video maker or blogger from scratch. In this guide, we’ll share with you everything to master the basics of video production very quickly, from camera settings to composing with a video and photo editor. By mastering all this, you’ll learn to turn the RAW photo shots into an effective story, whether for a clothing brand or a lifestyle blog. By the way, the best software for post-processing is Luminar Neo, and we encourage you to try it.
The Basics of Videography: What Should You Know?
 Before we’ll immerse into the main techniques, let’s find out the nature of videography. Unlike film production, it’s more focused on shooting real events or situations. It mainly covers weddings, interviews, storytelling, product advertising, video tutorials, travel experience, etc.
There is a certain sense of spontaneity in live videos, while movies depict an imaginary world, sometimes with fantastic effects, where everything from acting to props is realized according to a fictional scenario.
Video production doesn’t involve a huge film crew and large equipment such as operator cranes that are often used in film production. Usually, a small group of video makers work on the creation of a particular video. They typically have assistants who take care of setting up video, sound, and other significant elements. Also, there are cases when creative people do everything on their own. In video production is used a minimal set of tools, including AI background remover for interesting effects in the post-processing stage.
Videography, even at the basic level, can be a powerful tool of digital marketing. By telling an apt story about a certain brand, product, or service with visual means that meet the tone of voice and target audience needs, you thus increase conversion.
What Are the Main Stages of Video Production?
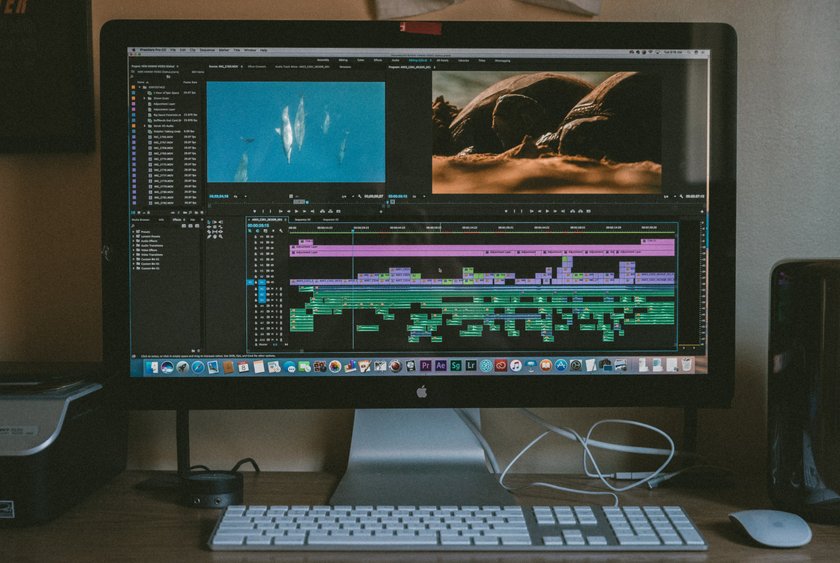 Usually, videographers do the following in their creative work:
- Planning. This is a very important stage because it helps plan shots, sequence, and other aspects effectively. Here video makers determine the purpose and scope of the project, create a script, select suitable locations, develop a shooting schedule, and decide what equipment is needed.
- Shooting. This is a stage at which the plan turns into reality. It includes work with the camera, light, and gathering raw video materials at certain locations.
- Editing footage. This is where the real magic of composing the footage into one coherent and impressive video product with the help of a professional video editor and the best beginner photo editing software begins.
Videography for Dummies: Taking First Steps into the World of Creativity
Have you already understood the nature of video production, written a script, and chosen great locations, but still don’t know where to start? Below, we’ll explain everything in detail.
What You Need to Work with Video?
First, you need to decide on the equipment you need for your shooting. Which one to select depends on what kind of video you plan to shoot: for your personal blog or for commercial purposes. Below, we’ll take a look at the main items you can use to make sure your video shoot goes well.
Camera
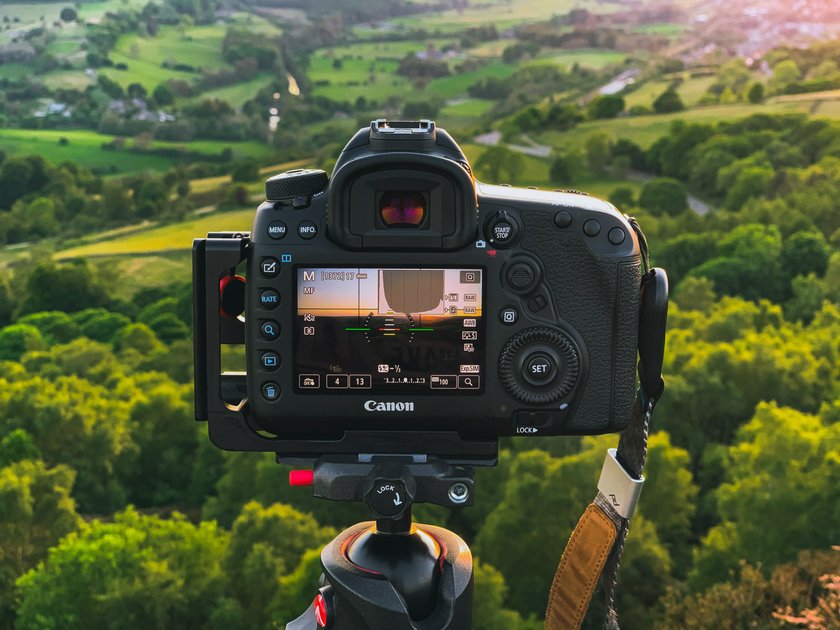 Here are some types of cameras that will help you create amazing video stories already at first:
- Smartphone camera. Do you plan to shoot for your personal archive or make social media videos? A Full HD camera on your Android or iPhone device will be quite enough for you because of creating high-quality content.
- Point-and-shot. If you want to learn how to videography on the go, for example, while traveling, this compact and light camera will be the perfect tool for you.
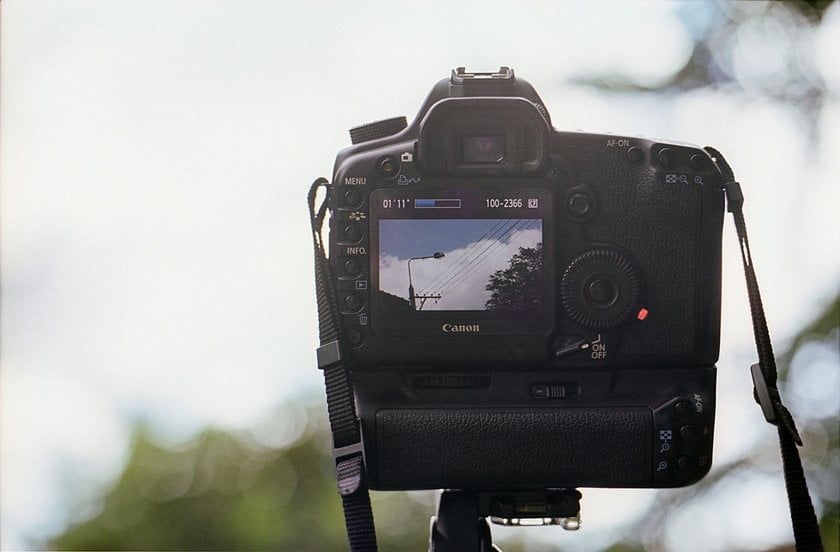
- Mirrorless or DSLR. Both are perfect for professional goals. They have high-quality features and the ability to change lenses. The best beginner mirrorless camera is good precisely because of the fast autofocus. At the same time, a DSLR model has huge sensors, are flexible in the work, and give a clear picture.
- Action camera. Are you an extreme who likes to capture adrenaline during skydiving, snowboarding, or other crazy activities? So, why not choose a miniature action camera like GoPro? It combines a wide-angle lens, image stabilization, and 4K video that immerses viewers in the activity you shoot.
Accessories
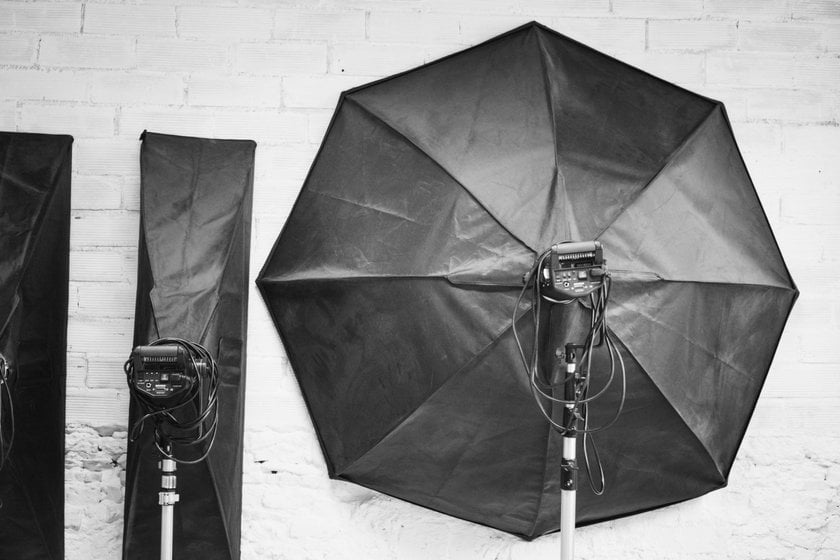 Additional gear is a great investment in the quality and aesthetic appeal of your videos. Of course, you don’t need to assemble an entire studio. There are several accessories that will be enough to get you started:
- Multiple lenses. Even if you are a beginner in videography, they help you to create videos from different angles, thereby enhancing interest and creating a variety of visual effects. Thus, a wide-angle variant conveys a sense of space when capturing natural landscapes, architecture, and large groups of people. A telephoto lens is ideal for focusing on distant birds in the sky, portraits, and other subjects. And a macro one perfectly captures the texture and patterns of insects, leaves, furniture, and other objects up close.
- Lighting equipment. Although most cameras have their own lighting, there are situations where additional equipment is needed to achieve the desired image. Thus, a speed light gives a powerful burst of light that perfectly illuminates the scene in a few seconds. A three-point lighting kit helps you to achieve balanced and professional lighting of the main shot object. As for a reflector, it directs additional light into the frame. The silver model enhances highlights and shadows, while the white one creates a soft, pleasing light.
- Sound accessories. Care about external microphones. Shotgun and lapel models are perfect for the mastering basics of videography. They provide high-quality sound recording, regardless of whether a person sits in a chair or runs.
- Tripod. This is a very useful thing if you want to play with long shutter speed and low ISO value during shooting weddings and documentaries because it allows you to capture live moments without frame blur.
- Spare memory SD cards and AA batteries. They will hedge you in those moments when the camera will run out of power and lacks space to shoot. Also, take care of an external hard disk. By placing images on it, you are calmer in moments when your computer suddenly breaks.
Editing Software
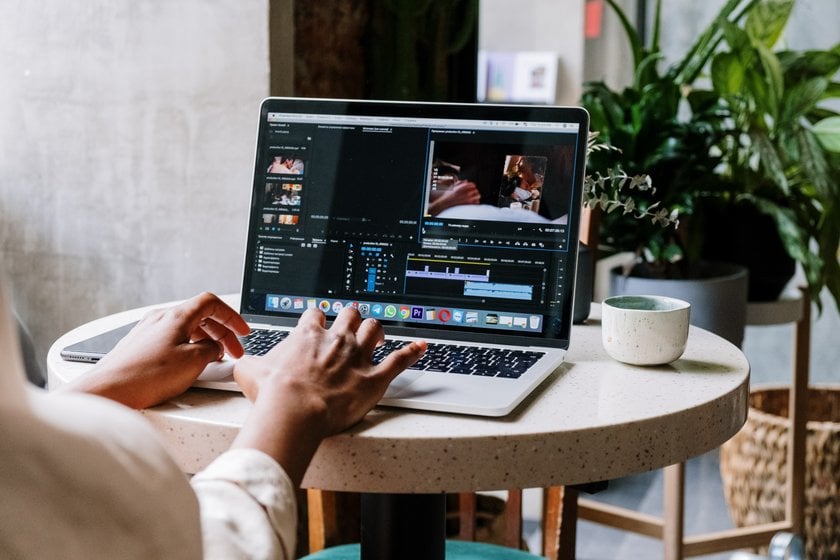 In order to get an attractive “candy” as an engaging video from raw material, you need editing software. It is not necessary to have a super professional program to get started. The basic Adobe Premiere Pro or Final Cut Pro will be enough. Along with it, you can also use a free photo editor like Lightroom to retouch, color correct, and otherwise improve your shots. Although it is better to try Luminar Neo, which has many features for editing pictures.
Play Around with Camera Settings
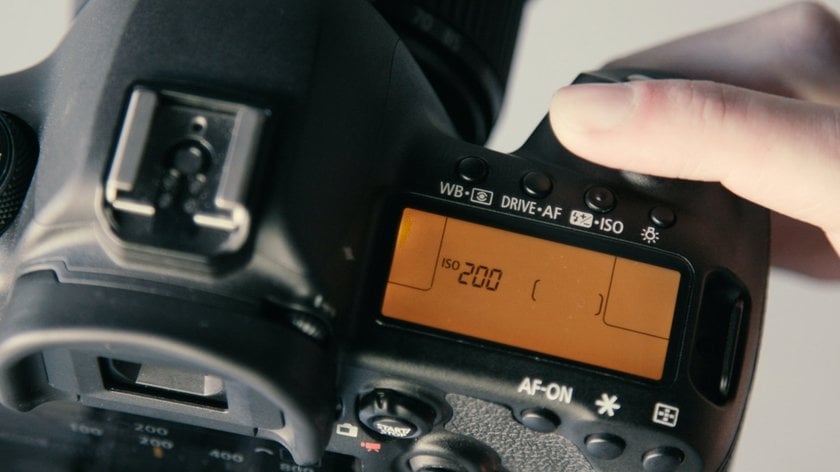 After you’ve prepared the necessary equipment for videography for beginners, feel free to go video shooting. Before recording the video, be sure to set up your camera. Don’t rely too much on the auto mode, as it doesn’t always allow you to get true colors and nice pictures in the frame. So, experiment with manual settings. They are the key to successful videography.
First, familiarize yourself with the basic settings of your camera, such as aperture, ISO, and shutter speed, because they work together to create the exact video you want to see. For example, if you shoot at night or in a building with low light conditions, set a high ISO (1600). A low ISO value (100–200) is more suitable for daylight shooting.
Another important point in video settings is the white balance. Choose daylight, cloud cover, shadow, ambient light, or flash. One of these settings will help you to capture the main object in the best possible way.
Realize the Power of Framing and Composition
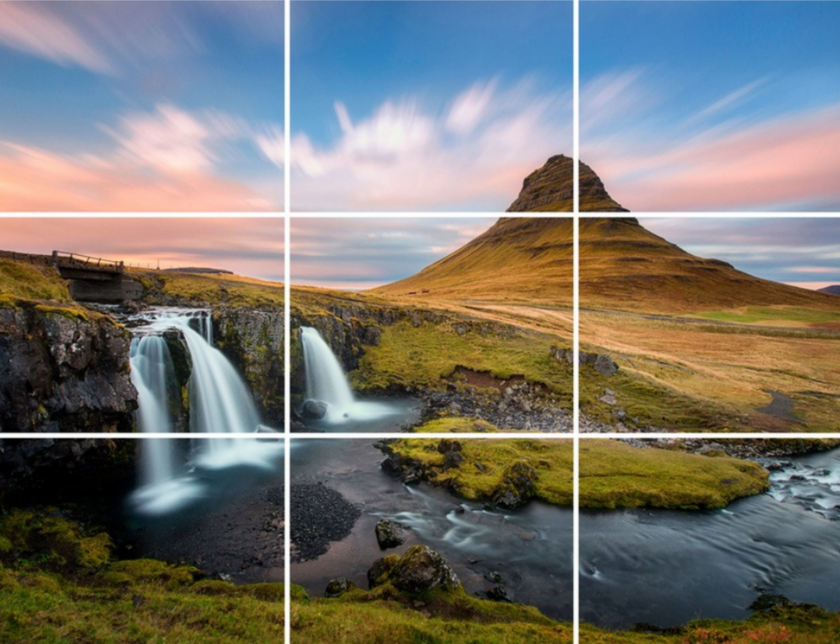 When you are on the location, it is significant to keep in mind three main plans: wide, medium, and close-up. First, make a wide photo shot, such as a panorama of the mountains. Then move the camera to a medium plan to capture people, wild birds, or pets. And finally focus on the eyes, smile, mole, or other detail of the character. This technique helps to create a smooth flow effect that you can improve with an online image editor in the post-processing stage.
Also, remember to practice different camera movements. This makes your video more professional, visually appealing, and balanced. At the same time, you tell the story with an emphasis on details and real emotions in the best way.
By compositing frames as a beginner videographer, understand the “rule of thirds”. Draw in your imagination two vertical and horizontal lines that cross your frame. To make the video deeper and more engaging, place people, animals, or other main characters at the intersection of these lines. Some cameras have a grid feature that can also help you with this.
Mastering Lighting Techniques
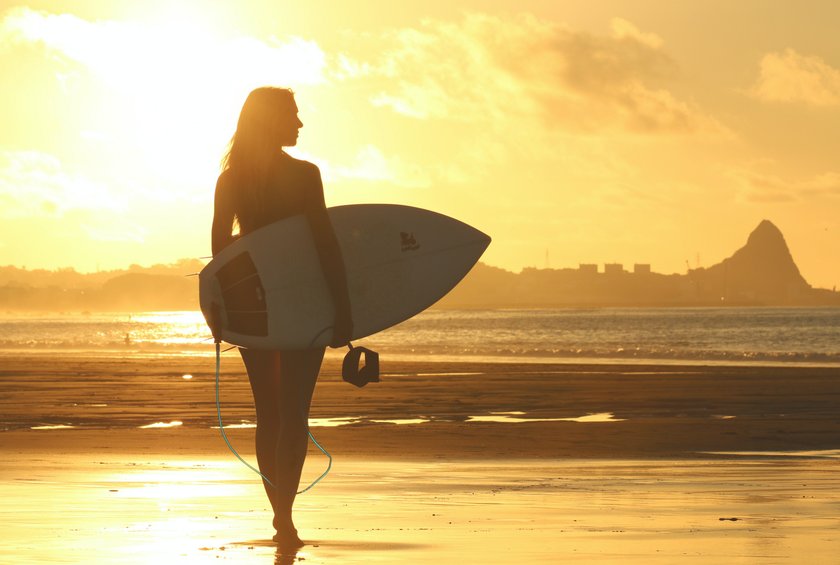 Lighting influences the mood, atmosphere, and quality of the video. Learn basic its three types and use them in combination:
- Main. This is the key light source in the scene. It can be sunny raisers, daily light from the window, or a spotlight. It’s usually before the object and aimed at it to give the video more contrast and depth.
- Filling. This lighting is softer than the main one. It is placed on the side or top of the subject to smooth out shadows and make the lighting more in the frame. Here mostly artificial light sources are used: light panels, reflectors, or diffusers.
- Backlighting. This is lighting from spotlights or light panels that are directed at an object from behind. It gives a certain depth and contour. You can use it for creating a shadow or halo effect.
In the beginning, when you don’t have any videography skills yet, we recommend you play around more with natural light. If you’re in a dark room, you can add inexpensive work lamps and shades. And when you master the basics, you can use three-point lighting that combines the three types of light we mentioned above. It gives your content a more professional look. How to work with light you can find out in one of the best online photography courses for beginners.
Practice with Effective Audio Recording
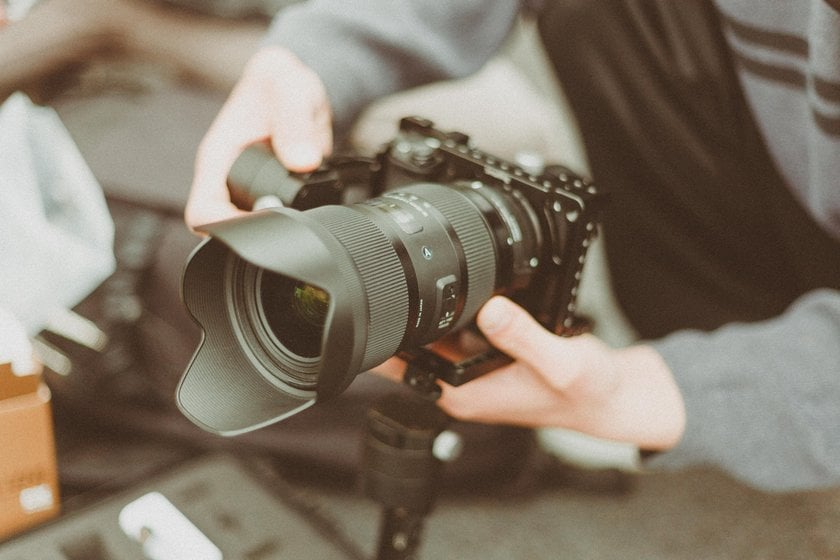 Clear and high-quality sound is another key to creating effective videos. So, invest in different external microphones, that provide recording at a professional level. Learn each to integrate into different moments effectively. Thus, if you shoot an interview, attach the lapel microphone to the main character's clothes so that it is placed on the chest closer to the mouth. A shotgun option, attached to the camera, is suitable for voiceovers.
An important thing: before making videos, check whether the microphone is connected to the device and what the sound level is. Also, check the environment in which you work. It should be quiet without unnecessary sounds, whether objects fall to the ground or microphone friction against a leather jacket or other clothes.
Editing: Learn to Turn Raw Footage into Polished Videos
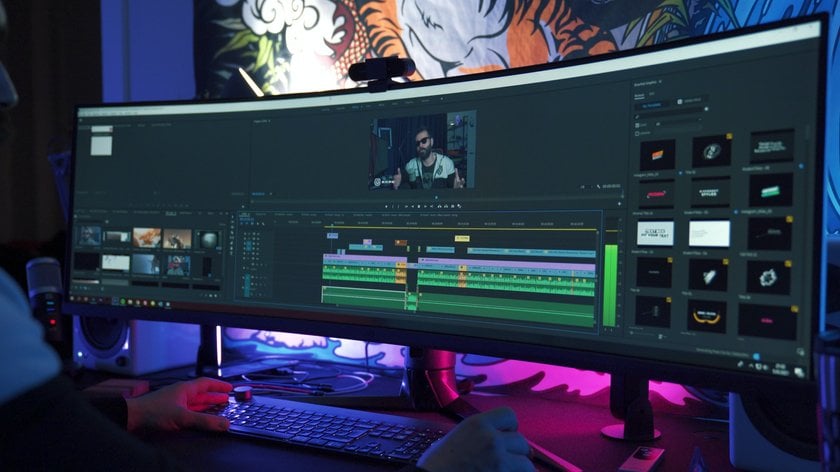 When your video footage is recorded on the camera, the most interesting part of videography basics begins. This is editing, where you assemble the pieces of raw video into one impressive and coherent story, like pieces of a puzzle into one picture.
First, master the basic tools of editing programs like Luminar Neo, Adobe Premiere Pro, or Final Cut Pro, as well as Photoshop free alternatives. Learn how to import, organize, and edit footage. Next, start experimenting with basic editing techniques. Transfer video footage from the camera to a computer, then select the best shots and determine their sequence and video structure. Next, the creative process involves cropping the footage and splicing it together in a sequence, as well as adding smooth transitions between them.
To make the video visually appealing, adjust colors, saturation, brightness, and other parameters in how photography tips for beginners teach. And only then is the audio sequence applied. It is very important to edit the video so that the flow of the story is consistent.
Conclusion
Video production is a fascinating process that you immerse yourself in. To create real masterpieces, it's significant to understand the camera settings, record sound at a high quality, build a proper composition, edit in such a way that you get a consistent story, and much more. In the beginning, practice regularly, create videos on topics you are excited about, experiment with different techniques, and get inspired by leading operators. And soon you’ll notice that your raw videos will turn into real masterpieces that will catch the viewers’ eyes.
FAQ
What Is the Most Essential Videography Equipment for Beginners?
If you're just starting out, a phone camera or a mirrorless/DSLR camera is enough. You also need a tripod, an external microphone, and basic video editing software.
How Can I Improve the Stability of My Handheld Videos?
Do you shoot with your hands? In this case, use a handheld tripod. If your camera has an image stabilization function, turn it on. Also, hold the camera properly in your hands with your feet wider apart and holding your elbows closer to the body.
What Are the Basic Tips for Editing Videos If I Am a Beginner?
To get started, familiarize yourself with the video editing software interface. Explore its main tools and features. Practice organizing your footage and storyboard a video. Experiment with different transitions, cuts, and effects. Try to make the video smooth.


