What Are Midtones In Photography?
December 31, 2024

Learn what midtones are in photography and how they influence image composition. Discover tips to adjust midtones for balanced and striking photos.
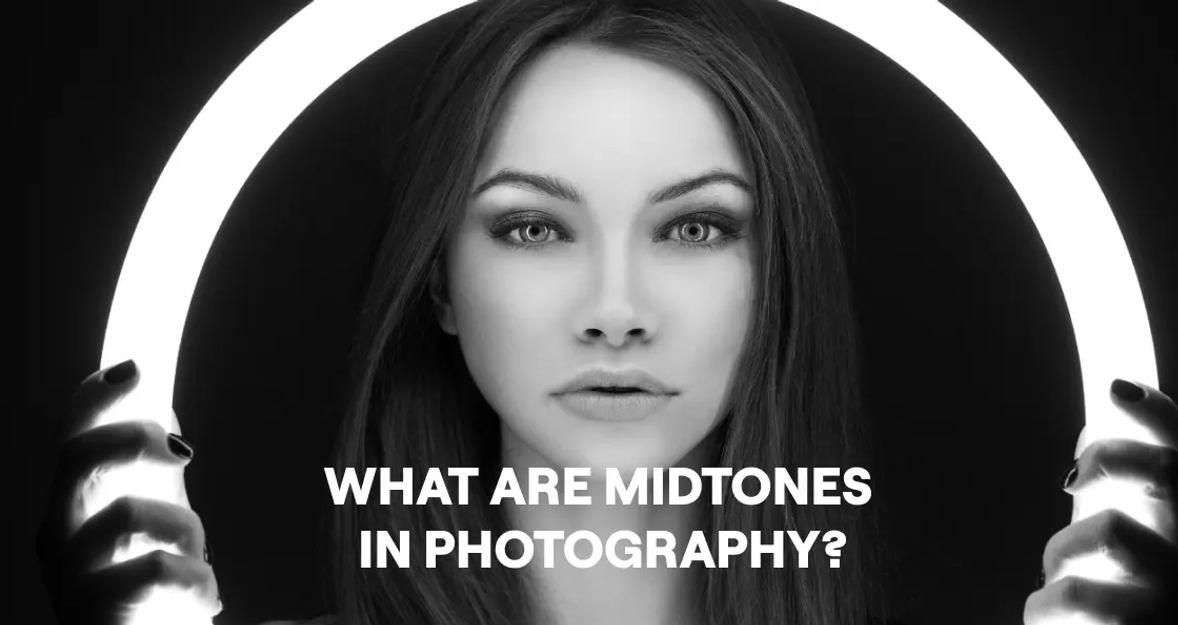
Midtones are used to create the mystique of portrait shots and the best landscape images. Something easy to catch by happenstance though powerful to reveal artificially. Experienced photographers practice with halftones, drawing attention to themselves and their studios on social media.
In photography, a midtone definition is the range with the most information. In this scenario, portions of the photograph contain both light and dark areas. However, keep in mind that a photograph made entirely of this capture is not dynamic, motionless, or uninteresting.
So, what are midtones in photography? Let’s take a closer look and find what they can do for us in terms of the visual appeal of the photograph.
Manual For Tonal Range in Photography

The human eye can discriminate between white and black in as many as 300 levels. A black and white photograph may contain up to thirty tones (long tonal scale) or 10 tonal hues (short scale). Moderation in the number of tones can give a photograph more emotion. By removing the medium tones, you will be free of unnecessary aspects, and images taken in a certain tonality will be highly effective. Instead, is this actually true?
The following term will help answer this question. The tonal range definition is the range between the darkest and lightest values of light that your camera can capture. In regular digital photography, the tonal range is usually divided into several tonal zones:
pure light;
pure dark;
mid-light;
mid-tone;
mid-dark.
People who take pictures, particularly beginners, are enthusiastic about full-tone photography. When capturing high-contrast, high-dynamic-range subjects, you may unintentionally capture a variety of styles. Practicing tonal range photography opens certain doors while closing others. Find your style and practice it because there are so many undiscovered opportunities and shots!
The Power of Midtones: Depth, Dimension, and Naturalness
Middle tones play a pivotal role in giving a photograph depth and dimension. A flat image composed mostly of extreme shadows or highlights may fail to convey a sense of three-dimensionality and depth. However, with the proper use of midtones, images gain an additional layer of complexity and realism.
Also read: Best Laptops for Photo Editing on a Budget
Hues are the tints that fall among a photograph's darkest and lightest areas. They serve to integrate the picture's transitions between high-contrast regions, making it appear much more three-dimensional. This depth and dimension in a picture can stimulate a sense of tangibility and spatial awareness, allowing viewers to experience an image as though they were part of the scene.
Manipulating midtone colors can be used to create different effects and moods in a photograph. Here are some practical tips for managing and using middle tones effectively:
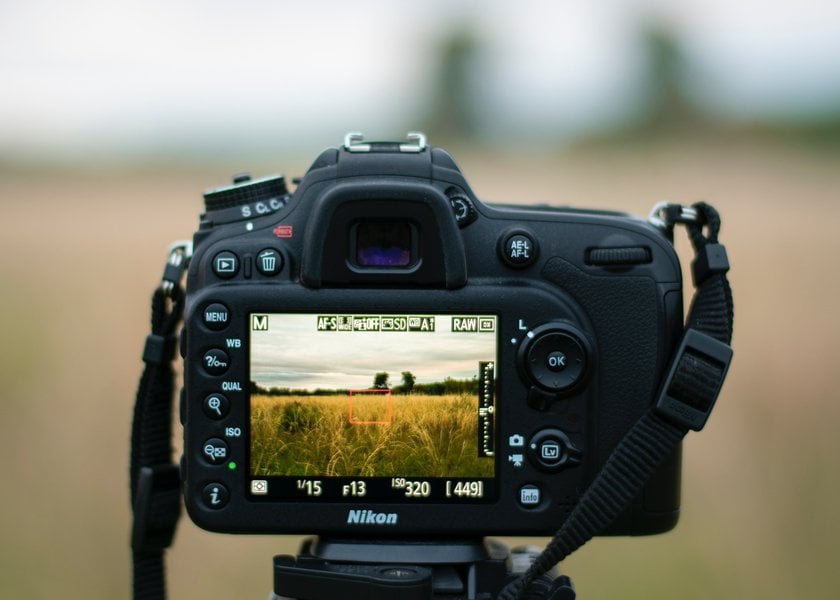
Histogram mysteries. This may sound like a geometry lesson, but it is a standard practice for photographers. Midtones are usually represented in the central area of the histogram. It may be a bit difficult at first, but with practice, you will better understand color correction when editing and framing a shot.
Curves adjustment. The “Curves” tool in most editing programs, including Luminar Neo, allows you to fine-tune the tonal range of an image, darken or lighten midtones, add contrast, and improve detail if necessary.
Adding filters. For beginners, this feature is not entirely clear because you want everything to be natural. But the reality is that with a budget lens, camera, or just miss timing, the light, sharpness, and clarity of the resulting images are lost. It is at such moments that filters come to the rescue. They are also used to express expressiveness or impressionism.
So, what is a midtone for capturing masters? Photographers tint their images to create an atmosphere within the frame. The most basic fact is that a warm shade is connected with coziness, warmth, and contentment, whereas a cold shade is associated with alienation, loneliness, and depression. Each shade has a distinct tone. Therefore, expert manipulation of them during the initial shooting and editing will demonstrate your command of the camera and equipment.
Practical Tips on Using Midtones in Different Types of Photography
The power of mid-tones is universal across all photography genres, but their application can vary depending on each type's specific requirements. Let's explore the role of mid-tones in portrait, landscape, and street photography.
Portrait Photography

In portrait photography, midtones are major for illustrating the surface of the subject, in other words, for shading or lightening the skin. How can a portrait be made more mysterious in daylight or at night? Find a suitable angle and location. If possible, use improvised means: a candle, a lamp, cardboard (to create a penumbra), etc.
Start by making sure that the tones photography images are not too dark or too light - this can make the skin unnaturally tanned or washed out. If you are shooting in color, pay attention to the RGB balance. For some, it is a revelation that warmer skin tones have a reddish tint, and colder ones have blue. To verify this, go to a sauna or fill the bath with hot water. Remember how, in childhood, your parents called you to the sea to warm up because your lips turned blue? With the help of Luminar Neo, you can easily make an RGB correction for a more natural skin color.
Landscape Photography

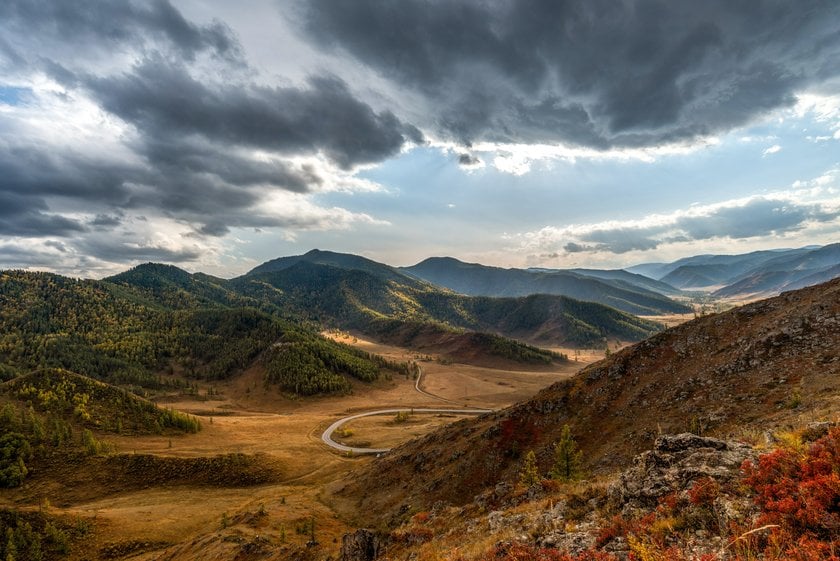
For landscape photography, midtones are tools for capturing the intricacies of nature's palette. The greens of the grass, the blues of the sky, and the myriad hues of a sunset predominantly reside in the midtones. These must be carefully balanced to achieve a natural-looking and aesthetically pleasing landscape.
Also read: Full Frame vs Micro 4/3 Main Differences
This is relevant for the scheduling of the photography session since the position of the sun controls the direction of the optical shadows and highlights, and hence the mid-tones. The curves and levels tools available in the software for editing should be used in postproduction for better midtone and to reveal the true beauty of the environment.
Street Photography

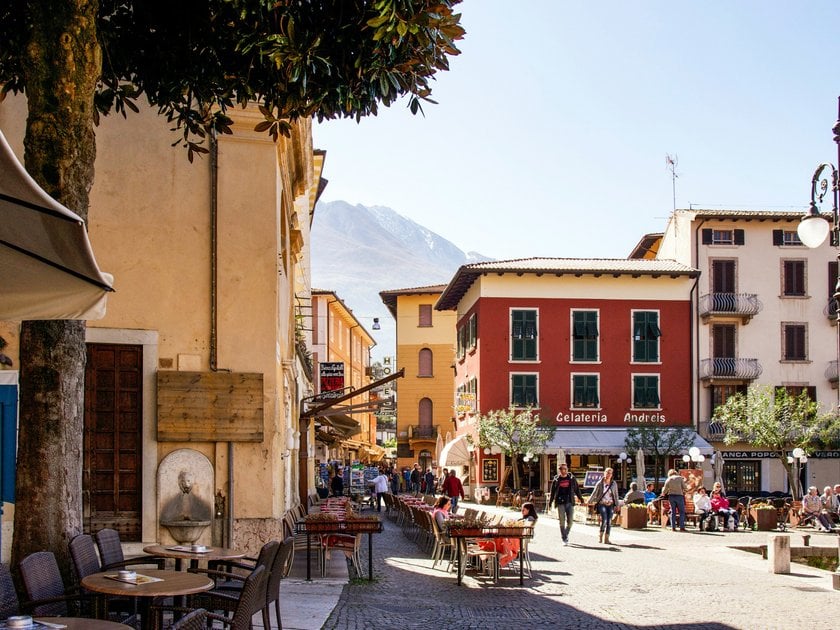
A street scene offers a constantly changing and challenging spectrum of light and color situations. When seams have been shifted from literal sense to formal balance, the midtones are found to be the stabilizing structures that can provide unity to this diversity. For actually brilliant photos, try to keep a few objects and individuals within the scene visible and avoid making the final photograph too dark or too bright.
One good piece of advice regarding exposure is to capture several images and try HDR (High Dynamic Range) in cases with high-contrast images. This lets you keep detail in the darkest and brightest areas of your image.
Enhancing Tonal Range with Luminar Neo
Even with the best equipment and techniques, a raw image straight from the camera may not fully convey the richness and depth of a scene. That’s where post-processing comes in, allowing photographers to enhance or adjust the tonal range, such as key midtones, sharpness and clarity of the frame, and more.
If you've been seeking something for tone photography editing, Skylum has a fantastic tool that can help. Luminar Neo, developed with cutting-edge AI technology, offers exact control over your image's tonal spectrum, covering vital midtones, overall color correction, and more.
Are you concerned that a crowded street will not work for a portrait shoot or that random tourists will detract from the magnificent scenery? A few clicks in Luminar Neo will resolve these and other related situations.
Magic Middle Tones: Wrapping Up
The tonal range in photography is an art form that strongly resonates with the imagination and skillful manipulation of midtones. Sitting comfortably between the extremes of highlights and shadows, these tonal values form the backbone of creating depth, dimension, and naturalness in a photograph. What is a midtone? A tool that can transform a good photograph into an exceptional one, filling it with subtlety and richness of tonal variations.
With Luminar Neo, your photos will become more colorful and detailed. The functionality of this tool covers all the needs of a modern photographer, from AI utilities to color correction and filters. The blend of a well-grounded knowledge of the mid-tone definition, the broader tonal range definition, and the use of such sophisticated tools can greatly uplift the quality of your work, regardless of your photography style. Show family and friends the best takes with Luminar Neo!


