What is Depth of Field in Photography
February 23, 2023

In this blog, the Skylum team deconstructs the popular term: depth of field - making it easy and accessible for all photo takers.
In the world of all things technical for the beginning photographer, the terms can have you easily reaching for the dictionary in frustration. And similar to white balance, aperture or bokeh — depth of field is one we hear often. The depth of field is virtually what makes your photo attractive and sharp. And below you will read a brief depth-of-field tutorial.
It’s easy to get the terms confused, but becoming familiar and comfortable with them is a giant leap towards growing as a confident photographer ready to capture life through your lens.

That’s why in this blog, the Skylum team is working to deconstruct depth of field and make it easy and accessible for us all.
So snag your coffee, take a seat, and read on!
What Is Depth of Field in Photography?
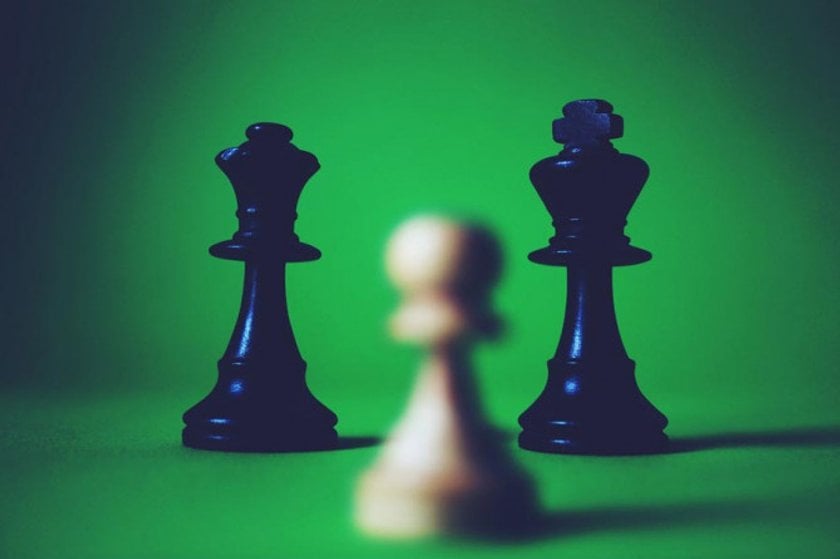
Depth of field (DOF) in photography is the distance between the nearest and farthest points in an image that appear sharp and in focus. To put it simply, it is how much of your photo is in clear focus, from the foreground to the background. Which is better suited: a shallow depth of field or a deeper depth of field? Some photos have small zones of focus (shallow) whereas some have larger zones of focus (deep).
Why is the Depth of Field Important?
The depth of field is the distance between the camera and the subject. Controlling the depth of field is the first thing you have to do when working with a camera and the first element that needs to be carefully considered. Thanks to the control you can shallower the depth of field of unnecessary objects or maximize the depth of field of the main objects. And the shallower depth of field helps to hide not only unnecessary elements. It is one of the main components of a high-quality photo. And to get the maximum depth of field, you have to use a smaller aperture to get desired.
What affects the depth of field?
There are things that affect the depth of field when photographing. Here's what will help you make it bigger and show the true subject.
- Changing the aperture. This is the easiest and fastest way to affect the depth of field. If you focus on the same subject but use several kinds of apertures, you will notice that you get different results. So what's the problem? It's a different size of aperture.
- Distance to the facility. The closer the object is to the camera, the sharper it is seen. This fact will come in useful if you decide to try macro photography. More precisely, the distance between the camera and the object directly affects the total depth of field.
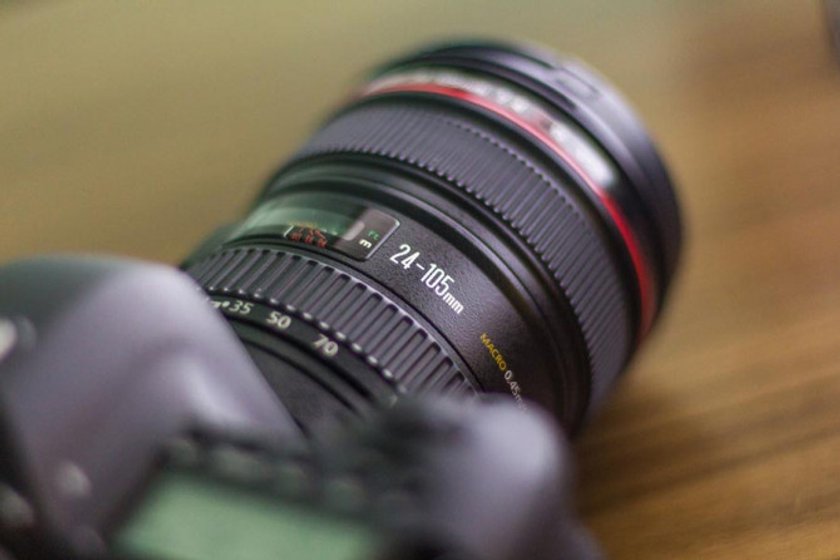
- Focal length. There are situations where you just need a shallow depth of field. For example, to sharpen the main object. There is a meaning to the effective focal length. It is calculated in millimeters. And the higher this number is, the closer you can get to the image. That is if you take the focal length of 35mm and the focal length of 43mm, the subject will be closed at a focus distance of 43mm.
Now you are familiar with the main aspects of the depth of field for different purposes. And you know that focus distance and aperture are the main components to take a good photo.
How Do You Calculate Depth of Field?
Now that you understand what it depends on, it's time to know how to calculate it accurately. You can calculate it yourself using the DOF formula, or the depth of field calculator or DOF calculator can quickly help you do it. Unfortunately, it is rarely used in practice, but as general information is useful.
We already know that there is no clear boundary between the sharp and the unsharp areas of the frame. For simplicity, let us assume that we will take pictures with a perfectly sharp lens of points of tiny diameter, laid out in a row. Only the point that is exactly at the focusing distance of the lens will be perfectly sharp. Points in front of or behind the focusing distance will be blurred. The minimum diameter of an unsharp circle visible to the eye was called the circle of confusion. All points with a diameter smaller than the circle of confusion are considered sharp. All points with a larger diameter are considered unsharp.
How to achieve a sharp field of view? And how do I make sure that every detail in the photo is seen? To achieve maximum depth of field, starting as close to us as possible and covering infinitely distant objects, photographers use the focus at the hyperfocal distance. The hardest thing about the hyperfocal distance is calculating it. But once you calculate the hyperfocal distance, you can easily and quickly take photos of any landscape without pre-focusing and calculating the DOF, simply by focusing the lens at the hyperfocal distance you already know.
How Does it Improve Images?
Learning how to manage your depth of field will help to give you sharp images. It will aid in making certain parts of your image sharp, while keeping some out of focus. Perhaps you want to have a portrait shot with a blurred background — utilizing depth of field will help you do that. And, in essence, will become an incredible artistic tool that will lead you to stunning and creative images.

Although depth of field can seem like an easy concept to understand, practicing it can prove to be less straightforward. It has to do with aperture, distance and focus length — which we’ll discuss in further detail below.
Aperture & Depth of Field
How is the depth of field and aperture related? The aperture controls the amount of light that enters yours lens. To increase your depth of field, narrow your aperture (meaning, a larger f-number). To decrease it, widen your aperture (meaning a smaller f-number). And you can see that on any depth-of-field chart.

- Large aperture = Small f-number = Shallow (small) depth of field
- Small aperture = Larger f-number = Deeper (larger) depth of field
Distance & Depth of Field
To increase your depth of field, move further from your subject. To decrease your depth of field, move closer to your subject.
Focal Length & Depth of Field
To increase your depth of field, shorten your focal length. To decrease it, lengthen your focal length. If you want to blur the background and move the main focus to the object, then the longer focal length is your solution.

When to Use Shallow Depth of Field vs. Deep Depth of Field
Portraits: Use a shallow depth of field to separate the subject from the background.
Landscape: Use a deep depth of field in landscape images to make sure everything is in focus.
Wildlife: Use a shallow depth of field in wildlife photography to make the subject stand out from a blue sky or the green grass.
Sports: Use shallow depth of field in sports photography when you’re looking to separate the soccer player from the field or the basketball player from the court

Now you have an understanding of the depth of field. Whether you're taking portrait shots of your little one or landscape shots of the deep blue expansive sea — we hope this brief explanation will help your images for years to come.
From all of us at Skylum, go get ‘em!


