Working With DNG Files in Luminar
February 13, 2018

Learn how to transfer DNG files to Luminar and more!
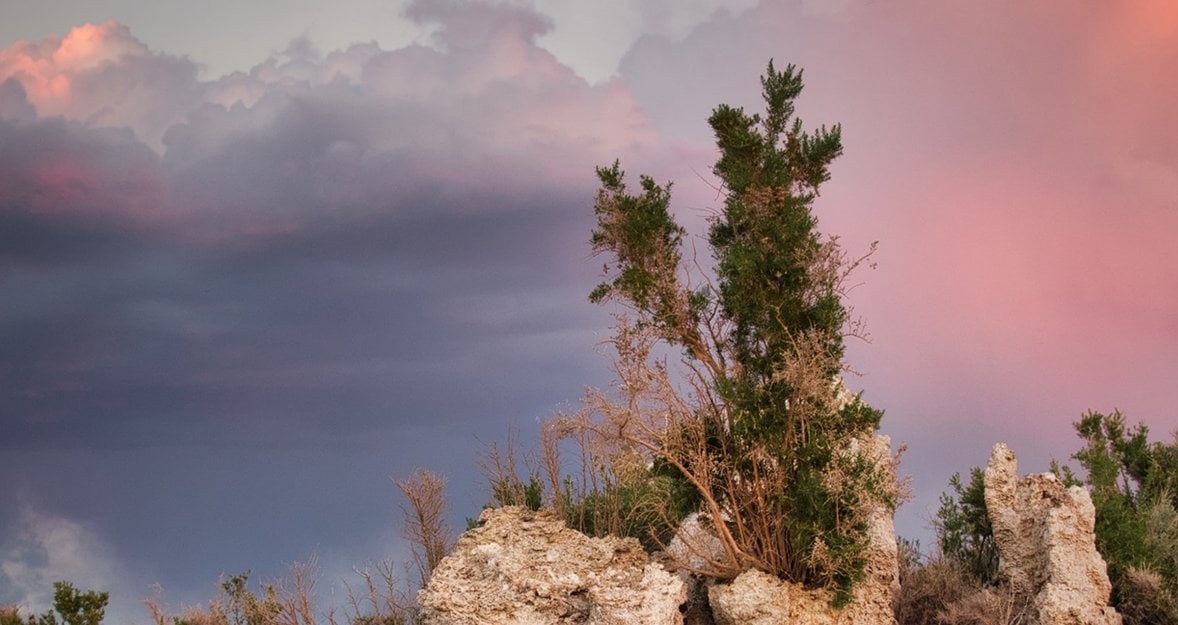
 Image by © Derrick Story
Photographers who want to use Luminar to enhance images stored in Lightroom should strongly consider using DNG files to collaborate with Luminar. The DNG (digital negative) format is an excellent container to transport the high quality image and its accompanying metadata. Sending a DNG file from Lightroom to Luminar makes it easy to get the best results and use the Raw file data.
What is DNG?
Adobe released the first specification for the Digital Negative format in 2004. They wanted to create a publicly available archival format for the Raw files, and that specification has since been adopted by most image editing applications and even some camera manufacturers.
In Lightroom, you can package up the Raw files and their IPTC metadata - such as keywords, copyright, descriptions, and even star ratings - send them over to Luminar, beautify the photos even further, then export out a fully-baked high quality TIFF or PSD file that includes all of your metadata.
This workflow is also useful for photographers who like to use Lightroom’s HDR and panorama tools. Additionally, panoramic and HDR DNG files can get rather large, so DNGs can be sampled down during the export process. Let’s take a look at how all of this works.
How to Export DNGs out of Lightroom
To keep the original Raw format intact in Lightroom, but send a DNG to Luminar, use the Export function. (This is different than converting a Raw to DNG within Lightroom: Library > Convert Photo to DNG. There’s no need to do that since all you want is a transport container, not to alter the image’s original format.)
Click on the Export button in Lightroom and choose Export to DNG from the Presets list on the left side of the dialog. Then specify the settings just like you would for any other exported file, including location, file naming, and so on.
When you get to File Settings, however, there are a few decisions to make.
 File Setting is where all actions begins when exporting to DNG in Lightroom
Currently you have six options for compatibility, ranging from Camera Raw 2.4 (and Lightroom 1.0) to present day. When you choose a newer compatibility version, you also have the option to use lossy compression, and as a result can sample down your DNG file, which is sometimes referred to as a “small Raw.”
Why would you want to do any of this? The best example is when you’ve stitched together a panorama in Lightroom using Raw files. You’ve created this ginormous image in Lightroom comprised of many individual shots. You’d like to enhance it in Luminar, but you don’t really need to work on a 150MP file at the moment. Making a small Raw of the image is more practical.
 Panoramas can be very large. Sampling down a bit on export can make those files more manageable.
To Embed or Not?
When making a DNG file, there’s the option to embed the original Raw file. The file size will be approximately half if you choose not to do so. The image from Mono Lake with the embedded Raw was 29.5MBs. When I exported it as a DNG without the Raw file embedded, the file was only 15MBs. And I really didn’t notice any difference when enhancing either file in Luminar.
 Do you need to embed the Raw?
So, it’s really up to you if you want the original Raw file to travel in the DNG container through the workflow. This can be useful if you are very concerned about being able to access the camera Raw file in the future, but many see this as a double-backup and not generally needed. In this particular scenario, I don’t think it’s necessary.
Enhancing in Luminar
Once you’ve opened the DNG in Luminar, treat it like you would a Raw file from your camera. Start with the Raw Develop filter to establish the foundation, then begin the creative process with your favorite filters.
 Now the fun begins… enhancing your DNG in Luminar.
And speaking of cameras, some DSLRs and mirrorless cameras (as well as even cellphones) can shoot directly to DNG. And yes, you can bring in DNGs copied off the memory card into Luminar. Here’s a portrait that I captured with a Pentax KP in DNG mode. I copied the file from the card on to my hard drive, then opened it in Luminar for post processing.
 DNGs directly from your camera process beautifully in Luminar.
When It’s Time to Export
Once you’ve finished working on the DNG in Luminar, I recommend saving it as a .lmnr file by going to File > Save. This allows you to return to your work in the state that you left it and continue your creative refinements. Be sure to also choose the Save original resources option to embed the DNG files into your native Luminar file.
But chances are good that you’ll also want to export the image for posting online and sharing. Go to File > Export and mark the settings that you need, such as format, resizing, color space, and output sharpening, if any.
Not only will all of your work from Luminar get baked into this exported image, so will the metadata that you entered way back in Lightroom. Here’s the Mono Lake image that originated in Lightroom after exporting it out of Luminar.
 All of the IPTC metadata entered in Lightroom has traveled with this image.
Everything is there: creator, caption, copyright, keywords, and even the original star rating.
Any Downsides to this Workflow?
So even though your metadata from Lightroom travels with the DNG file to Luminar, your LR image edits do not. For those photos where you do want your Lightroom edits to appear in Luminar, use the Luminar plugin, or export as a TIFF with Lightroom adjustments.
My experience has been that I’ve already figured out what I want to do to the photograph previously in Lightroom, and it only takes me a minute or two to bring the photo back to that point in Luminar. But following that, the creative opportunities are much greater in Luminar as I continue to enhance the image.
Give this workflow a try and keep it in mind in the future if you ever find yourself needing to move images from Lightroom to Luminar.


